README.md
October 29, 2025 · View on GitHub
tux's nix flake
![]()

![]()


Table of Contents
Hosts
| Hostname | Board | CPU | RAM | GPU | Purpose | |
|---|---|---|---|---|---|---|
| 🖥️ | sirius | MSI X570-A Pro | Ryzen 7 5700X3D | 64GB | RTX 3080 TI + RTX 3060 TI | Triple-monitor desktop running Windows Subsystem for Linux. |
| 💻 | canopus | Asus Zephyrus G15 | Ryzen 9 5900HS | 16GB | RTX 3060 | Optimized for productivity on the go and some gaming. |
| ☁️ | homelab | Minisforum MS-A1 | Ryzen 7 8700G | 32GB | Radeon 780M | WIP |
| ☁️ | arcturus | KVM | 4 Core | 8GB | Primary server responsible for exposing my homelab applications to the internet. | |
| ☁️ | alpha | KVM | 4 Core | 4GB | Monitors uptime and health status of all services across the infrastructure. | |
| 🥔 | vega | Raspberry Pi 3B+ | Cortex A53 | 1GB | Running AdGuard Home for network-wide ad blocking. | |
| 📱 | capella | Samsung S25 Ultra | Snapdragon 8 Elite | 12GB | Adreno 830 | Primary mobile for daily usage. (Locked) |
| 📱 | rigel | Motorola Edge 30 | Snapdragon 778G+ | 8GB | Adreno 642L | Secondary mobile for some fun. (Rooted) |
| ☁️ | node | ASRock B565D4 | Ryzen 9 5950X | 128GB | Running Ethereum and BSC nodes. |
Installation
Note
This will get your base system ready, but keep in mind that many things might not work correctly — such as monitor resolution, font size, and more.
Prerequisites
Boot into the NixOS bootable USB before proceeding with the installation steps.
Installation Steps
1. Clone the repository
git clone https://github.com/tuxdotrs/nix-config.git
cd nix-config
2. Gain root privileges
sudo su
3. Set up disk partitioning
Install the required tools:
nix-shell -p disko neovim
Partition your disk using disko. This will wipe your drive. Replace DISK_PATH with your actual disk path (e.g., /dev/vda or /dev/nvme0n1):
disko --mode disko ./hosts/canopus/disko.nix --arg device '"DISK_PATH"'
4. Configure your disk
Edit the configuration file:
nvim ./hosts/canopus/default.nix
In the imports statement, replace:
(import ./disko.nix {device = "/dev/nvme0n1";})
with:
(import ./disko.nix {device = "DISK_PATH";})
Make sure to replace DISK_PATH with your actual disk path.
5. Generate hardware configuration
nixos-generate-config --no-filesystems --root /mnt
Copy the generated hardware configuration to the repository:
cp /mnt/etc/nixos/hardware-configuration.nix ./hosts/canopus/hardware.nix
6. Install NixOS
nixos-install --root /mnt --flake .#canopus
7. Enter into the new system
nixos-enter --root /mnt
8. Set up directories and permissions
mkdir -p /persist/home
chown -R tux:users /persist/home
9. Set passwords
Set the root password:
passwd root
Set the user password:
passwd tux
10. Reboot
reboot
Your NixOS system should now boot into a beautiful DE.
Components
| Wayland | Xorg | |
|---|---|---|
| DM | ly | ly |
| WM/DE | Hyprland | AwesomeWM |
| Compositor | Hyprland | Picom (Jonaburg) |
| Bar | tPanel | Wibar |
| Hotkeys | Hyprland | Awful |
| Launcher | tPanel | Rofi |
| Notifications | tPanel | Naughty |
| Terminal | Wezterm | Wezterm |
| Editor | Neovim | Neovim |
Showcase
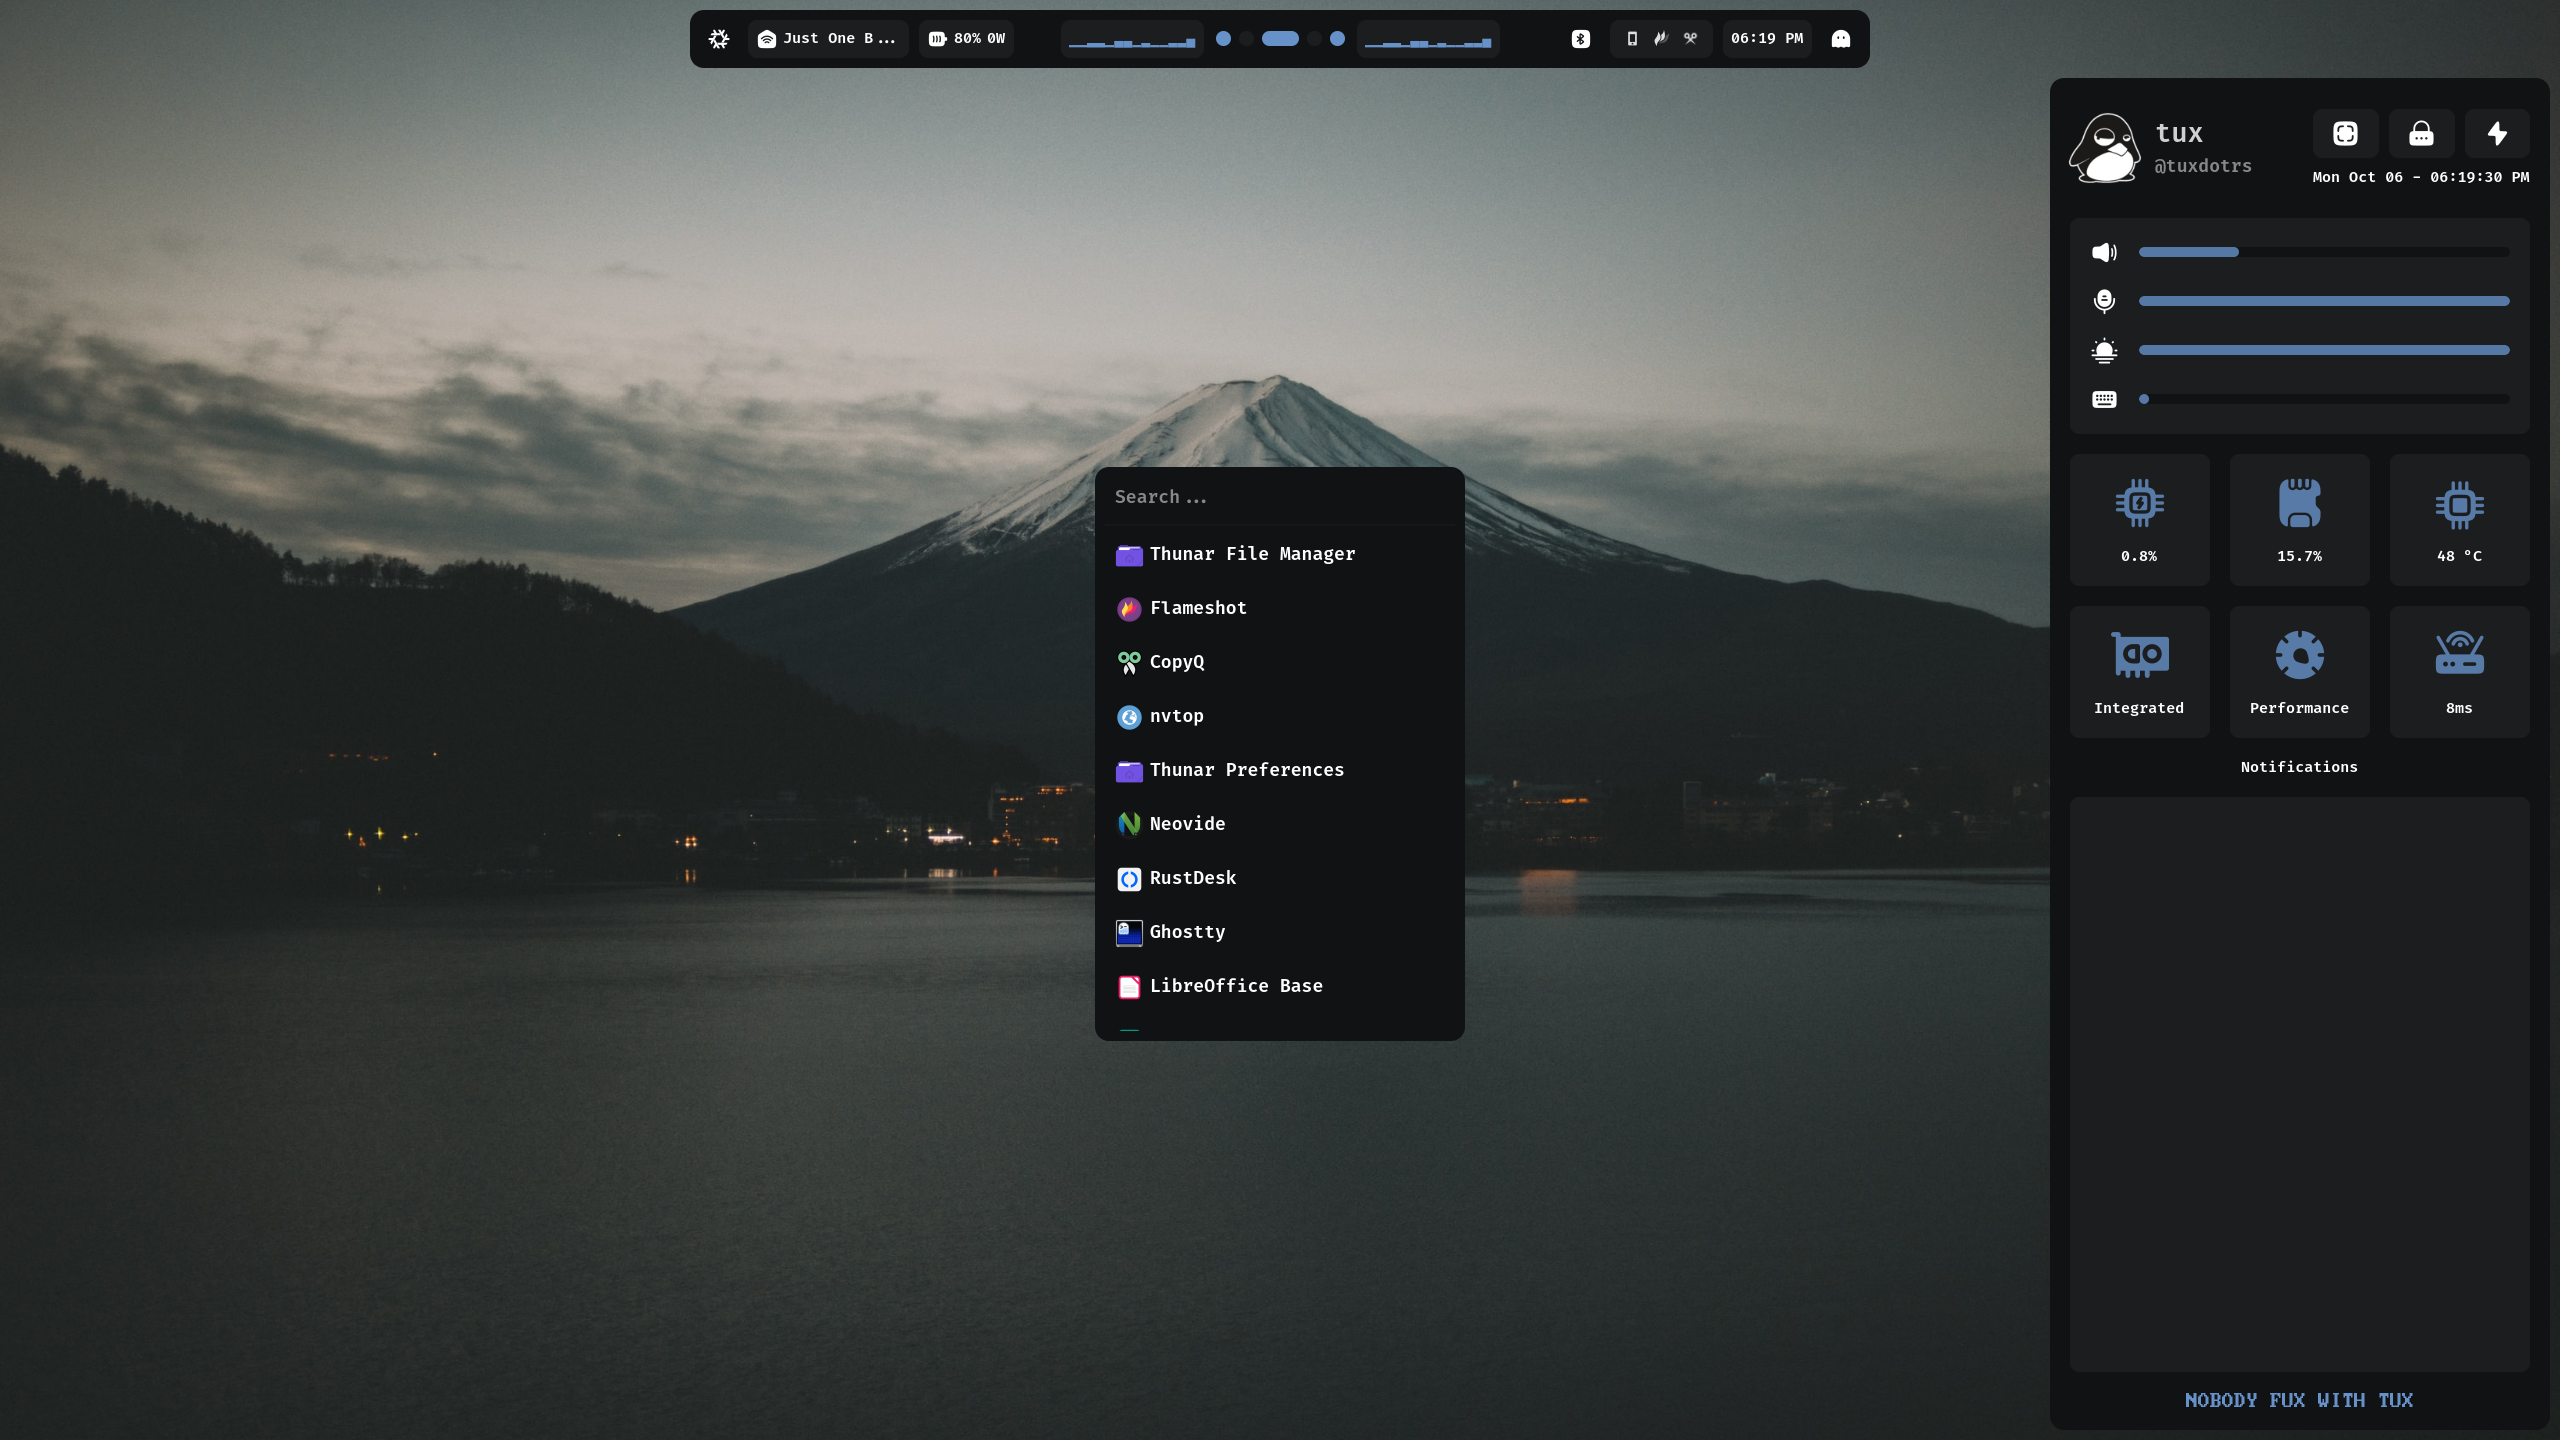
Desktop Hyprland
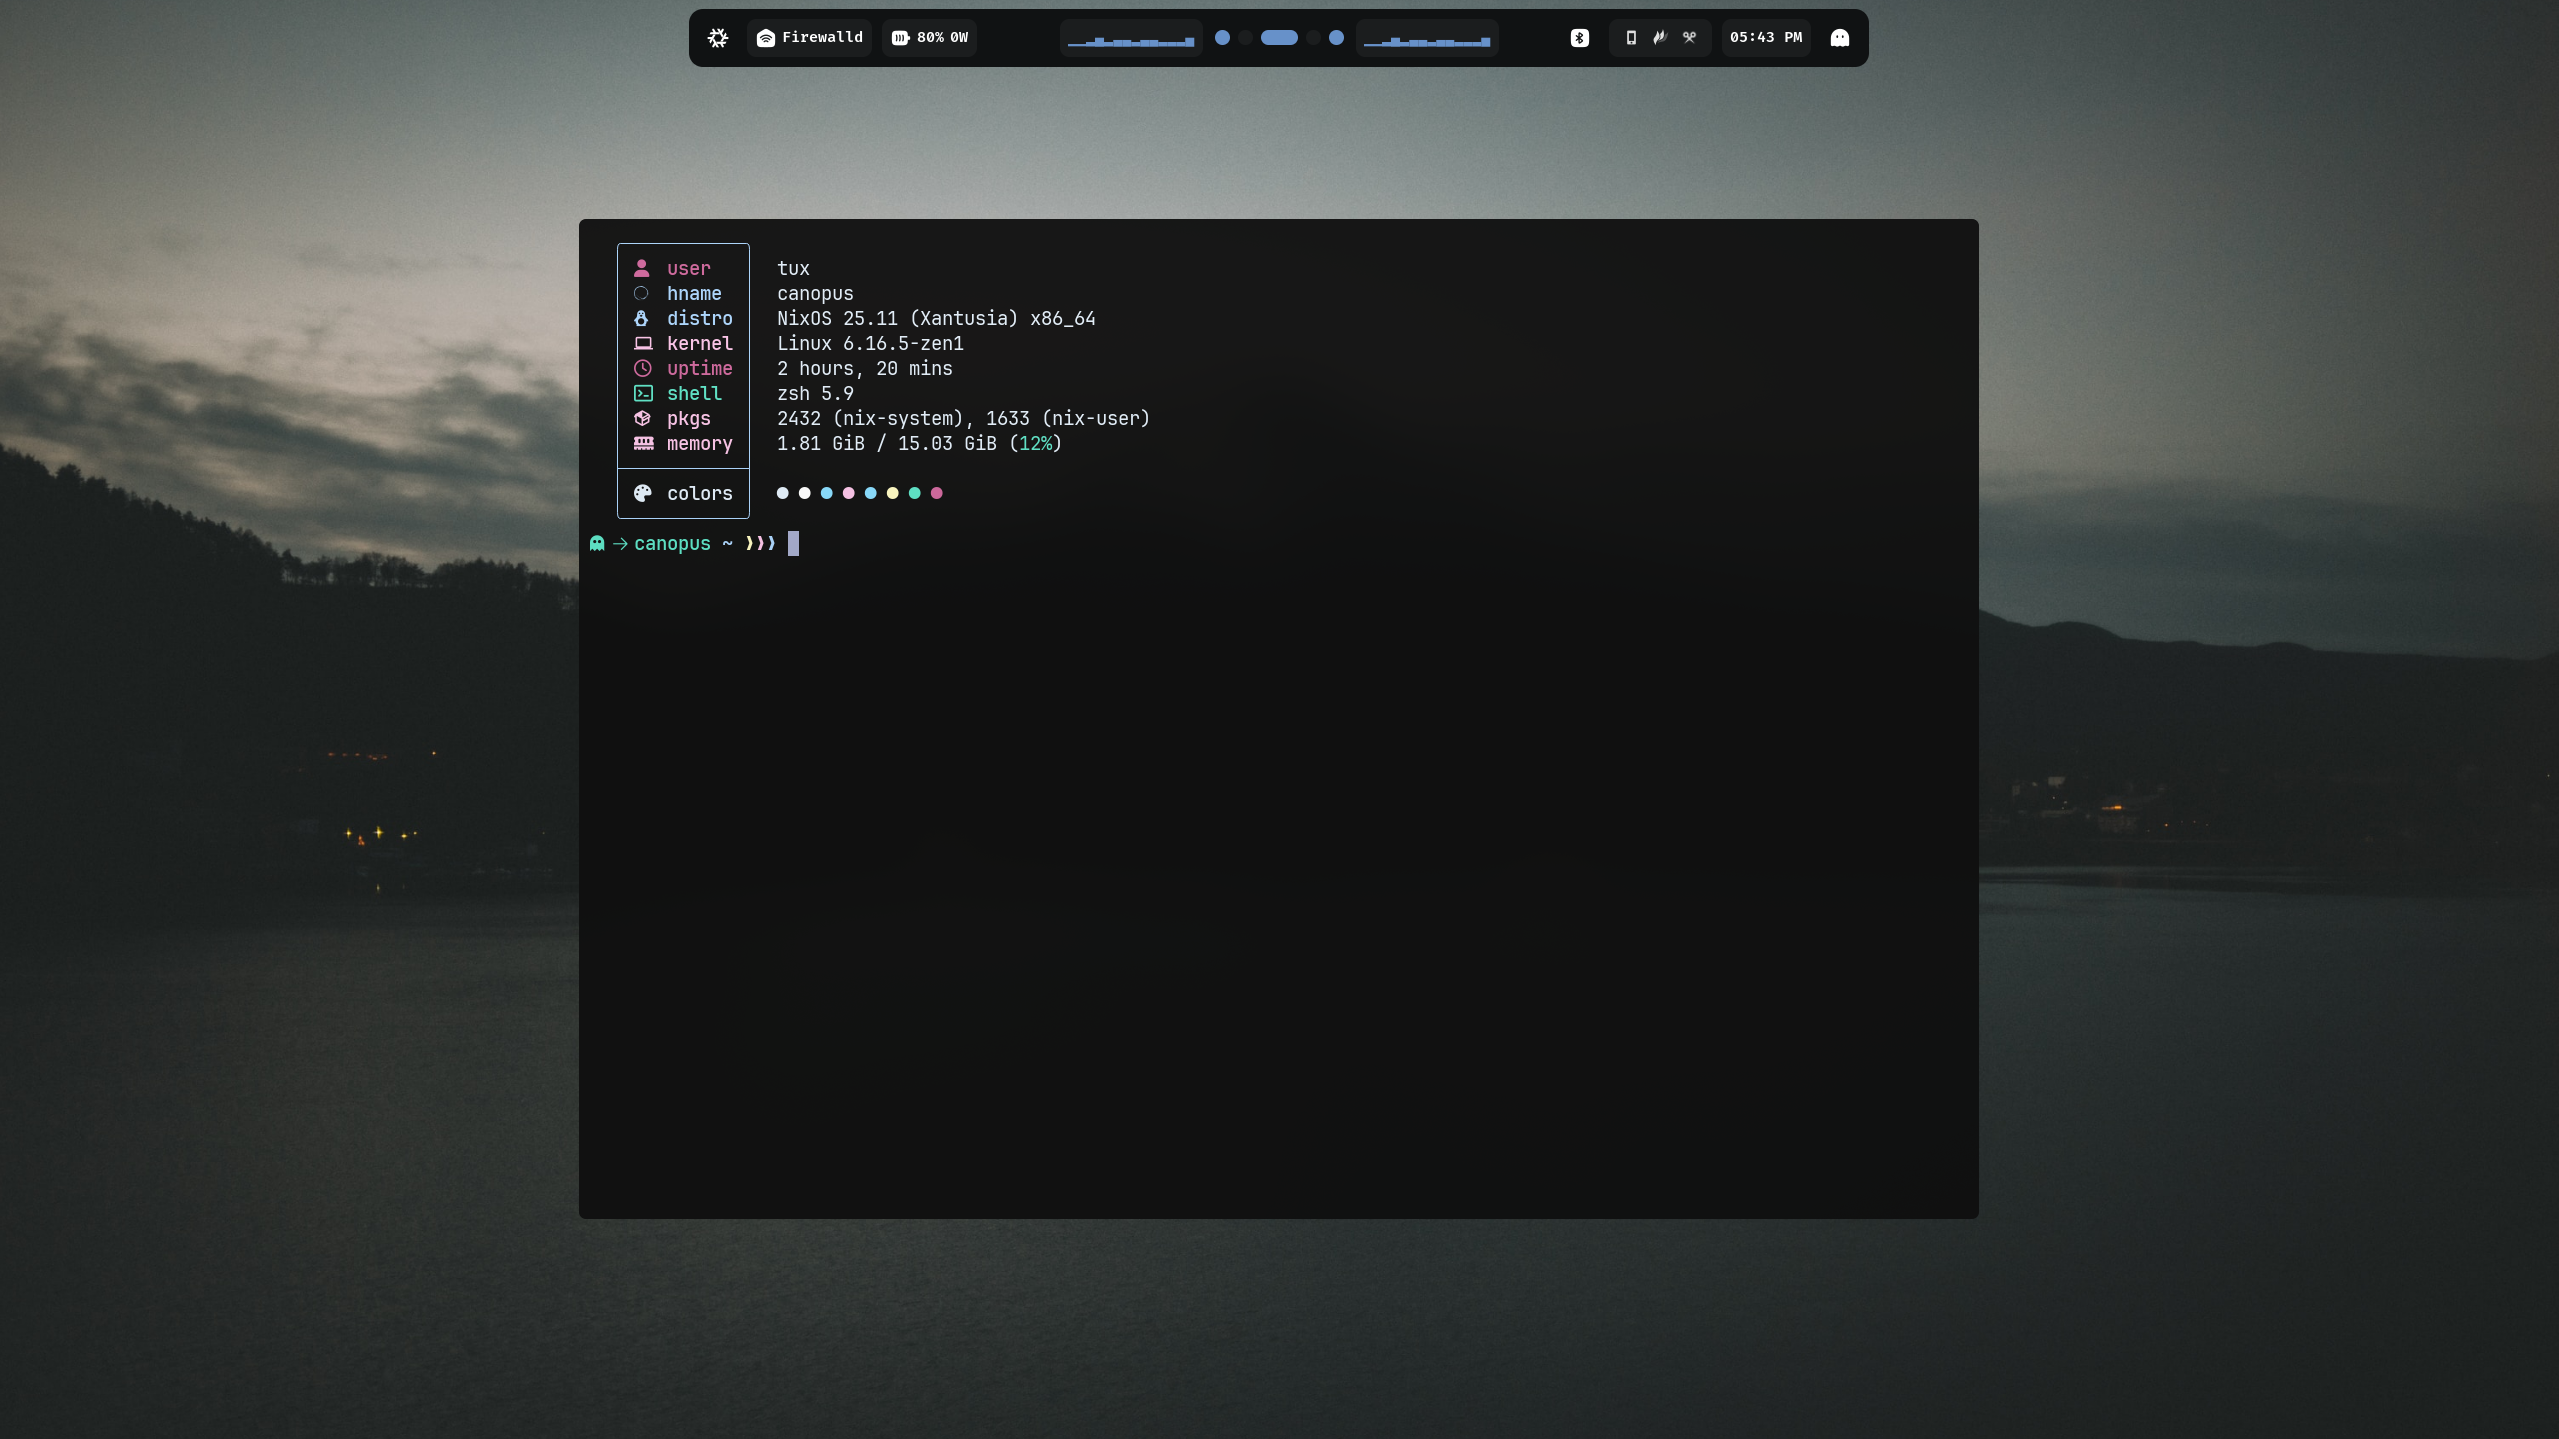
tPanel
Workflow
Showcase
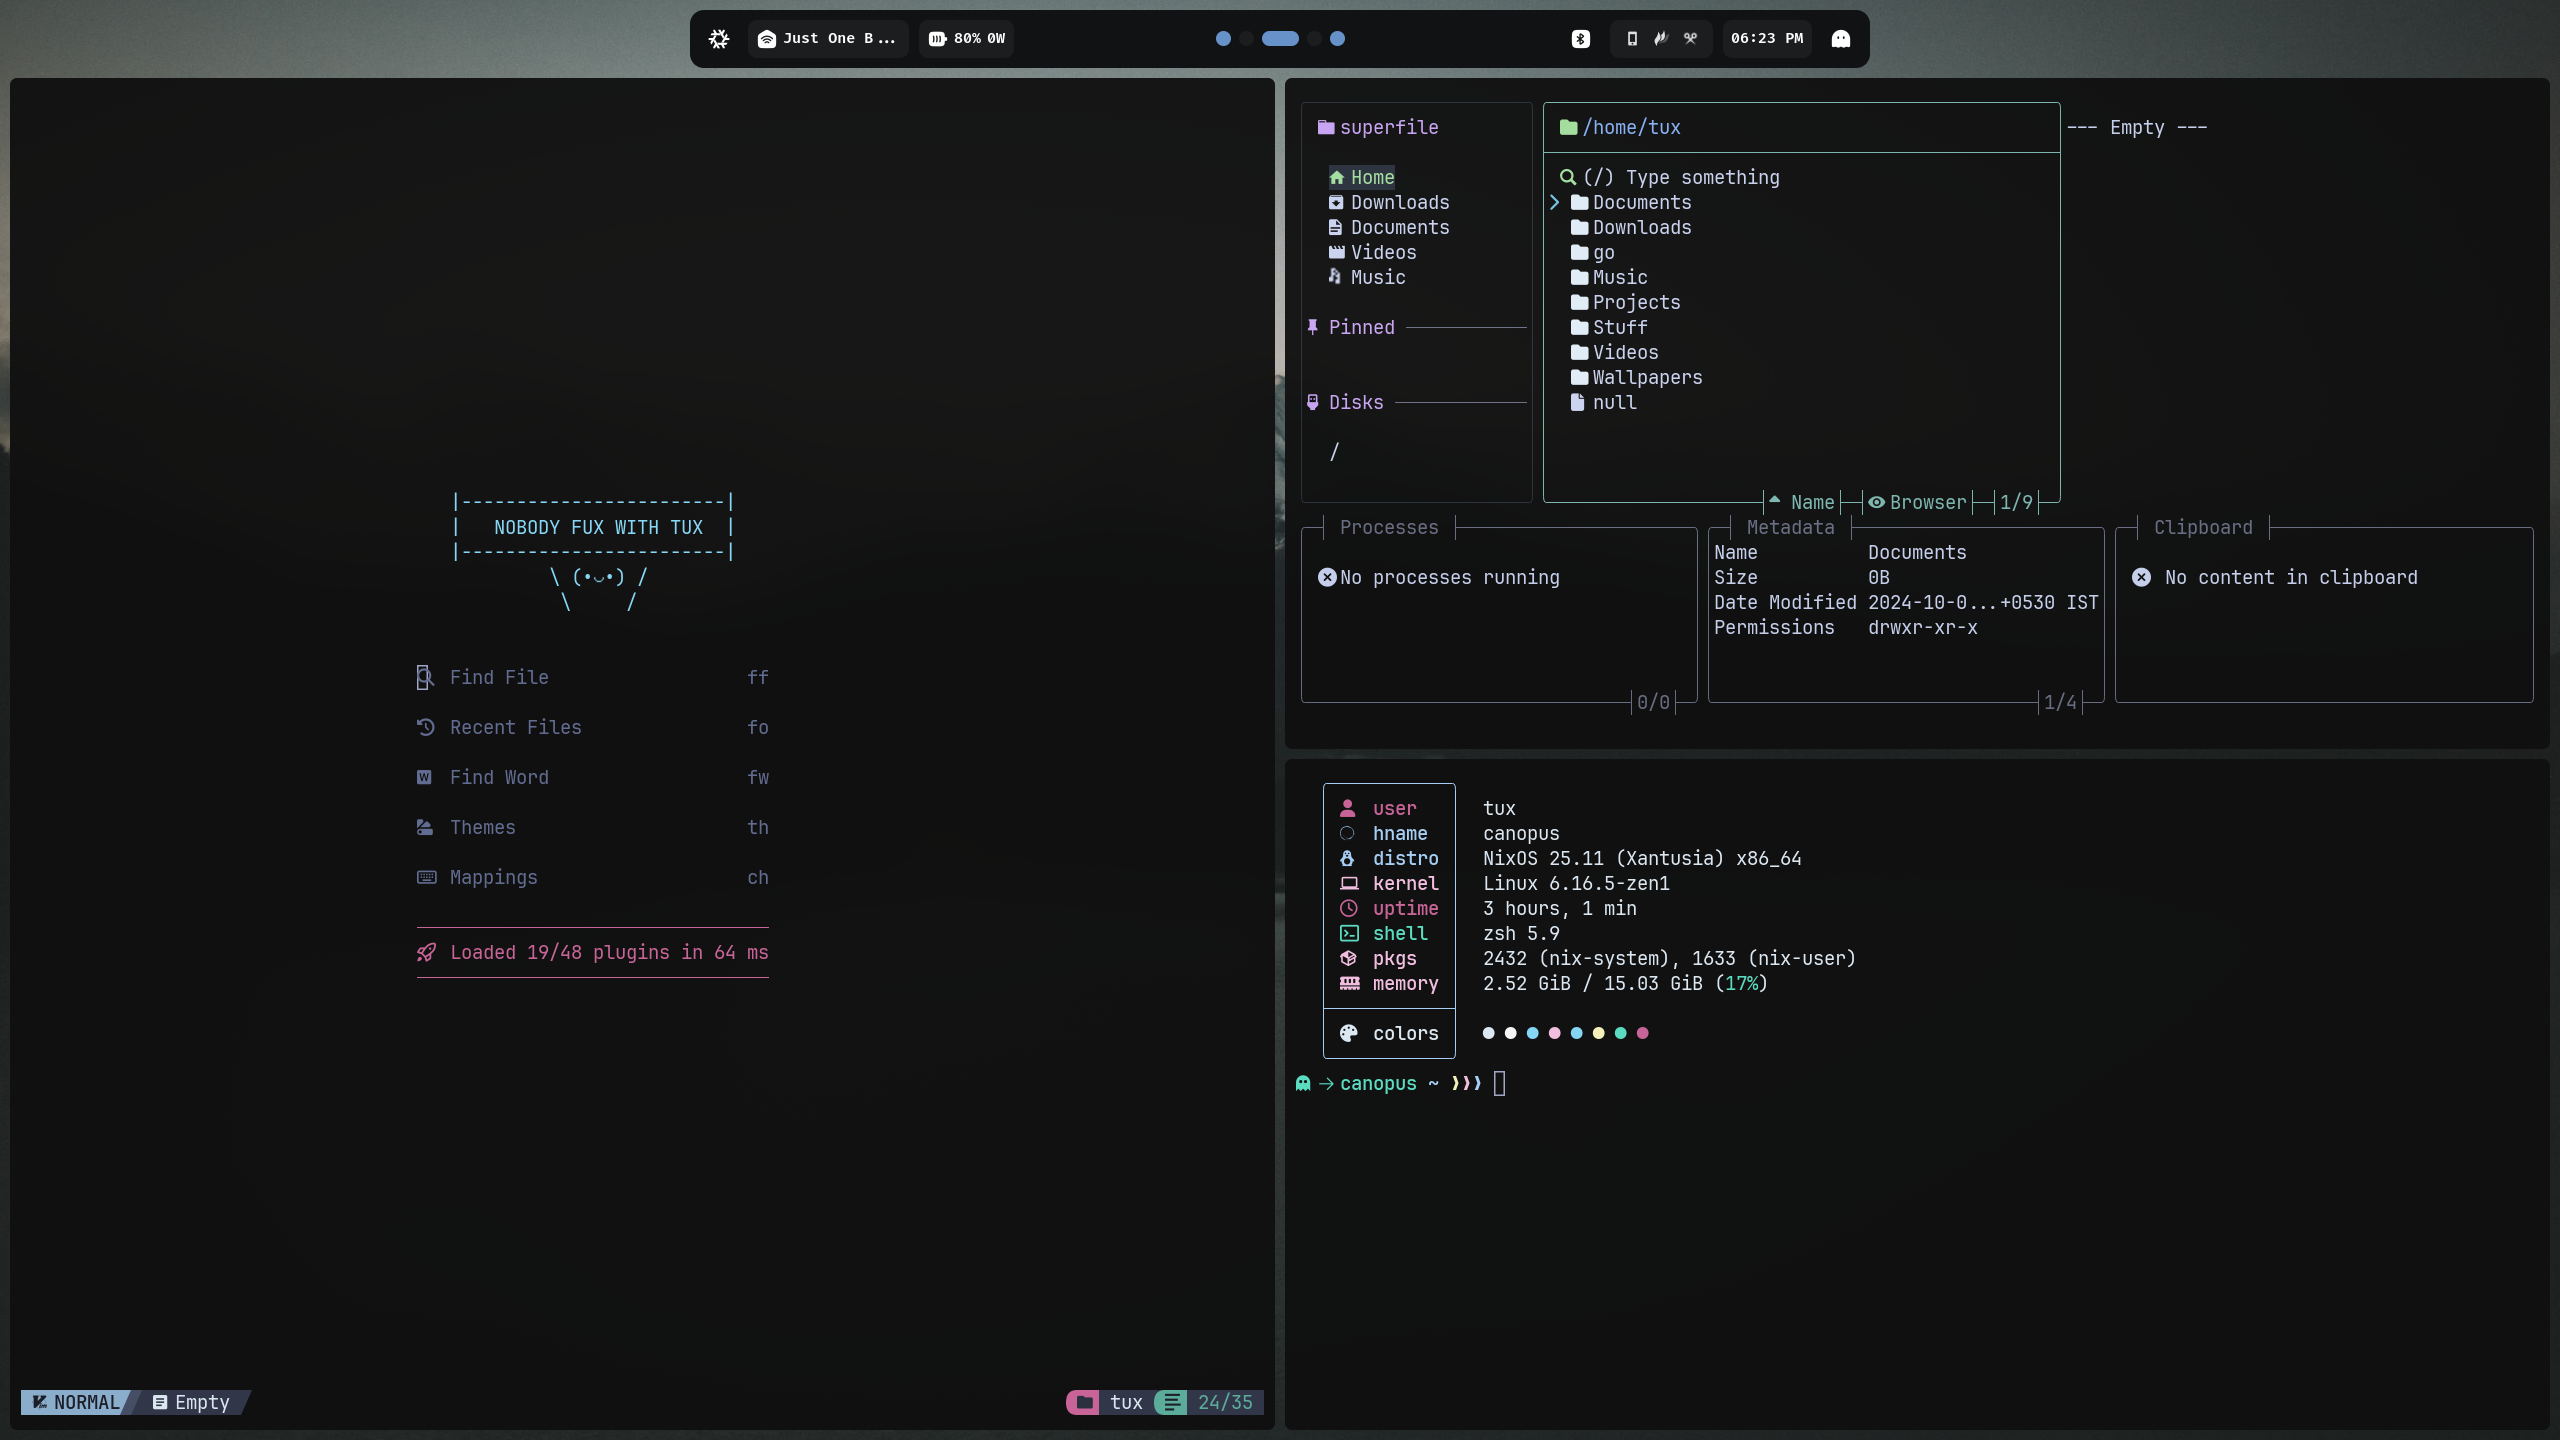
Desktop AwesomeWM
Neovim
Floating Terminal
Lazygit
Telescope
Firefox
Spent weeks on this system configuration 😢
