README.md
June 18, 2026 · View on GitHub
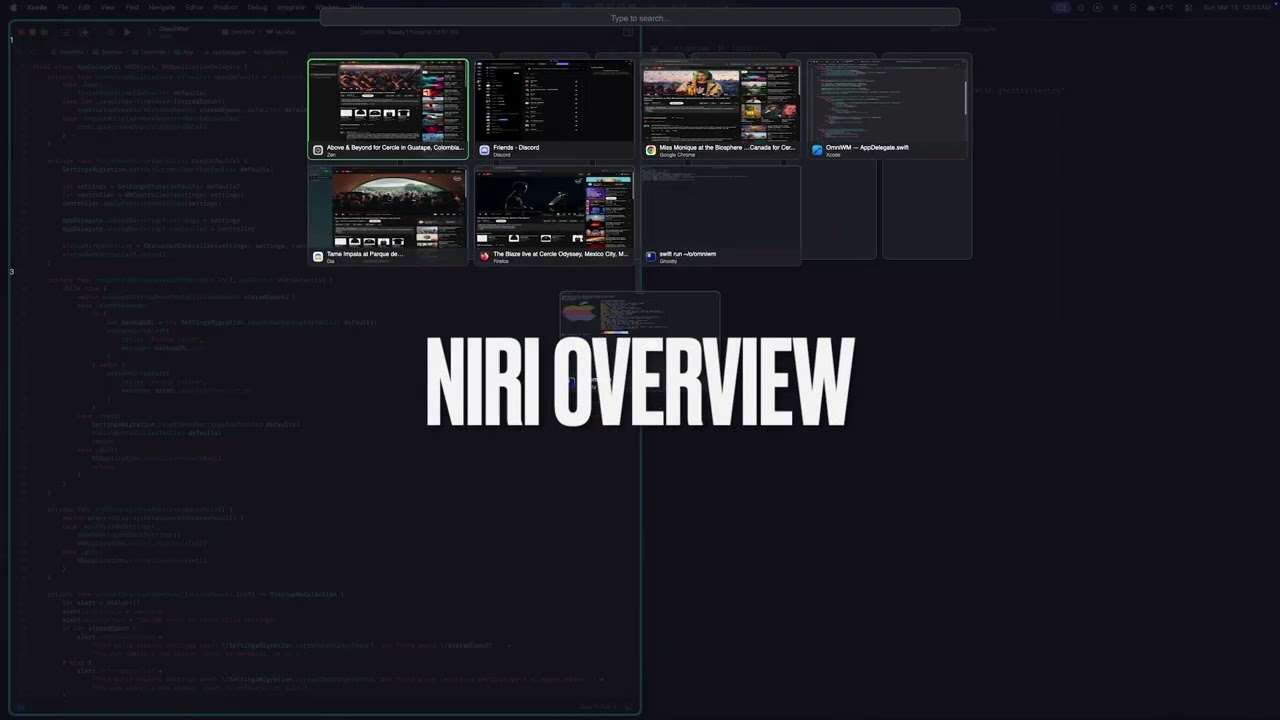
Demo Video
Contributors
Thank you to everyone who contributed to OmniWM. Your ideas and code made a real difference.

Adelin Berard |

Balazs Hevesi |

chen259456754 |

Jan Hesters |

Jose Cardama |

Lukas Gerlinski |

Marcus Harlid Davin |

mkdir700 |

mm |

Naoki Ikeguchi |

Rich Hanes |

Williamufo |

Yang-Yiming |

Zicochaos |
Small demo, not fully showing everything, gif recorded at 30fps due to size, some stuff is now more refined and better as soem gifs might be outdated, features shown:
- Real quake/sticky terminal using ghostty's libghostty
- Best-effort macOS native-tab replacement support
- IPC/CLI
- Scrathpad/Sticky windows of any app
- Niri Overview
- Unified command palette for windows and app menus
- App menu anywhere
- Niri tabs
- Niri and Dwindle layout
- Hide/unhide status bar icons (Simialr to Ice Bar)
- Keep awake (Similar to Caffeine)
- Interactive workspace/app icon bar
- A lot more features not show in the video.
Known Limitations
- Gestures/Trackpad - Magic Mouse and trackpad gestures have not been locally validated without matching hardware, but no issues have been reported.
Performance & Trust
OmniWM is built for high responsiveness and smooth, crisp animations.
- Private APIs - OmniWM leverages Apple's private APIs where ever technically possible in order to reduce latency and improve window management responsiveness.
- Refresh rate aware animations - OmniWM targets true display refresh pacing (for example 60/120/144Hz) for animations.
- No SIP disable required - OmniWM does not require System Integrity Protection (SIP) to be disabled and never will.
- Always notarized official releases - Official OmniWM release builds are developer signed and notarized by Apple and will stay that way.
- Forever free, no limitations - OmniWM is and will remain free to use forever, with no subscriptions, feature paywalls, trial limits, or usage caps.
Requirements
- macOS 15+ (Sequoia)
- Accessibility permissions (prompted on launch)
- Input Monitoring permission when using a System Hyper Trigger
- Displays have separate spaces ON (the macOS default; OmniWM pauses window management until it is enabled)
Installation
Homebrew
brew tap BarutSRB/tap
brew install omniwm
GitHub Releases
- Download the latest
OmniWM.zipfrom Releases - Extract and move
OmniWM.appto/Applications - In System Settings > Desktop & Dock > Mission Control, turn ON
Displays have separate Spaces - Log out of macOS and log back in for that change to take effect unless you had it on already
- Launch OmniWM and grant Accessibility permissions when prompted
- To use a System Hyper Trigger, grant Input Monitoring from Settings > Hotkeys
Updates
OmniWM checks for updates by default.
- On launch, OmniWM polls the latest GitHub release at most once per day.
- Updates stay manual. OmniWM does not auto-download or auto-install a new release.
- When a newer release is available, OmniWM shows a centered popup with release notes and actions for
Open Release Page,Copy brew upgrade omniwm,Skip This Version, andNot Now. - You can control this from
Settings > General > Updatesor trigger a manual check from the status bar menu withCheck for Updates....
Documentation
The documentation hub lives in docs/index.md.
- Documentation Home
- Architecture Guide
- IPC & CLI Reference
- Contribution Docs
- Canonical Contributing Guide
IPC and CLI
OmniWM ships with a bundled CLI, omniwmctl, for automation and scripting.
IPC is disabled by default. Enable Enable IPC from the menu bar before using the CLI or any automation.
For setup, installation options, commands, queries, rules, subscriptions, and security details, see docs/IPC-CLI.md.
Quick Start
- Launch OmniWM from your Applications folder
- In System Settings > Desktop & Dock > Mission Control, turn ON
Displays have separate Spaces - Log out of macOS and log back in for that change to take effect unless you had it on already
- Grant Accessibility permissions in System Settings > Privacy & Security > Accessibility
- Windows will automatically tile in columns
- Keep one macOS Space per display and navigate with OmniWM workspaces; extra native Spaces are tolerated (their windows are left to macOS, not tiled)
- Use the default shortcuts in
Keyboard Shortcutsto navigate between windows - Click the menu bar icon to access Settings, including
Settings > General > Updates - Use
Check for Updates...from the status bar menu whenever you want to run a manual update check - In case you freak out and don't see all your status bar icons, relax, right click on OmniWM's status bar icon and drag the icons to the left of it's "/" by holding CMD + drag as OmniWM hides status bar icons like Ice Bar.
User Guide
Layout Modes
OmniWM offers two layout engines that you can switch between per workspace:
Niri (Scrolling Columns) - Windows arranged in vertical columns that scroll horizontally. Each column can have multiple stacked windows or be "tabbed" (multiple windows, one visible at a time). Best for wide monitors with many windows.
Hyprland Dwindle (BSP) - Binary space partition layout that recursively divides screen space. Each new window splits the space in half. Best for traditional tiling with predictable layouts.
Use the Toggle Workspace Layout shortcut below to switch layouts per workspace or configure them in GUI settings.
Keyboard Shortcuts
All shortcuts are customizable in Settings > Hotkeys. Hyper is the literal Control + Option + Shift + Command chord. Optionally pick a System Hyper Trigger — a single key (Caps Lock, F13–F20, or a right-side modifier) or an extra mouse button that acts as Hyper while held (this needs Input Monitoring permission). Leave the trigger as None if you already produce Hyper another way, such as a Karabiner Elements remap. The tables below list all the default hotkeys:
Layout legend:
Sharedworks in any active layout.Niriworks only when the active workspace uses the Niri layout.Dwindleworks only when the active workspace uses the Dwindle layout.
Workspace
| Action | Default Shortcut | Layout |
|---|---|---|
| Switch to Workspace 1-9 | Option + 1-9 | Shared |
| Move Window to Workspace 1-9 | Option + Shift + 1-9 | Shared |
| Switch to Previous Workspace (Back and Forth) | Control + Option + Tab | Shared |
| Switch to Next Workspace | Unassigned | Shared |
| Switch to Previous Workspace (Sequential) | Unassigned | Shared |
| Move Window to Workspace Up | Control + Option + Shift + Up Arrow | Shared |
| Move Window to Workspace Down | Control + Option + Shift + Down Arrow | Shared |
| Move Column to Workspace 1-9 | Unassigned | Niri |
| Move Column to Workspace Up | Control + Option + Shift + Page Up | Niri |
| Move Column to Workspace Down | Control + Option + Shift + Page Down | Niri |
Focus
| Action | Default Shortcut | Layout |
|---|---|---|
| Focus Left / Right / Up / Down | Option + Arrow Keys | Shared |
| Focus Previous Window | Option + Tab | Niri |
| Traverse Backward | Unassigned | Niri |
| Traverse Forward | Unassigned | Niri |
| Focus First Column | Option + Home | Niri |
| Focus Last Column | Option + End | Niri |
| Focus Column 1-9 | Control + Option + 1-9 | Niri |
| Toggle Command Palette | Control + Option + Space | Shared |
| Open Menu Anywhere | Control + Option + M | Shared |
| Toggle Workspace Bar | Unassigned | Shared |
| Toggle Hidden Bar | Unassigned | Shared |
| Toggle Quake Terminal | Option + ` | Shared |
| Toggle Overview | Option + Shift + O | Shared |
Move Window
| Action | Default Shortcut | Layout |
|---|---|---|
| Move Left / Right / Up / Down | Option + Shift + Arrow Keys | Shared |
Monitor
| Action | Default Shortcut | Layout |
|---|---|---|
| Focus Next Monitor | Control + Command + Tab | Shared |
| Focus Previous Monitor | Unassigned | Shared |
| Focus Last Monitor | Control + Command + ` | Shared |
Layout
| Action | Default Shortcut | Layout |
|---|---|---|
| Toggle Fullscreen | Option + Return | Shared |
| Toggle Native Fullscreen | Unassigned | Shared |
| Balance Sizes | Option + Shift + B | Shared |
| Move to Root | Unassigned | Dwindle |
| Toggle Split | Unassigned | Dwindle |
| Swap Split | Unassigned | Dwindle |
| Grow Left / Right / Up / Down | Unassigned | Dwindle |
| Shrink Left / Right / Up / Down | Unassigned | Dwindle |
| Preselect Left / Right / Up / Down | Unassigned | Dwindle |
| Clear Preselection | Unassigned | Dwindle |
| Raise All Floating Windows | Option + Shift + R | Shared |
| Toggle Focused Window Floating | Unassigned | Shared |
| Assign Focused Window to Scratchpad | Unassigned | Shared |
| Toggle Scratchpad Window | Unassigned | Shared |
| Toggle Workspace Layout | Option + Shift + L | Shared |
Column
| Action | Default Shortcut | Layout |
|---|---|---|
| Move Column Left / Right | Control + Option + Shift + Left / Right Arrow | Niri |
| Toggle Column Tabbed | Option + T | Niri |
| Cycle Column Width Forward | Option + . | Shared |
| Cycle Column Width Backward | Option + , | Shared |
| Toggle Column Full Width | Option + Shift + F | Niri |
In Niri, Move Left / Right expels the focused window out of multi-window columns or consumes a single-window column into the adjacent column. Move Up / Down keeps the current in-column reorder behavior.
Quake Terminal (Inside Terminal)
| Action | Shortcut |
|---|---|
| New Tab | Cmd + T |
| Close Tab | Cmd + W |
| Next Tab | Cmd + Shift + ] |
| Previous Tab | Cmd + Shift + [ |
| Next Tab (Alt) | Ctrl + Tab |
| Previous Tab (Alt) | Ctrl + Shift + Tab |
| Select Tab 1-9 | Cmd + 1-9 |
| Split Pane (Horizontal) | Cmd + D |
| Split Pane (Vertical) | Cmd + Shift + D |
| Close Pane | Cmd + Shift + W |
| Equalize Splits | Cmd + Shift + = |
| Navigate Pane | Cmd + Option + Arrow Keys |
Features
Quake Terminal
A true quake/sticky terminal (powered by Ghostty's libghostty) that slides in from the screen edge and:
- Toggle it from the global shortcut shown in
Keyboard Shortcuts - Supports multiple tabs and splits within tabs
- Tab and pane shortcuts are listed in Quake Terminal (Inside Terminal)
- Mouse resize by dragging edges;
Option + dragto move (remembers size/position per monitor) - Configure position (top/bottom/left/right/center), size, and opacity in Settings
- Auto-hides on focus loss (optional)
Command Palette
Quickly search windows or app menus from one shared palette:
- Open it from the global shortcut shown in
Keyboard Shortcuts - Use
Cmd + 1forWindowsandCmd + 2forMenuwhen menu search is available - Type to fuzzy-search by window title, app name, or menu item
- Menu results always show keyboard shortcuts when available
Up/Downmove the selectionEnteractivates the selected resultShift + Entersummons the selected window to the right when availableEscapedismisses the palette
Menu Anywhere
Access any application's menu from your keyboard:
- Shows the native menu at the cursor from a global shortcut
Overview Mode
See all windows at once with thumbnails:
- Open it from the global shortcut shown in
Keyboard Shortcuts - Click a window to focus it
- Type to filter/search windows;
Backspacedeletes search text - Alt + Shift + Mouse Scroll to zoom in/out
Arrow Keysnavigate the selection;Tab/Shift + Tabmove horizontallyEnteractivates the selected windowEscapeclears the search first, then dismisses the overview when the search is empty
Workspace Bar
A visual indicator showing your workspaces:
- Displays open apps per workspace
- Click to switch workspaces or jump to that app
- If dedupe option is on click the app icon to get a popup with list of all its windows to jump to
- Configure position, height, and appearance in Settings
Hidden Bar
Hide or reveal status bar icons using a separator item:
- Right-click the OmniWM menu bar icon to toggle
- An optional global hotkey is available and starts unassigned
Tips
- Workspaces - Create named workspaces in Settings to organize by project or context (You can use emojis 🥳)
- App Rules - Exclude problematic apps from tiling or assign them to specific workspaces
- Mouse -
Option + dragswaps tiled windows;Option + Shift + draginserts windows to a column (Niri) - Mouse Resize - Hold
Optionand right-drag a tiled window to resize (Niri) - Scroll Gestures (Mouse) - Hold
Option + Shift + Mouse Scroll Wheel(default, configurable) and scroll through columns horizontally - Trackpad Gestures - Use horizontal gestures with 2/3/4 fingers (configurable); direction can be inverted (local hardware validation is limited)
Configuration
Access settings by clicking OmniWM's status bar icon and selecting Settings or App Rules. Mouse and gesture settings are available in Settings.
OmniWM stores its editable config at ${XDG_CONFIG_HOME:-$HOME/.config}/omniwm/settings.toml; that file is the canonical settings source and is live-reloaded when saved from an editor.
- Reveal Settings File and Edit Settings File open the canonical TOML file and recreate it from the running settings if it was deleted.
updateChecksEnabledis part of the persisted settings model, so it round-trips throughsettings.toml.- Clipboard history, last-check timestamps, skipped-release state, hidden bar state, and the persisted window restore catalog live in
${XDG_STATE_HOME:-$HOME/.local/state}/omniwmand stay out of dotfile-oriented config storage.
App Rules
Configure per-application behavior in Settings > App Rules:
- Always Float - Force specific apps to always float (e.g., calculators, preferences windows)
- Assign to Workspace - Open first matching app windows on a specific workspace; later windows follow the app's current workspace unless rules are explicitly applied
- Minimum Size - Prevent the layout engine from sizing windows below a threshold
Building from Source
Requirements:
- SwiftPM with Swift 6.3.2+
- macOS 15.0+
- Ghostty's universal
libghostty.a(build Ghostty and copy it toFrameworks/GhosttyKit.xcframework/macos-arm64_x86_64/libghostty.aso it includes botharm64andx86_64)
Support
If you find OmniWM useful, consider supporting development:
Contributing
Issues and pull requests are welcome on GitHub.
Start with CONTRIBUTING.md for the actual project guidelines, expectations, and preferred direction.
For deeper technical context, the docs pages that back the documentation site are here: