K3D Jupyter
September 9, 2026 · View on GitHub






K3D lets you create 3D plots backed by WebGL with high-level API (surfaces, isosurfaces, voxels, mesh, point clouds, vtk objects, volume renderer, colormaps, etc). The primary aim of K3D-jupyter is to be easy to use as a standalone package like matplotlib, but also to allow interoperation with existing libraries as VTK. K3D can be run as:
- Jupyter Notebook / JupyterLab widget (anywidget) 🚀
- Google Colab widget 🎉
- VS Code notebooks 🧩
- Standalone HTML/JS 📑
Since 3.0.0 a plot also chooses how it is lit, through plot.renderer: simple (the
default rasteriser), advanced (image-based lighting with ambient occlusion) or cinematic
(progressive path tracing). cinematic is experimental — it needs WebGL2 with renderable
float textures, does not cover every object (volume_slice is not drawn, mip stays
outside the light simulation, only the first volume is path traced), and its API and
output may still change; simple and advanced are the stable choices. See
Renderers.
Documentation: https://k3d-jupyter.org
Showcase:
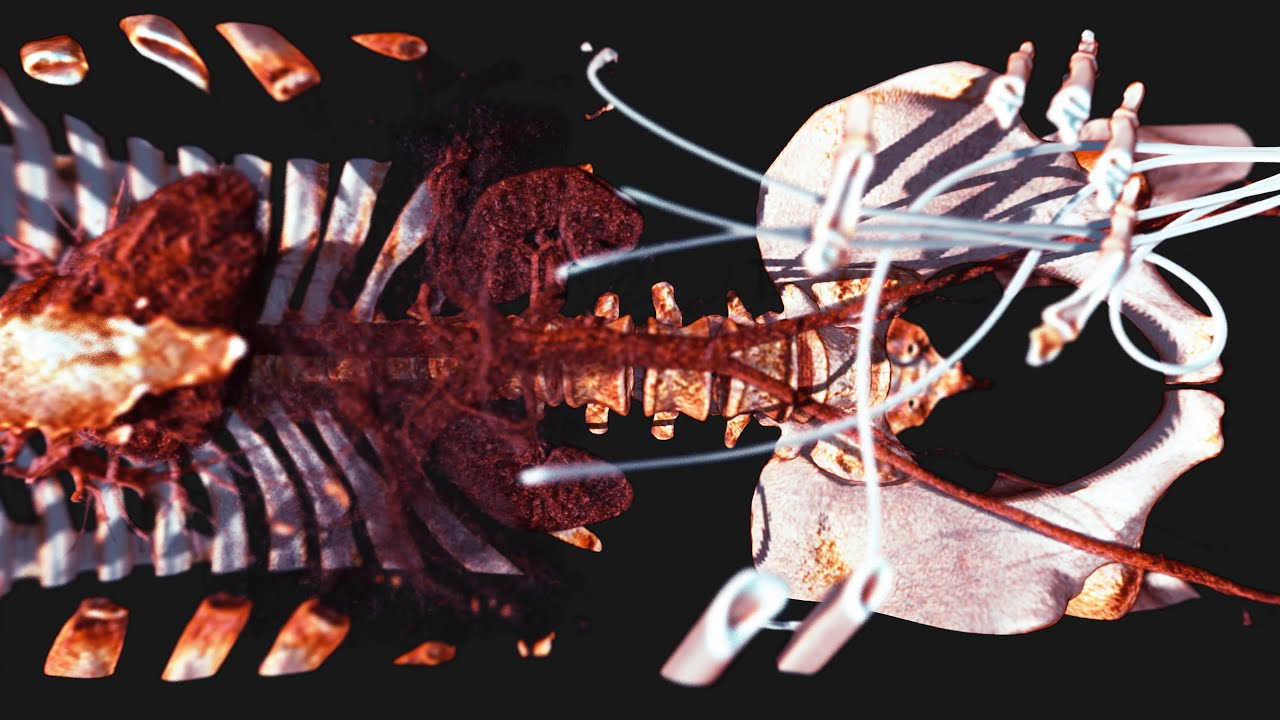
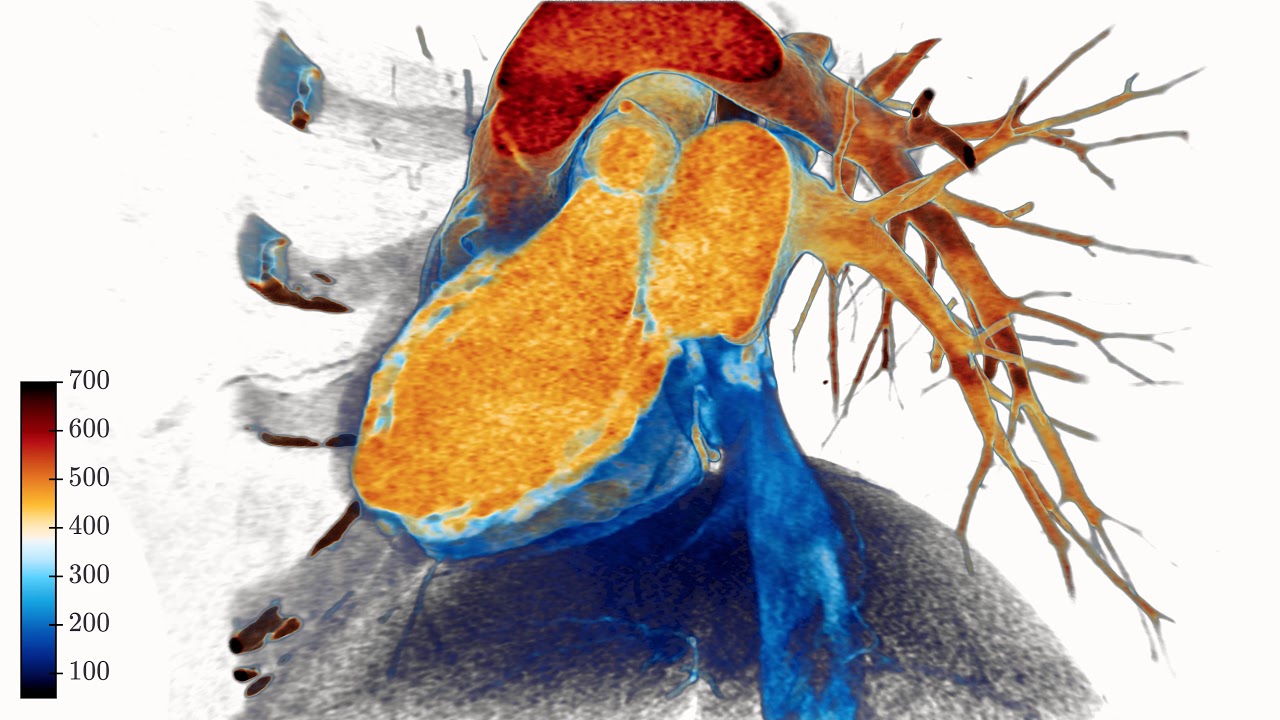
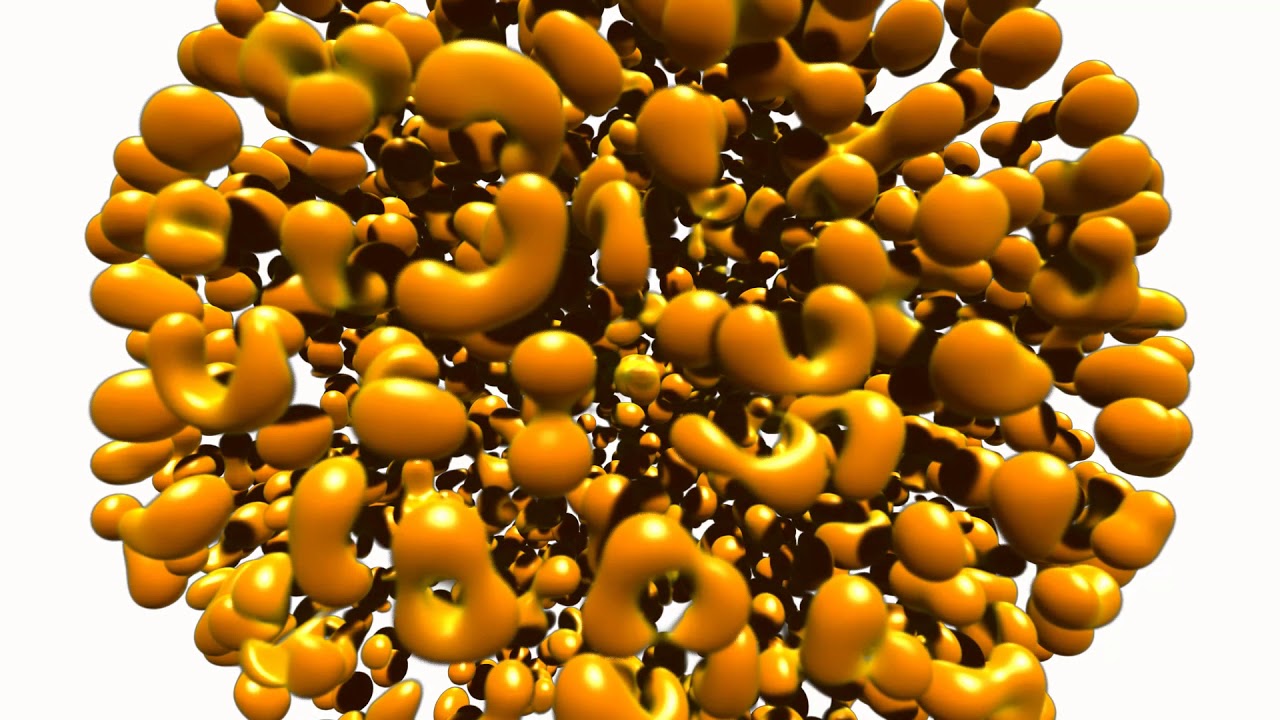
Two frames from the renderers 3.0.0 added, both produced by the code in this repository — click either one for how it works.

advanced: image-based lighting and ambient occlusion. A million analytic sphere impostors,
with the occlusion in the crevices between strands doing the sculpting.

cinematic: progressive path tracing. 871k triangles read through VTK, 512 samples, lit only
by an environment map — the shadow under the belly and the light the floor throws back into
the flank are consequences of the simulation, not effects.


YouTube:
Click to watch at YouTube:

Try it Now!
Watch: Interactive showcase gallery
Installation
PyPI
To install from PyPI use pip:
$ pip install k3d
Conda/Anaconda
To install from conda-forge use:
$ conda install -c conda-forge k3d
Google Colab
Since 3.0.0 (the anywidget migration) no extra steps are needed:
!pip install k3d
import k3d and plot - custom widget activation and the text protocol
are no longer required.
Installing directly from GitHub
To install directly from this repository (requires git and node.js + npm to build):
$ pip install git+https://github.com/K3D-tools/K3D-jupyter
This also makes possible installing the most up-to-date development version (same requirements):
$ pip install git+https://github.com/K3D-tools/K3D-jupyter@devel
To install any historical version, replace devel above with any tag or commit hash.
Source
For a development installation (requires npm and node.js),
$ git clone https://github.com/K3D-tools/K3D-jupyter.git
$ cd K3D-jupyter
$ pip install -e .
No separate JupyterLab extension step is needed - the widget ships its own frontend module (anywidget).
Code of Conduct
K3D-jupyter follows the Python Software Foundation Code of Conduct in everything we do.
Kudos
- Jupyter is my ❤️
- OpenDreamKit is 🚀
- Three.js is 🥇
Acknowledgments

|
Research Infrastructure project This package was created as part of the Horizon 2020 European OpenDreamKit (grant agreement #676541). |