OpenAI Translator
August 8, 2026 · View on GitHub







OpenAI Translator
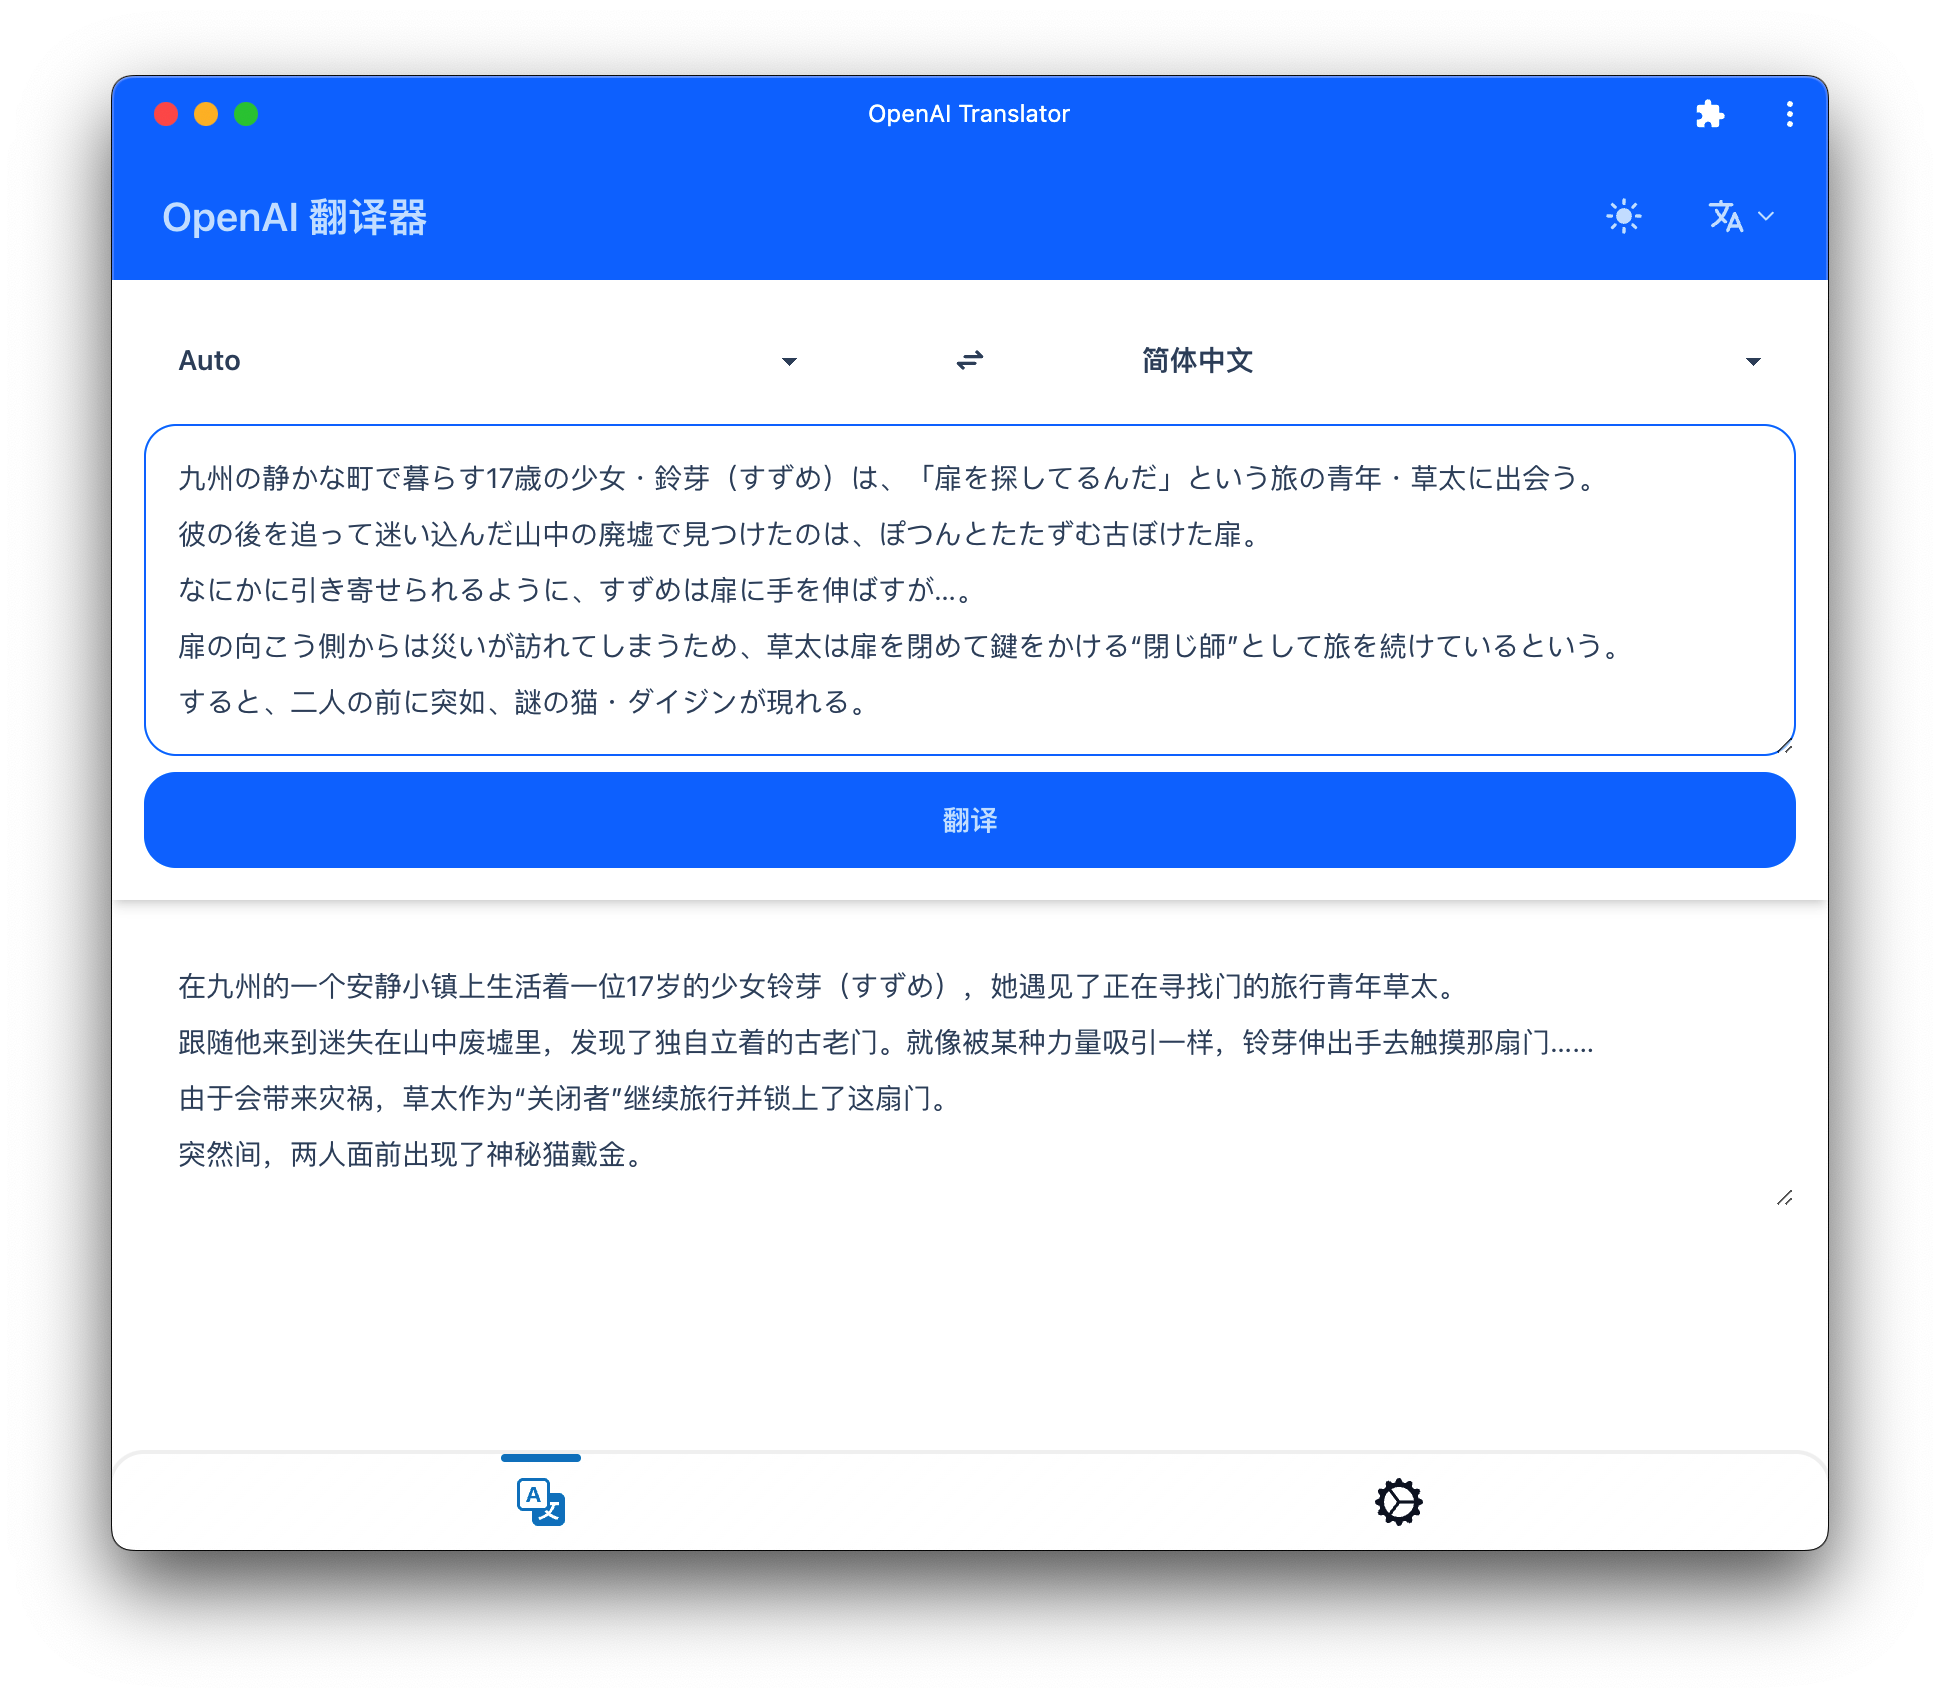
A PWA translator powered by OpenAI-compatible chat models. It can be installed on your phone or desktop.
Features
- Uses the
/v1/chat/completionsAPI, with optional streaming output. - Configure a custom API base URL and API key for OpenAI-compatible providers.
- Select a suggested model or enter any chat-model identifier supported by the configured provider.
- Saves translation history locally.
Suggested Models
The default model is gpt-5.6-luna. The configuration page also suggests:
gpt-4o-mini,gpt-4ogpt-5.4-mini,gpt-5.4-nanogpt-4.5-preview,gpt-5.5gpt-5.6-sol,gpt-5.6-terra,gpt-5.6-lunao3-mini,o1gpt-oss-120b,gpt-oss-20b
Availability depends on the API provider and credentials you configure.

Tech Stack
- OpenAI-compatible Chat Completions API
- React 19
- Vite 8
- Tailwind CSS 4
- DaisyUI 5
- Axios
- React Router 7
- React Query 5
- PWA
- Cloudflare Pages
I think this project will help you learn these techniques.
If you like this project, please don't forget to give this project a star, thanks.
Local Development
1. Install pnpm
Make sure that pnpm is installed on your computer. If it's not already installed, you can install it:
2. Download project dependencies
Navigate to the root directory of your project and run the following command to download project dependencies:
pnpm install
3. Start the local server
Run the following command to start the local development server:
pnpm dev
4. Open the application
Vite should automatically open your browser.
Build the Project
Docker Build
1. Run docker build
Navigate to the root directory of your project in your command line interface and run the following command to build the Docker image:
docker build -t openai-translator-web .
Here, openai-translator-web is the name you want to give to the image, and the . at the end indicates the current directory.
2. Start the Container
Run the following command to start the container and map the port to your local machine:
docker run -p 3000:80 openai-translator-web
Here, 3000 represents the local port you want to map to the container's 80 port. You can change this to any other port you prefer.
3. Open the Application
In your browser, enter the following URL to access the application:
Local Build
1. Install pnpm
Make sure that pnpm is installed on your computer. If it's not already installed, you can install it:
2. Download project dependencies
Navigate to the root directory of your project and run the following command to download project dependencies:
pnpm install
3. Build
Run the following command to build your project:
pnpm build
The compiled files will be placed in the dist folder.
4. Deploy
Now you can treat the files in the dist folder as a static website and deploy it on the server.