Setup
March 6, 2023 · View on GitHub
This document provides detailed instructions to set up a fresh macOS environment quickly and efficiently.
Table of content
Requirements
To use this setup guide, you need an active internet connection and a Mac with macOS 13.0 or later.
Installation Steps
- Do a fresh install of macOS (version 13.0 or later) and sign in with your AppleID.
- Open Terminal.app and download the project by running the command:
git clone https://github.com/MarioCatuogno/Clean-macOS.git ${HOME}/Clean-macOS - If you haven't previously installed Xcode, click Yes in the prompt that appears.
- Edit the Brewfile file to select the apps that you want to install.
- Run the following command in Terminal.app:
chmod -R 755 ${HOME}/Clean-macOS && ${HOME}/Clean-macOS/Clean-macOS.sh. This will prompt you to select one of the following options:
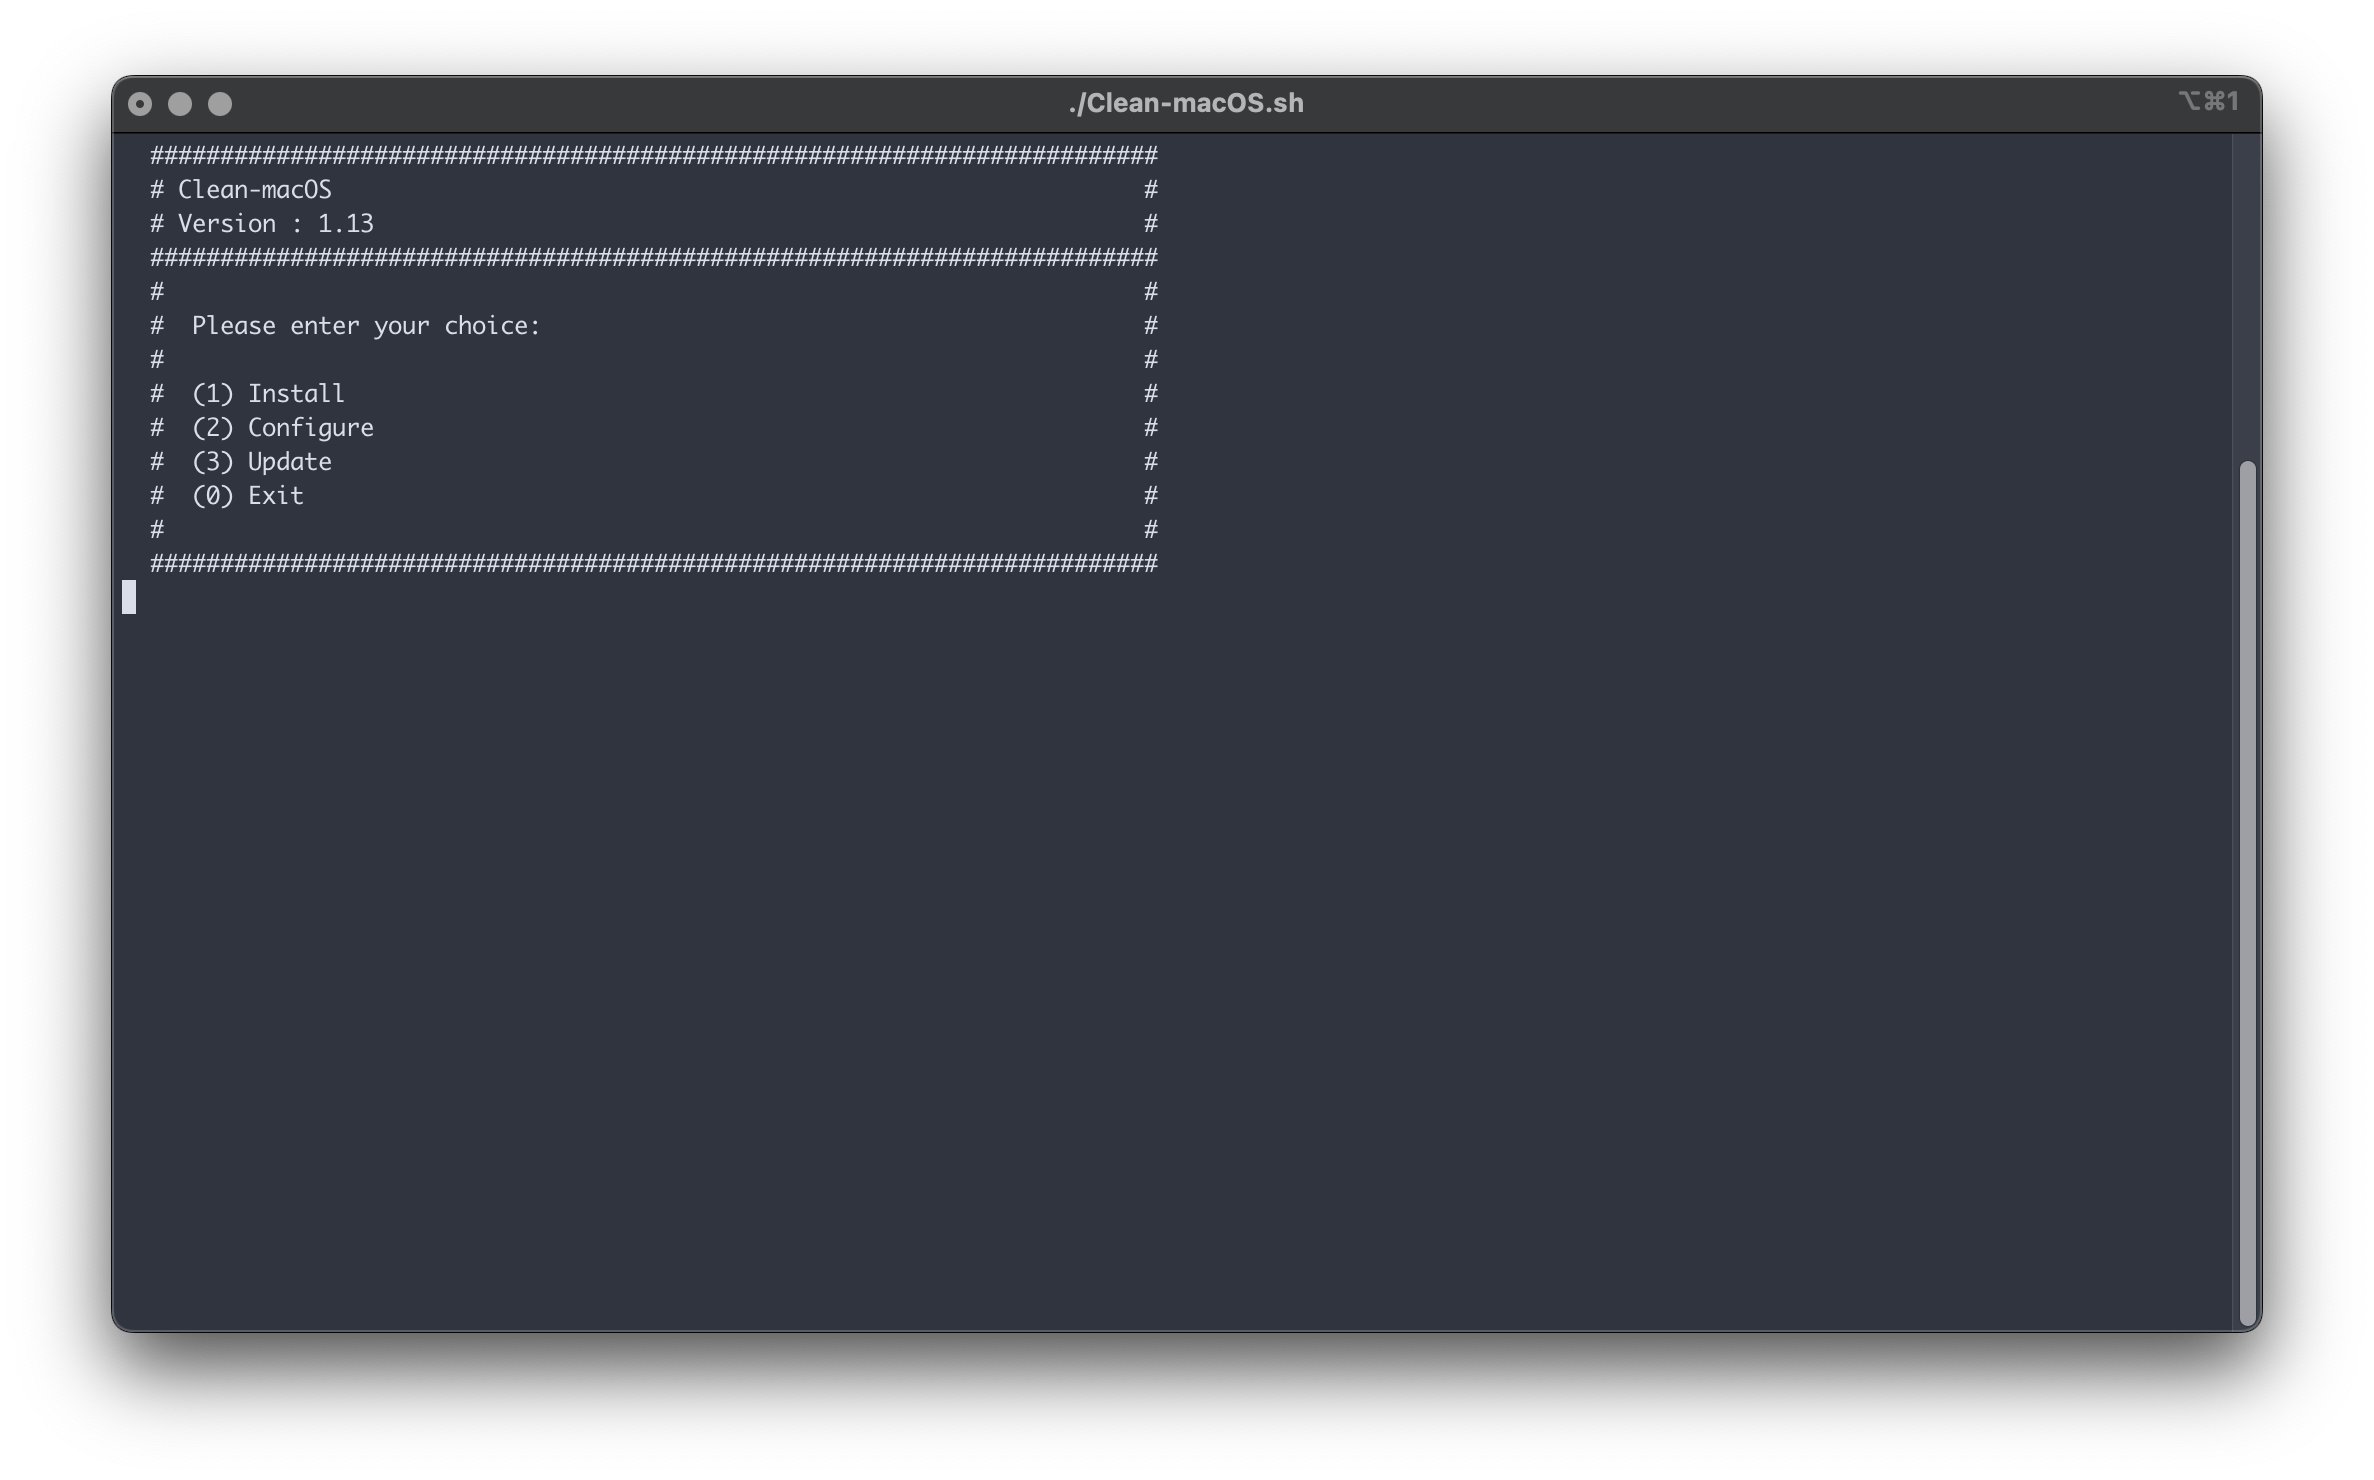
- Input number 1 (Install) to install Homebrew packages, Cask apps, and dependencies.
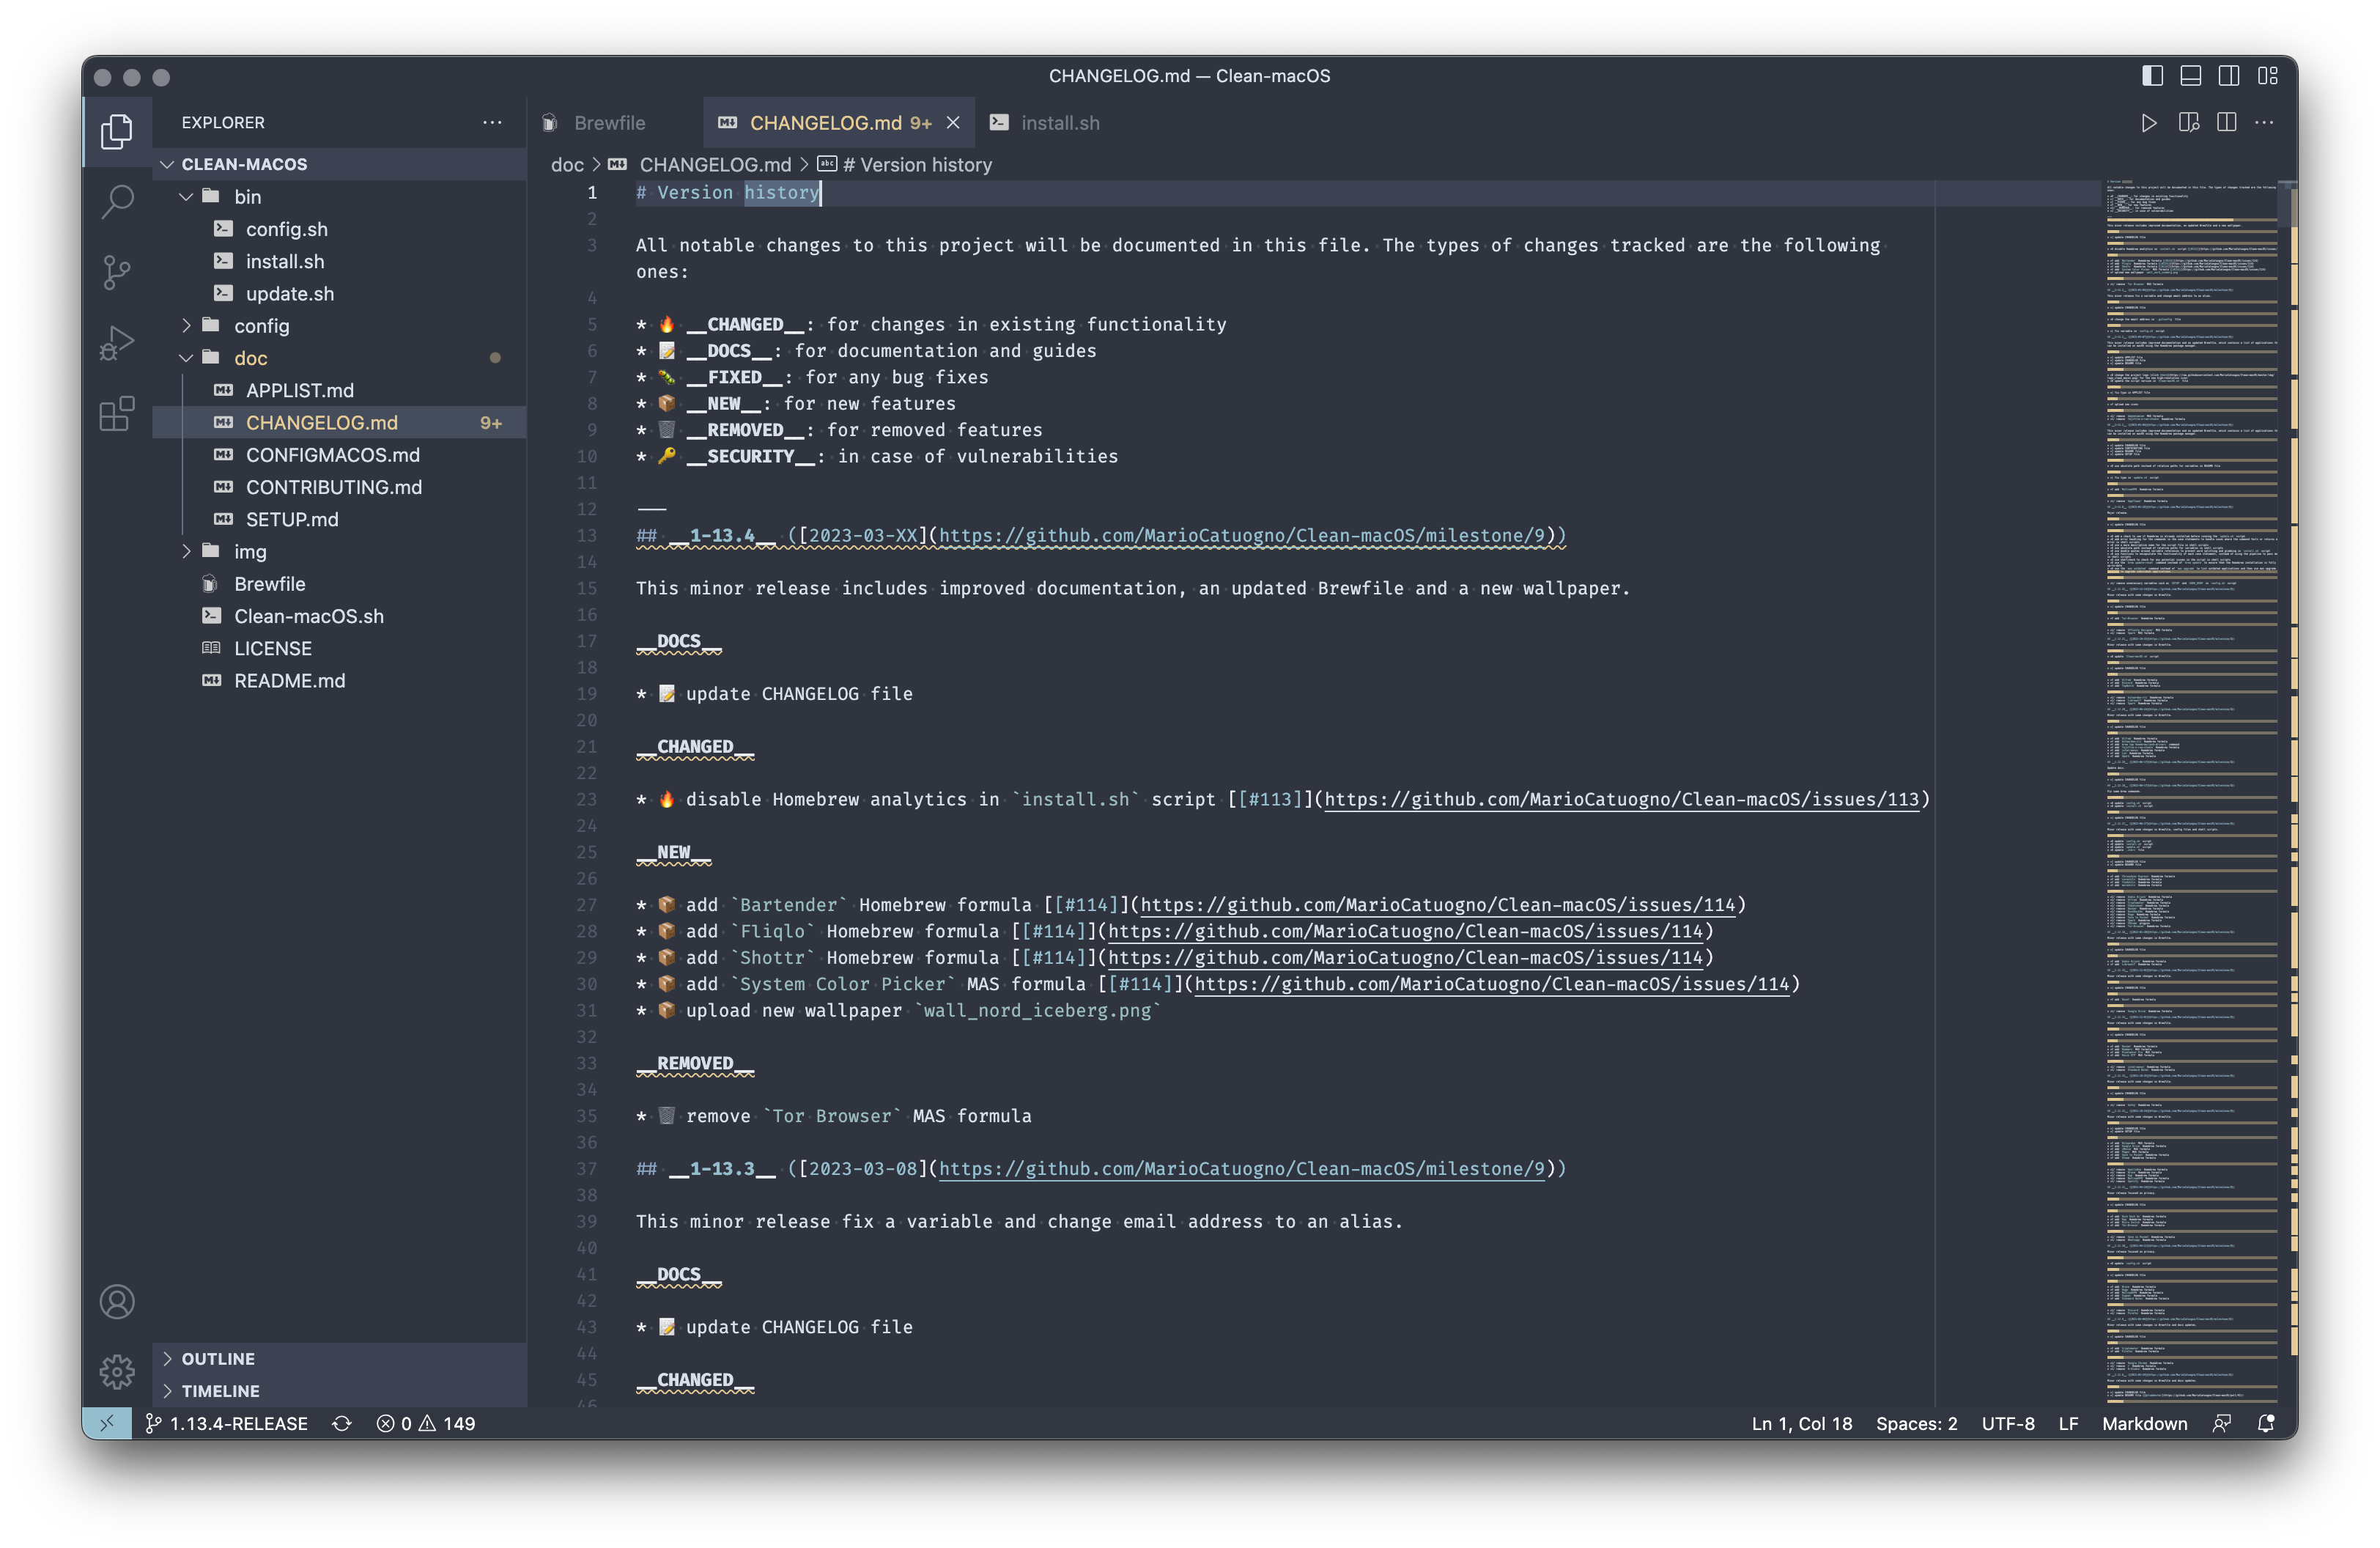
- Input number 2 (Configure) to configure macOS with useful commands, and to update zsh and Visual Studio Code plugins and preferences. After this step, Visual Studio Code will look like this:
- Go to Keyboard > Text > and disable "Correct spelling automatically."
- Input number 3 (Update) to update brews, casks, MAS applications, and formulae.
- Restart macOS.
Customization
The Brewfile file contains a list of apps that will be installed during setup. You can edit this file to choose the apps you want to install.
Updating
To update your macOS environment, run the following command in Terminal.app: cd ${HOME}/Clean-macOS && git pull && ${HOME}/Clean-macOS/Clean-macOS.sh -u. This will update the project files and then, when the prompt appears, you will select option number 3 (Update) to update brews, casks, MAS applications, and formulae.
By following these steps, you can quickly set up a new macOS environment with all the apps and tools you need.