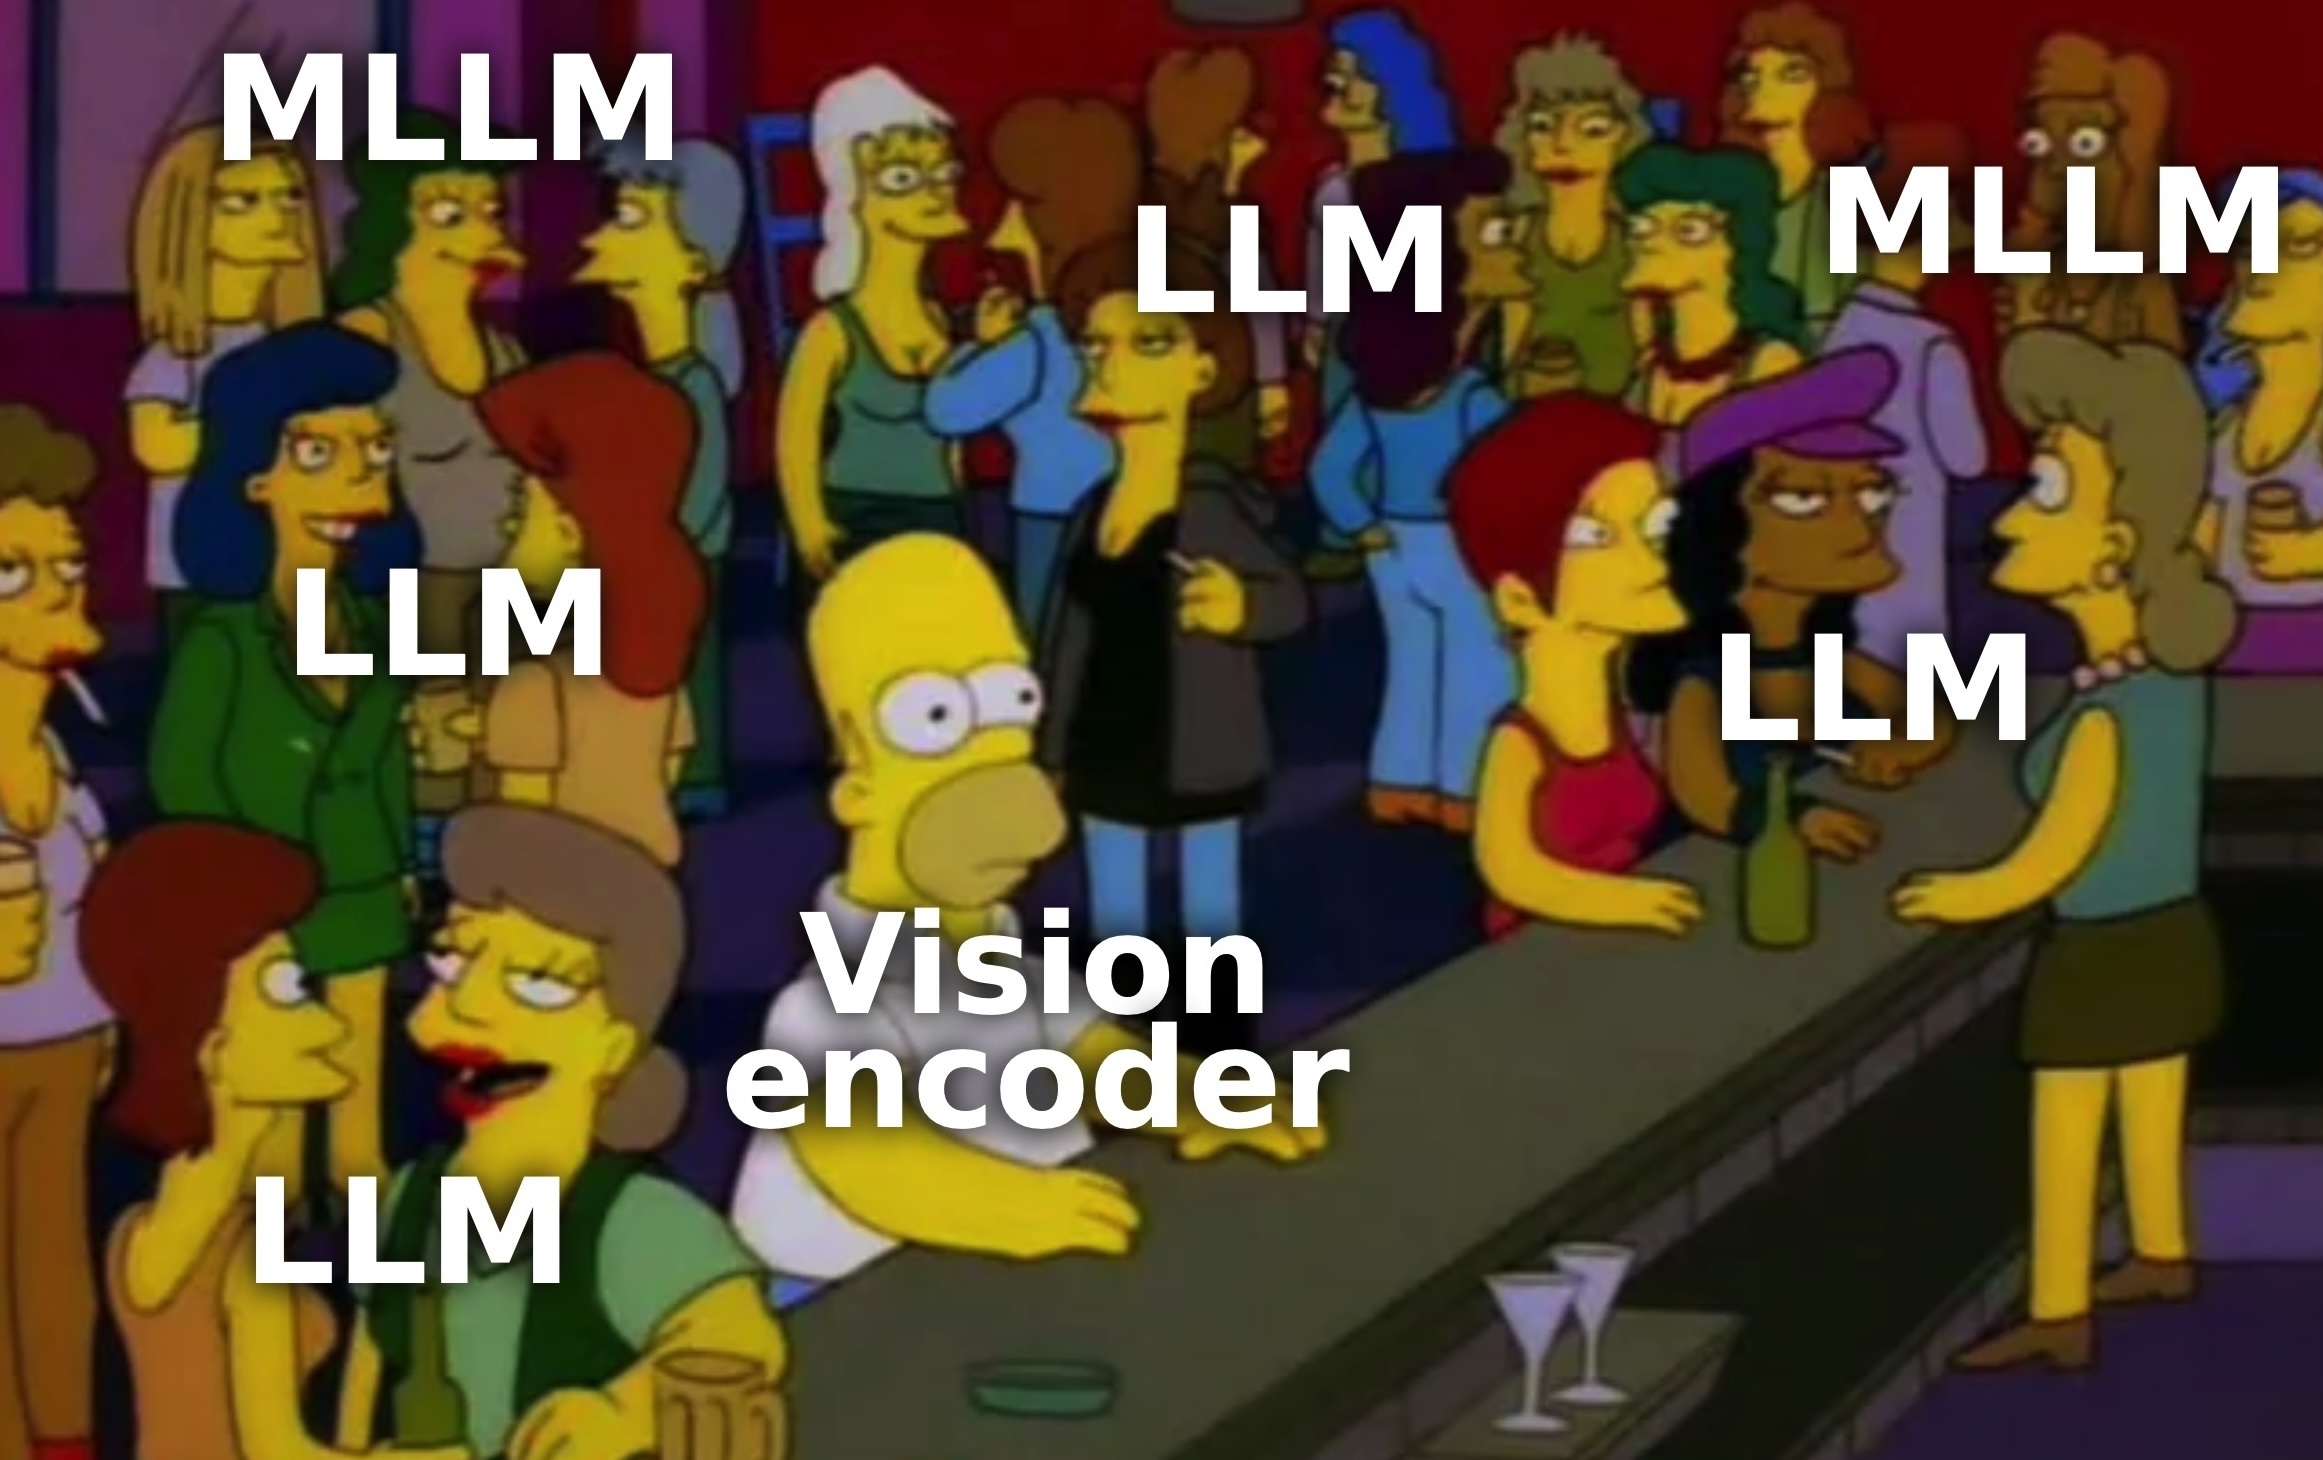
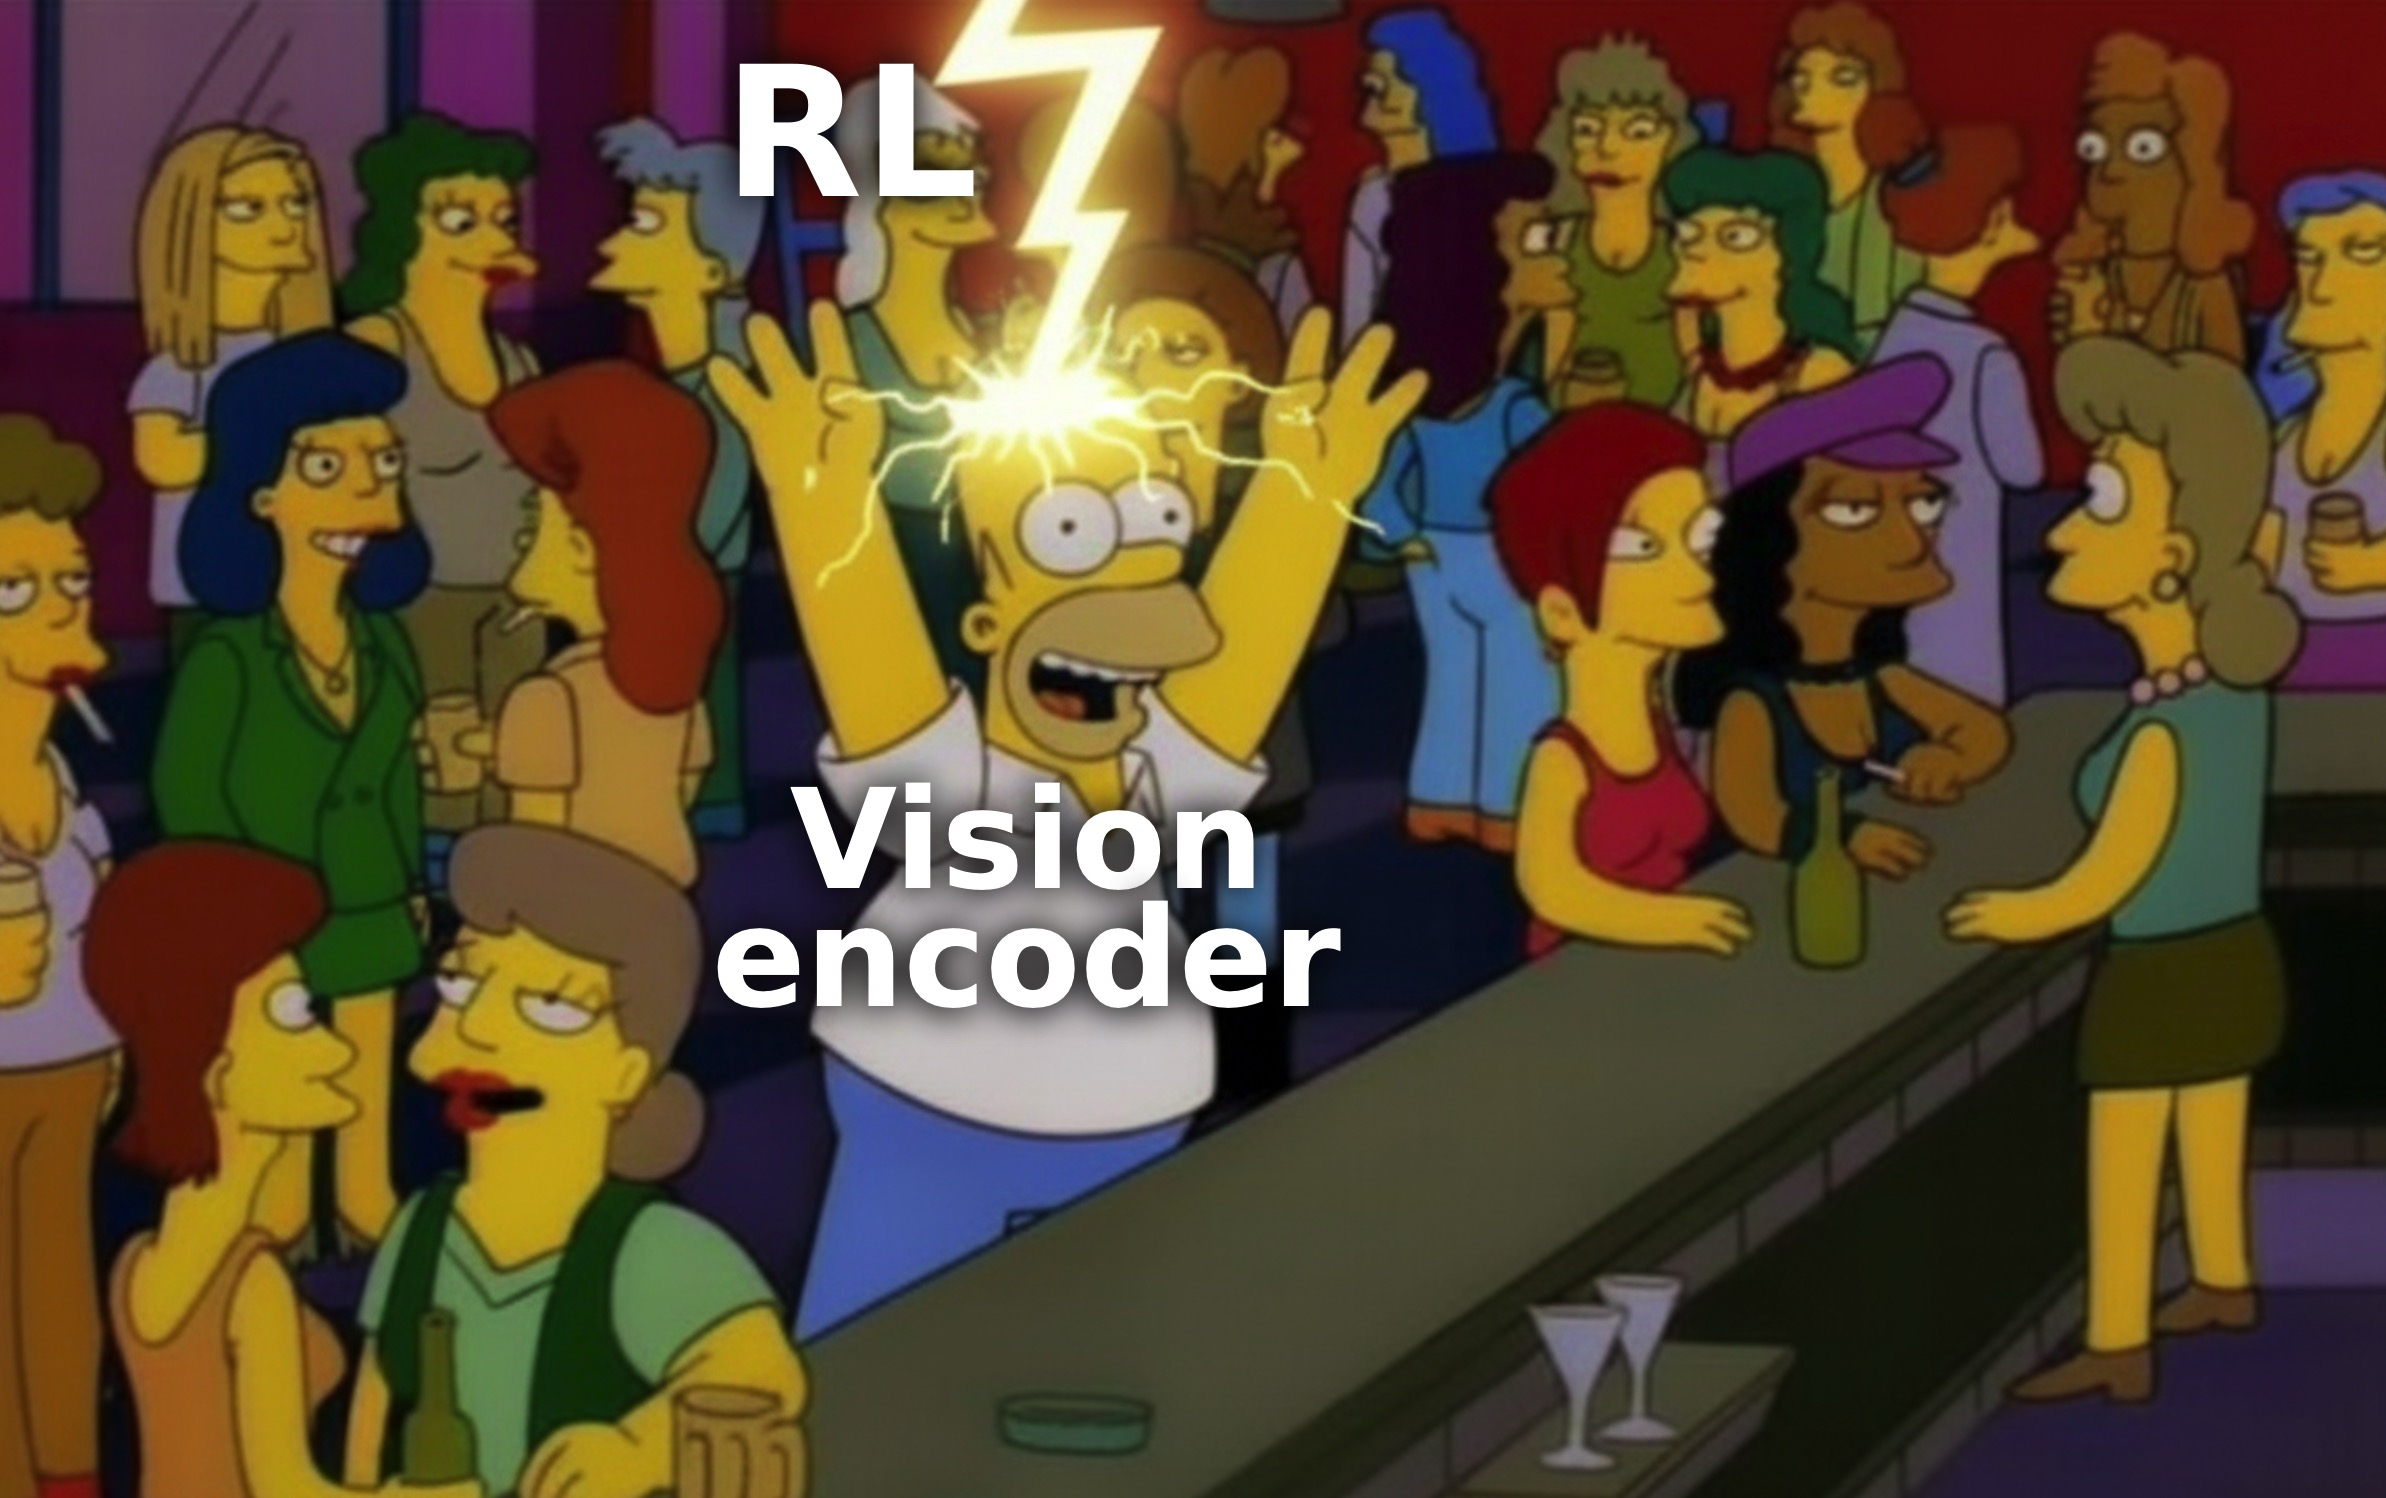
⚡️👁️ RL makes MLLMs see better than SFT
March 8, 2026 · View on GitHub


0. Contents
1. Installation
# bash
git clone https://github.com/junha1125/PIVOT.git
cd PIVOT
conda create -n pivot python=3.10.12 -y
conda activate pivot
pip install --upgrade pip  # enables PEP 660 support for editable installs
pip install -e ".[train]"
pip install --upgrade "Pillow[webp]>=10.0.0"
pip install huggingface-hub==0.31.1
Docker (recommended)
We highly recommend using the base Docker image nvcr.io/nvidia/pytorch:24.01-py3.
If you use this container, remove torch/torchvision entries from 'pyproject.toml' and then run 'pip install' to avoid version conflicts.
2. Dataset
2.1 Data links
| Stage | Description | Source |
|---|---|---|
| Stage1 Pretraining projector-only | BLIP/LAION/CC/SBU 558k manifest | huggingface link |
| Stage1 Pretraining full training | LLaVA-OneVision-Data | huggingface link |
| Stage2 Post-training | MMPR-v1.2 | huggingface link |
2.2 Download and Prepare Datasets
Step 1. Download datasets using snapshot_download
Move to the project root and install the required dependency:
cd PIVOT
pip install --upgrade huggingface_hub
Then, launch a Python interpreter (python) and run:
from huggingface_hub import snapshot_download
snapshot_download(repo_id="liuhaotian/LLaVA-Pretrain", repo_type="dataset", local_dir="datasets/BLIP558K")
snapshot_download(repo_id="lmms-lab/LLaVA-NeXT-Data", repo_type="dataset", local_dir="datasets/LLaVA-Next")
snapshot_download(repo_id="lmms-lab/LLaVA-OneVision-Data", repo_type="dataset", local_dir="datasets/OneVisionData")
snapshot_download(repo_id="OpenGVLab/MMPR-v1.2", repo_type="dataset", local_dir="datasets/MMPR-v1.2")
Step 2. Preprocess downloaded datasets
(1) LLaVA-Pretrain (BLIP558K)
Extract the image archive:
unzip datasets/BLIP558K/images.zip -d datasets/BLIP558K/images
(2) LLaVA-NeXT
The LLaVA-NeXT dataset includes samples stored in Parquet format. Convert them into JSON format using the provided script:
python datasets/data-processor/llava_next-unparquet.py \
    datasets/LLaVA-Next \
    llava_next_fit_mix_filtered_text_wild_738590.json
(3) LLaVA-OneVision
The LLaVA-OneVision dataset contains mixed data formats and requires multiple preprocessing steps:
llava_ov-1-unparquet.pyConverts samples stored in Parquet format.llava_ov-2-unzip.pyExtracts image archives stored in ZIP format.llava_ov-3-add_placeholder.pyFixes samples that are missing the<image>placeholder in the prompt. Without this placeholder, the model may be trained without attending to the image (e.g.,User: Where is the iPhone?→User: <image> Where is the iPhone?).
Run the preprocessing scripts in the following order:
python datasets/data-processor/llava_ov-1-unparquet.py datasets/OneVisionData
python datasets/data-processor/llava_ov-2-unzip.py datasets/OneVisionData
python datasets/data-processor/llava_ov-3-add_placeholder.py
(4) MMPR (MPO)
Reconstruct and extract the image and annotation archives:
cd datasets/MMPR-v1.2
cat images.zip_* > images.zip
unzip -q annotations.zip  && unzip -q images.zip -d images
cd ../../ # back to the root, PIVOT
Generate the JSON files required for post-training:
python datasets/data-processor/mpo-make_jsons.py --seed 777 --data_size 20000
3. Train
3.1 MLLM training
The training pipeline described in Section 3 of our paper consists of two stages:
- Stage 1 (Pre-training) builds a base MLLM by first aligning visual–language embeddings via projector-only training, then performing end-to-end training on diverse VL datasets.
- Stage 2 (Post-training) further refines the base model with either SFT or DPO, updating all parameters including the vision encoder.
Note: Before running, verify that
--data_pathand--image_folderin each script match the dataset paths from Section 2.
Stage 1: Pre-training
# Projector-only pre-training
bash scripts/train/stage1-proj-train.sh

# Full end-to-end pre-training
bash scripts/train/stage1-full-train.sh
Stage 2: Post-training
# SFT post-training
bash scripts/train/stage2-sft.sh

# DPO post-training (PIVOT)
bash scripts/train/stage2-dpo.sh
3.2 ⭐️MLLM training with a PIVOT-enhanced vision encoder⭐️
As described in Section 5 of our paper, a vision encoder refined through PIVOT (Stage 2 DPO) can be transplanted back into a freshly initialized MLLM. This decouples the vision encoder improvement from the language model, allowing any LLM backbone to benefit from PIVOT-enhanced visual representations.
The procedure mirrors the two-step pre-training of Section 3.1 — projector-only training followed by full end-to-end training — but loads the vision tower weights from a previously trained MLLM checkpoint.
# Step 1: Projector-only training (vision encoder frozen, projector randomly initialized)
bash scripts/train/pivot-proj-train.sh

# Step 2: Full end-to-end training
bash scripts/train/pivot-full-train.sh
Note: Two key arguments control the vision encoder transplant:
--vision_source_mllm_path: Path to the source MLLM checkpoint containing the PIVOT-enhanced vision encoder (e.g., the Stage 2 DPO checkpoint).--mm_projector_source_load_layers: Number of projector layers to load from the source checkpoint. Set to0to randomly initialize the projector (default in the provided scripts), or to a positive integer (e.g.,1) to reuse the first N linear layers.
# e.g., ./checkpoints/stage2/stage2-dpo-siglip2-so400m-Qwen2.5-1.5B-llava
--vision_source_mllm_path ./checkpoints/stage2/<your-stage2-dpo-checkpoint>
--mm_projector_source_load_layers 0
4. Eval
We provide evaluation scripts covering both MLLM benchmarks and vision encoder representation analysis. For more details, refer to the official repository: https://github.com/cambrian-mllm/cambrian/tree/main/eval.
4.1 Simple inference
You can quickly test your trained model with a simple inference script:
python archive/LLaVA_OneVision_Tutorials.py
Note: Update the
pretrainedvariable inside the script to point to your own trained checkpoint (e.g.,/home/user/PIVOT/checkpoints/stage2/stage2-sft-siglip2-so400m-Qwen2.5-1.5B-llava).
4.2 Cambrian evaluation
The Cambrian evaluation suite covers the following benchmarks:
- General: MME, MMBench (en + cn), SEED, GQA
- Knowledge: ScienceQA, MMMU, MathVista, AI2D
- OCR & Chart: ChartQA, OCRBench, TextVQA, DocVQA
- Vision-Centric: MMVP, RealWorldQA, CVBench-2D (COCO + ADE), CVBench-3D (Omni)
Setup
cd cambrian-eval
pip install mmh3
sudo apt-get install -y libwebp-dev libjpeg-dev zlib1g-dev
pip install --upgrade "Pillow[webp]>=10.0.0"
pip install nltk
pip install openpyxl
Run
# e.g., /home/user/PIVOT/checkpoints/stage2/stage2-sft-siglip2-so400m-Qwen2.5-1.5B-llava
#        /home/user/PIVOT/checkpoints/stage2/stage2-dpo-siglip2-so400m-Qwen2.5-1.5B-llava
bash scripts/run_all_benchmarks.sh <path-to-mllm-checkpoint-root>
python scripts/tabulate.py  # aggregate results into a table
4.3 lmms-eval
Setup
git clone https://github.com/EvolvingLMMs-Lab/lmms-eval.git
# Strongly recommended: replace pyproject.toml to avoid conflicts with packages already installed for LLaVA training (torch, accelerate, etc.)
cp archive/lmms-eval/pyproject.toml lmms-eval/pyproject.toml

cd lmms-eval
pip install -e .
pip install httpx==0.23.3 protobuf==3.20 langdetect immutabledict
import nltk
nltk.download('punkt')
nltk.download('punkt_tab')
nltk.download('stopwords')
nltk.download('averaged_perceptron_tagger')
Run
For detailed execution examples, see llava_onevision.sh.
You can list all available tasks with python -m lmms_eval --tasks list (e.g., HallusionBench, NaturalBench, MME_RealWorld, docvqa_val).
Specify the tasks you want by joining them with commas in the --tasks argument.
If multiple GPUs are visible via CUDA_VISIBLE_DEVICES, set --num_processes to match the number of GPUs.
python -m accelerate.commands.launch \
  --num_processes=1 \
  --main_process_port 20006 \
  -m lmms_eval \
  --model_args pretrained=<path-to-mllm-checkpoint-root>,conv_template=qwen_1_5,model_name=llava_qwen \
  --model llava_onevision \
  --tasks docvqa_val,hallusion_bench_image \
  --batch_size 1
Note: If
pip install -e ".[train]"from Section 1 (Installation) completed successfully andllavais properly registered in your Python path, the model loading inlmms_eval/models/simple/llava_onevision.pyshould work without any issues.
4.4 Vision encoder analysis
The vision-only experiments in our paper directly use the following open-source repositories:
- ImageNet classification (linear probe): OpenAI CLIP (you may also refer to issue#39 and issue#64)
- Semantic segmentation: patch-seg
- Representation alignment: Platonic Representation
To extract the vision encoder (ViT) + projector from a trained MLLM checkpoint, use extract_vision_encoder from archive/extract_vision_encoder.py:
from archive.extract_vision_encoder import extract_vision_encoder

mllm_path = "<path-to-mllm-checkpoint-root>"
vit, projector, processor = extract_vision_encoder(mllm_path, device="cuda")

# Test inference
img = Image.open("archive/simpson.jpg").convert("RGB")
pixel_values = processor.preprocess(img, return_tensors="pt")["pixel_values"].to("cuda")

with torch.no_grad():
    vit_feats = vit(pixel_values=pixel_values, output_hidden_states=True).hidden_states[-1]
    proj_feats = projector(vit_feats)

print(vit_feats.shape)   # (1, 576, 1152)
print(proj_feats.shape)  # (1, 576, 1536)
Citation
If you find this repository helpful, please cite our paper:
@inproceedings{song2025rlseebetter,
  title   = {RL makes MLLMs see better than SFT},
  author  = {Junha Song and Sangdoo Yun and Dongyoon Han and Jaegul Choo and Byeongho Heo},
  booktitle={ICLR},
  year={2026}
}