Vue AI Chatbot Template
March 31, 2026 · View on GitHub
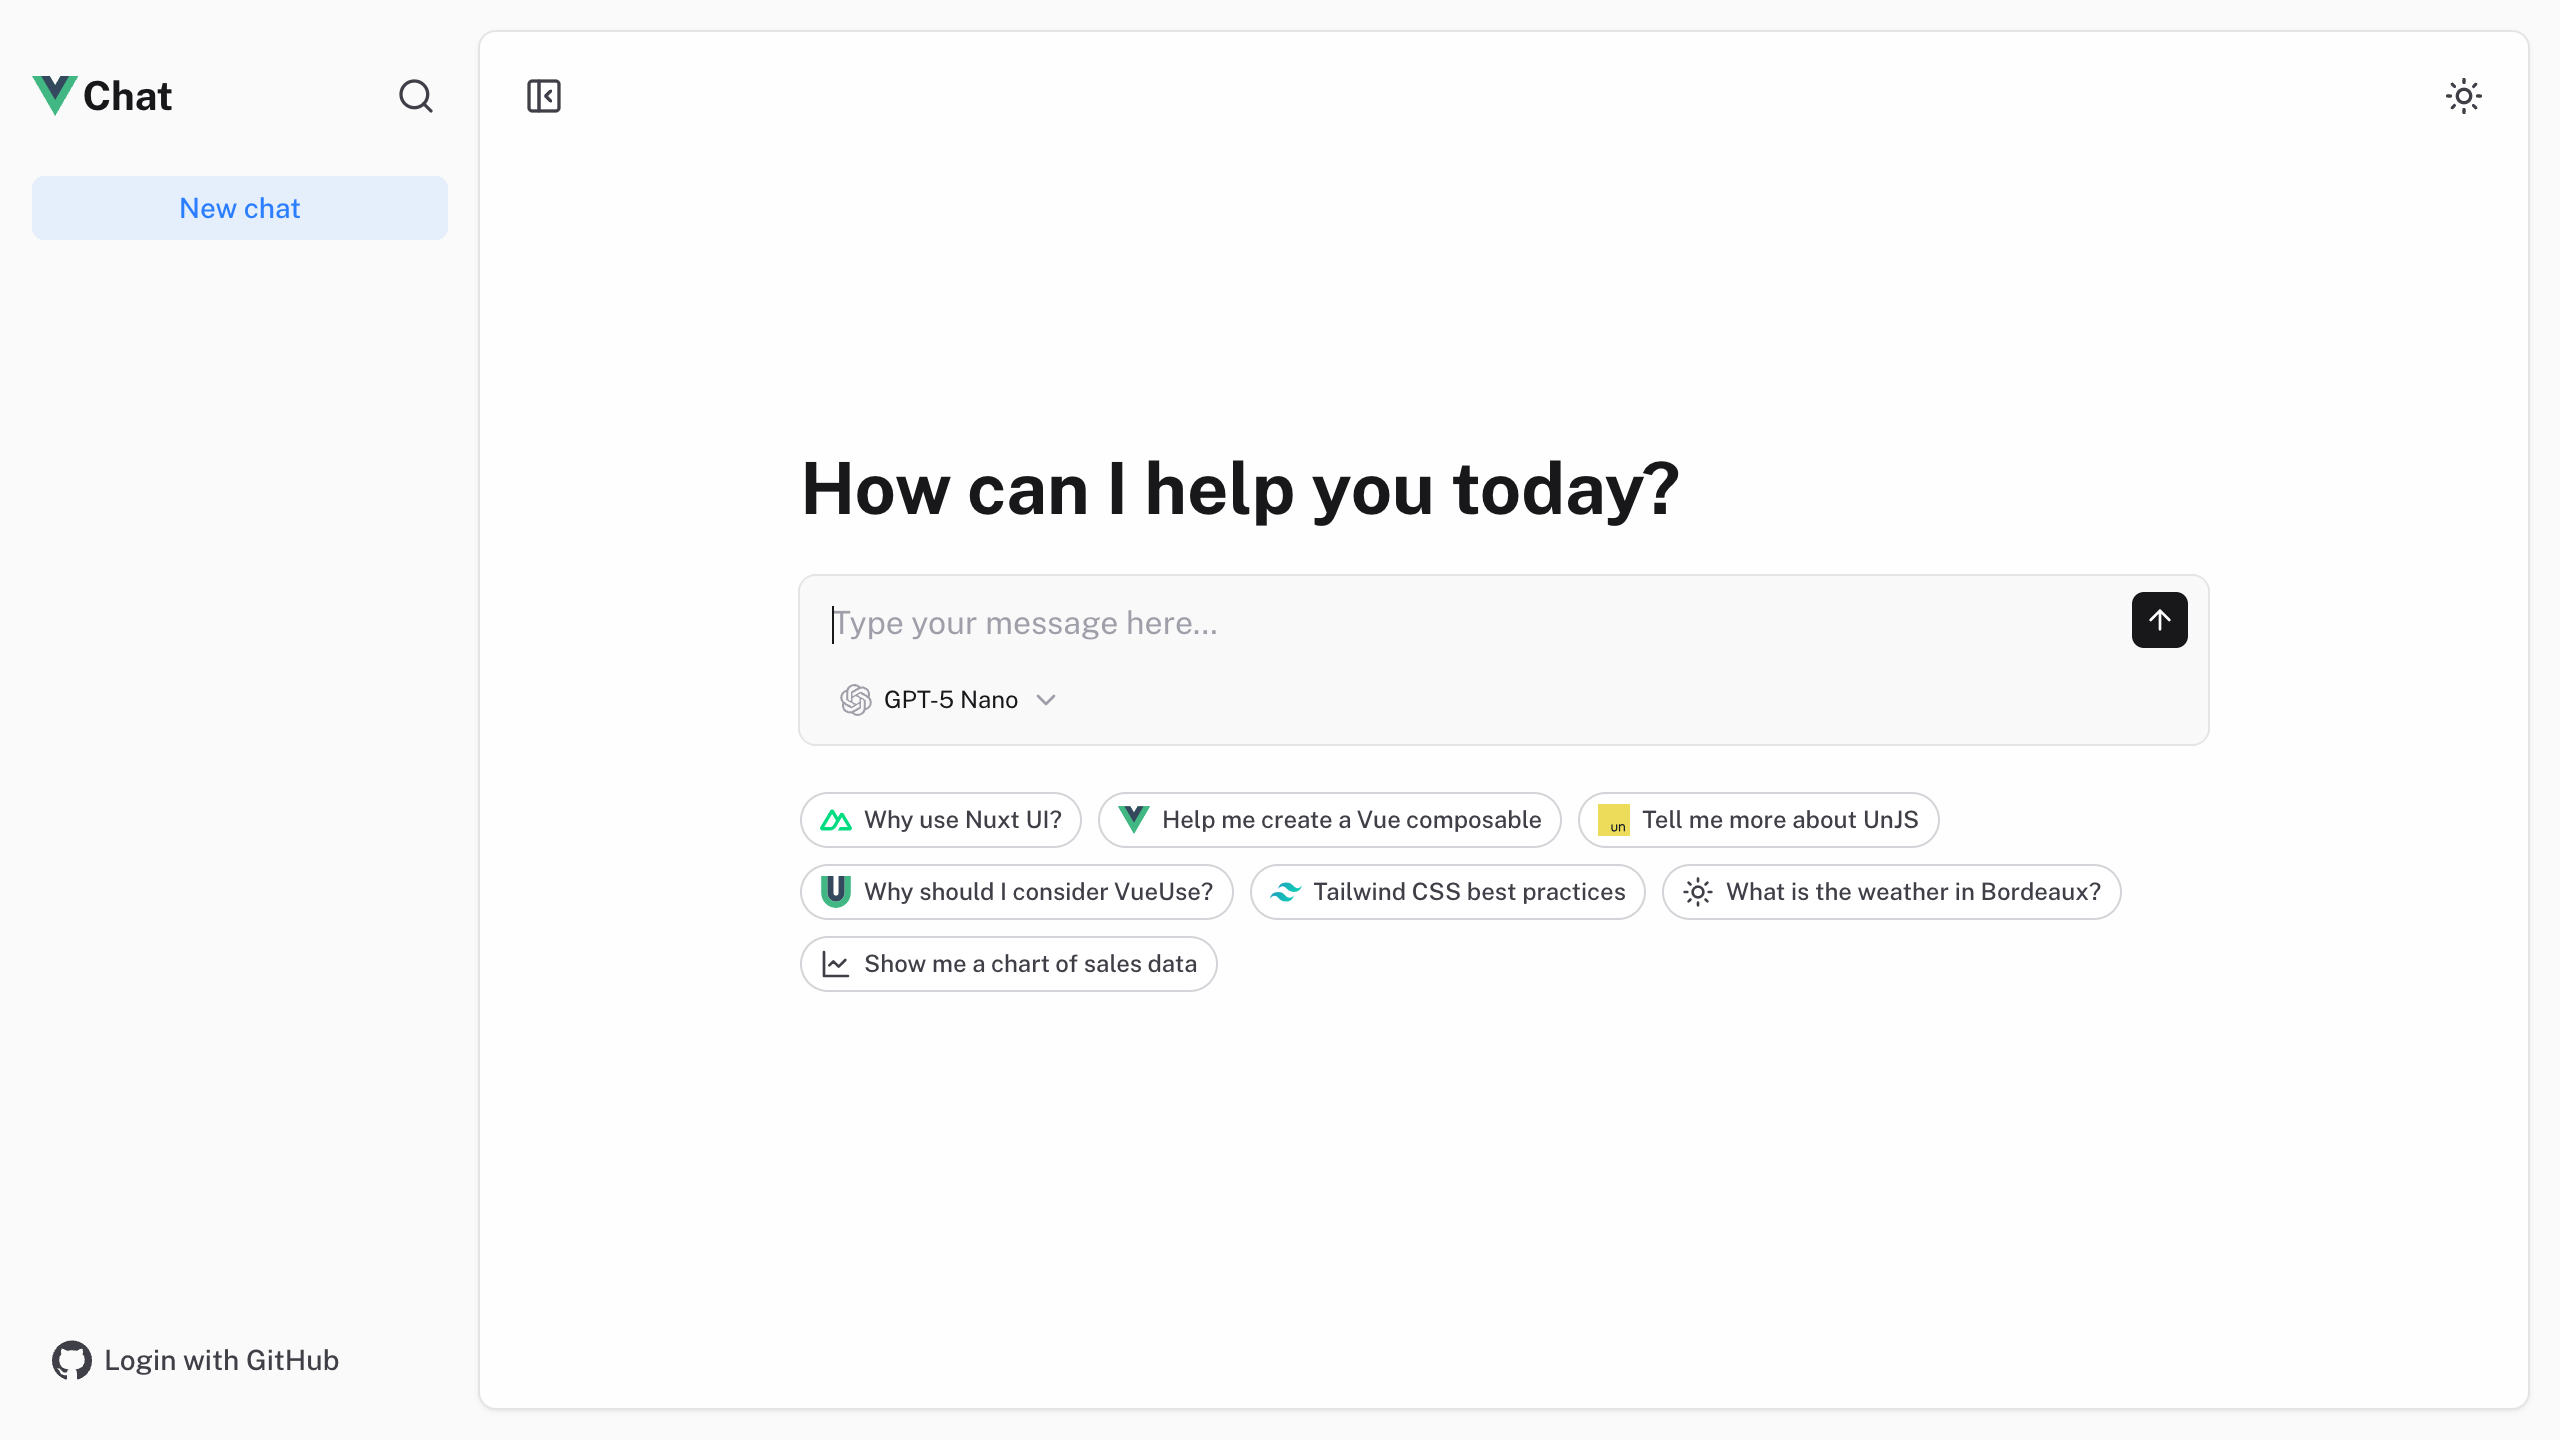
Full-featured AI Chatbot Vue application with authentication, chat history, collapsible sidebar, keyboard shortcuts, light & dark mode, command palette and more. Built using Nuxt UI components and integrated with AI SDK for a complete chat experience.
The chat template for Nuxt is on https://github.com/nuxt-ui-templates/chat.
Features
- ⚡️ Streaming AI messages powered by the AI SDK with thinking/reasoning support
- 🤖 Multiple model support — Claude Haiku 4.5, Gemini 3 Flash and GPT-5 Nano via Vercel AI Gateway
- 🔍 Web search with built-in provider tools (Anthropic, OpenAI)
- 📊 Charts and weather tool calling with rich UI rendering
- 🔐 Authentication via GitHub OAuth using Nitro server routes and httpOnly cookies
- 💾 Chat history persistence using SQLite database (Turso in production) and Drizzle ORM
- ✨ Markdown rendering with streaming code highlighting via Comark
Quick Start
npm create nuxt@latest -- --no-modules -t ui-vue/chat
Deploy your own

Setup
Make sure to install the dependencies:
pnpm install
Run database migrations:
pnpm db:migrate
Note
In production, configure your database connection. On Vercel, add the Turso integration to automatically provision TURSO_DATABASE_URL and TURSO_AUTH_TOKEN.
AI Integration
This template uses the Vercel AI SDK for streaming AI responses with support for multiple providers through Vercel AI Gateway. When deployed on Vercel, the AI Gateway is configured automatically.
For local development, set your API key in .env:
AI_GATEWAY_API_KEY=<your-vercel-ai-gateway-api-key>
Tip
With Vercel AI Gateway, you don't need individual API keys for OpenAI, Anthropic, etc. It provides a unified API to access hundreds of models through a single endpoint with automatic load balancing, fallbacks, and spend monitoring.
Authentication (Optional)
This template uses Nitro server routes with httpOnly cookies for authentication with GitHub OAuth.
To enable authentication, create a GitHub OAuth application and set:
GITHUB_OAUTH_CLIENT_ID=<your-github-oauth-app-client-id>
GITHUB_OAUTH_CLIENT_SECRET=<your-github-oauth-app-client-secret>
SESSION_SECRET=<your-secret-minimum-32-characters>
Development Server
Start the development server on http://localhost:3000:
pnpm dev
Production
Build the application for production:
pnpm build
Locally preview production build:
pnpm preview
Check out the deployment documentation for more information.
Renovate integration
Install Renovate GitHub app on your repository and you are good to go.