README.md
August 7, 2026 · View on GitHub

Node.js Desktop Automation. Control the mouse, keyboard, and read the screen.
RobotJS supports Mac, Windows, and Linux.
This is a work in progress so the exported functions could change at any time before the first stable release (1.0.0). Ideas?
Check out some of the cool things people are making with RobotJS! Have your own rad RobotJS project? Feel free to add it!
Contents
Installation
Install RobotJS using npm:
npm install robotjs
You can get npm here if you don't have it installed.
Published packages include Node-API prebuilds for Linux, macOS, and Windows on x64 and arm64. Other targets fall back to a source build.
If you need to build RobotJS, see the building section. Instructions for Electron.
Examples
Mouse
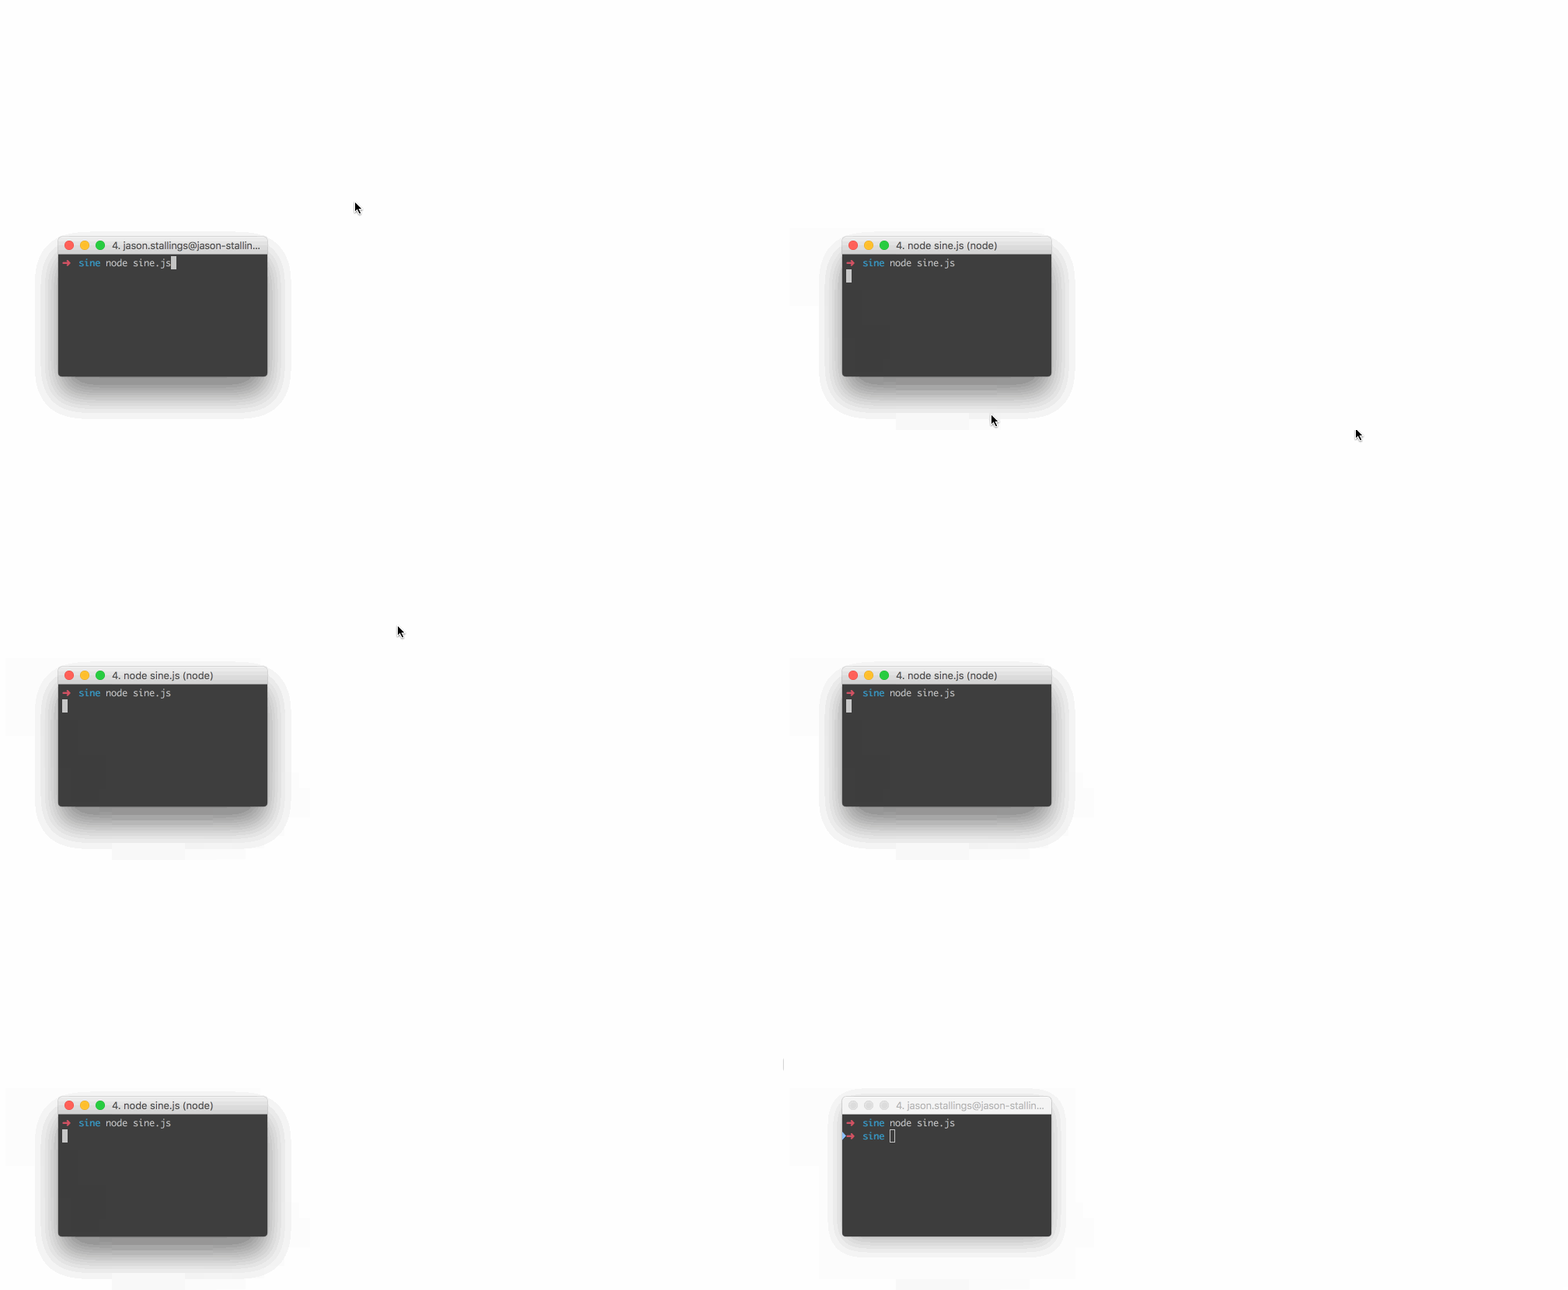
// Move the mouse across the screen as a sine wave.
const robot = require("robotjs");

// Speed up the mouse.
robot.setMouseDelay(2);

const twoPI = Math.PI * 2;
const screenSize = robot.getScreenSize();
const height = (screenSize.height / 2) - 10;
const width = screenSize.width;

for (let x = 0; x < width; x++) {
	const y = height * Math.sin((twoPI * x) / width) + height;
	robot.moveMouse(x, y);
}
Keyboard
// Type "Hello World" then press enter.
const robot = require("robotjs");

// Type "Hello World".
robot.typeString("Hello World");

// Press enter.
robot.keyTap("enter");
Screen
// Get pixel color under the mouse.
const robot = require("robotjs");

// Get mouse position.
const mouse = robot.getMousePos();

// Get pixel color in hex format.
const hex = robot.getPixelColor(mouse.x, mouse.y);
console.log(`#${hex} at x:${mouse.x} y:${mouse.y}`);
Image Search
const robot = require("robotjs");

const screen = robot.screen.capture();
const target = robot.image.load("./target.bmp");
const match = screen.findImage(target, { tolerance: 0.1 });

if (match) {
	screen.click(match, target);
}
Captured and loaded images also provide findImages, countImage, findColor,
findColors, countColor, colorAt, and save. Image searches return the
target's top-left capture coordinates. click converts those coordinates to
screen coordinates and clicks the target's center.
Read the Wiki for more information!
API
The RobotJS API is hosted at https://robotjs.dev/docs/syntax.
macOS permissions
getAccessibilityPermission() and getScreenCapturePermission() report the
current grants. requestAccessibilityPermission() and
requestScreenCapturePermission() trigger the corresponding macOS system
prompts. macOS still requires the user to approve each request.
The Accessibility prompt is asynchronous, so requestAccessibilityPermission()
returns the current grant. Check getAccessibilityPermission() again after the
user responds.
Building
Please ensure you have the required dependencies before installing:
- Windows
- A supported Visual Studio C++ toolchain.
- macOS
- Xcode Command Line Tools.
- Linux
- Python 3.
- make.
- A C/C++ compiler like GCC.
- libxtst-dev (
sudo apt-get install libxtst-dev).
BMP image loading and saving is always available. PNG is enabled in all
published prebuilds: Windows uses Windows Imaging Component, while macOS and
Linux include statically linked libpng. PNG remains optional for macOS and
Linux source builds. To enable it, install libpng and pkg-config, then force
a source build with ROBOTJS_ENABLE_PNG=1. Check
robot.image.supportsPNG at runtime.
Install node-gyp using npm:
npm install -g node-gyp
Then build:
node-gyp rebuild
See the node-gyp readme for more details.
Packaging prebuilds
The Prebuilds workflow
builds the release binaries and uploads a complete npm-package artifact. It
does not publish to npm. Download the artifact, then publish it manually:
npm publish ./robotjs-<version>.tgz
Plans
- √ Control the mouse by changing the mouse position, left/right clicking, and dragging.
- √ Control the keyboard by pressing keys, holding keys down, and typing words.
- √ Read pixel color from the screen and capture the screen.
- √ Find images and colors in captures, and load or save bitmap files.
- Possibly include window management?
Progress
| Module | Status | Notes |
|---|---|---|
| Mouse | 100% | All planned features implemented. |
| Keyboard | 100% | All planned features implemented. |
| Screen | 100% | Screen capture, image search, and pixel search. |
| Bitmap | 100% | BMP I/O and optional PNG support. |
FAQ
Does RobotJS support global hotkeys?
Not currently, and I don't know if it ever will. I personally use Electron/NW.js for global hotkeys, and this works well. Later on I might add hotkey support or create a separate module. See #55 for details.
Can I take a screenshot with RobotJS?
Yes. robot.screen.capture() captures the main display. Pass
x, y, width, height to capture a specific rectangle.
Why is <insert key> missing from the keyboard functions?
We've been implementing keys as we need them. Feel free to create an issue or submit a pull request!
How about multi-monitor support?
Use robot.getDisplays() to inspect displays and pass a rectangle from one
display to robot.screen.capture(x, y, width, height). A capture rectangle
cannot span multiple displays. Linux reports the current X11 screen.
For any other questions please submit an issue.
Story
I'm a huge fan of AutoHotkey, and I've used it for a very long time. AutoHotkey is great for automation and it can do a bunch of things that are very difficult in other languages. For example, it's imagesearch and pixel related functions are hard to reproduce on Mac, especially in scripting languages. These functions are great for automating apps that can't be automated like Netflix. This has never been a big deal since I've always used Windows at work, but for the past few years I've been using Mac exclusively.
I like AutoHotkey, but I like Node.js more. By developing RobotJS I get an AutoHotkey replacement on Mac (finally!), and I get to use my favorite language.
TLDR: There's nothing like AutoHotkey on Mac, so I'm making it.
License
MIT
Based on autopy. Maintained by Jason Stallings.