Step 9 - Host on Firebase
February 13, 2020 · View on GitHub
Firebase is built around simplicity. It’s quite easy to set up a hosting and configure deployments for your application.
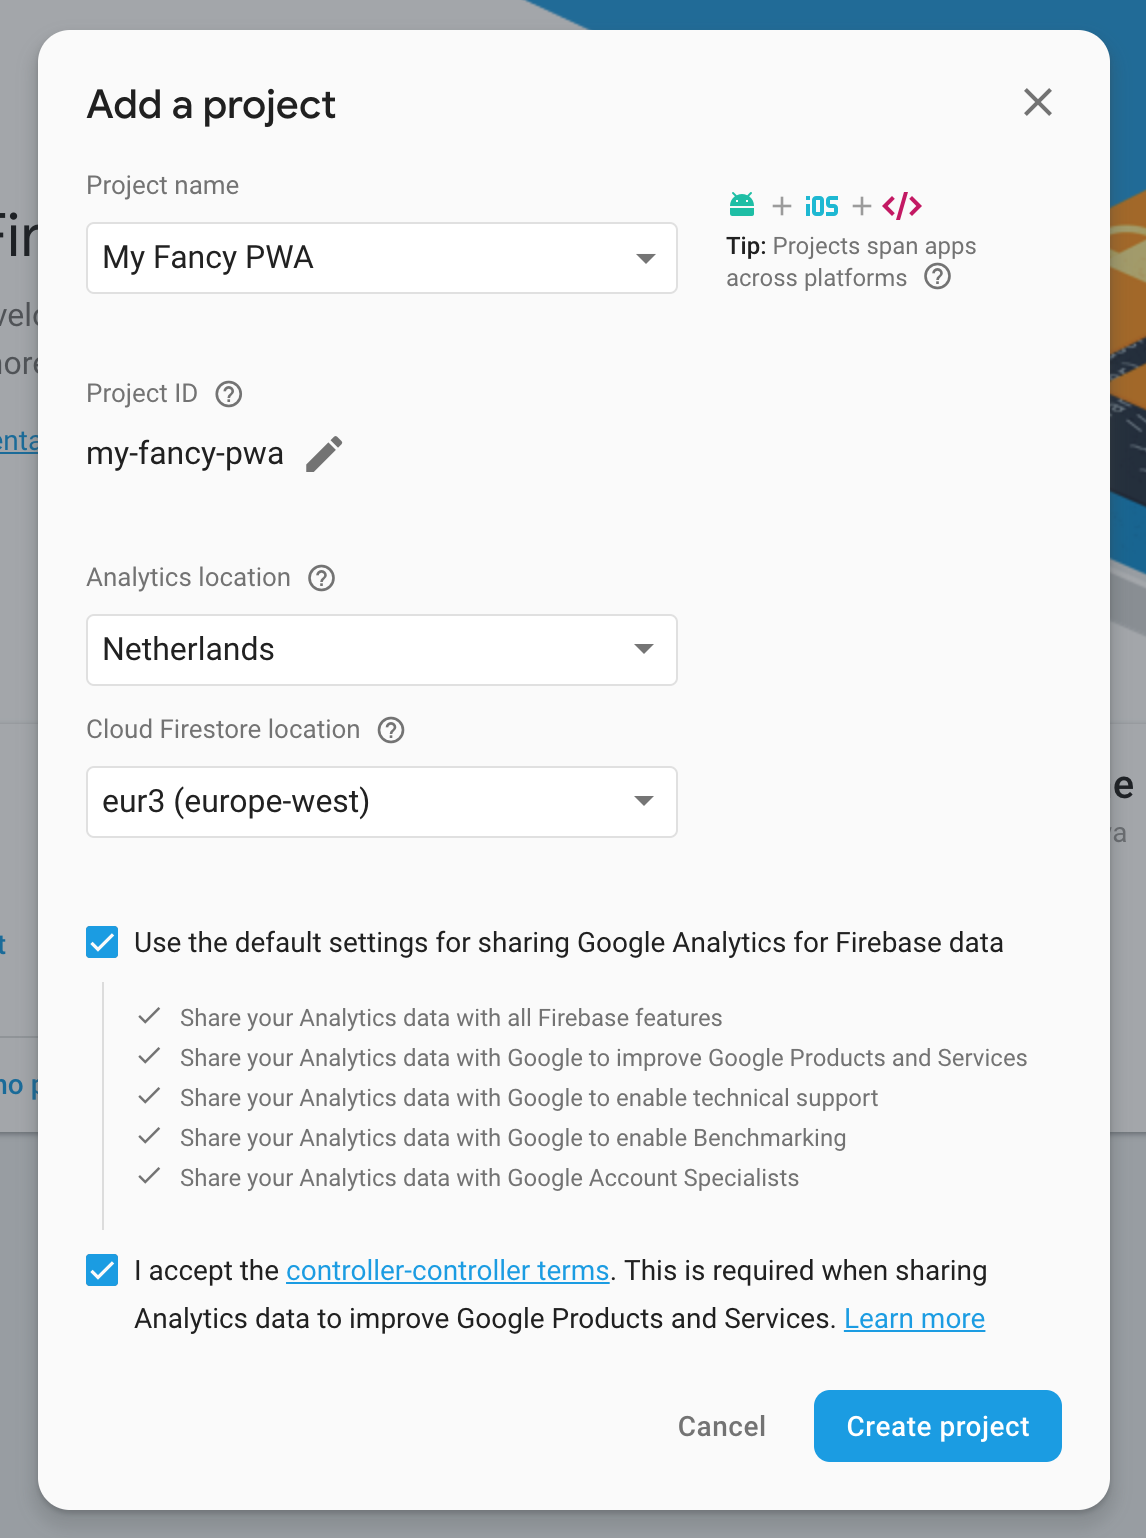
Add a project
Once you’ve logged in to Firebase console, you can click on Add Project button and fill in the form below with your preference.
Set up hosting
After creating your project, navigate to Hosting tab under develop category.
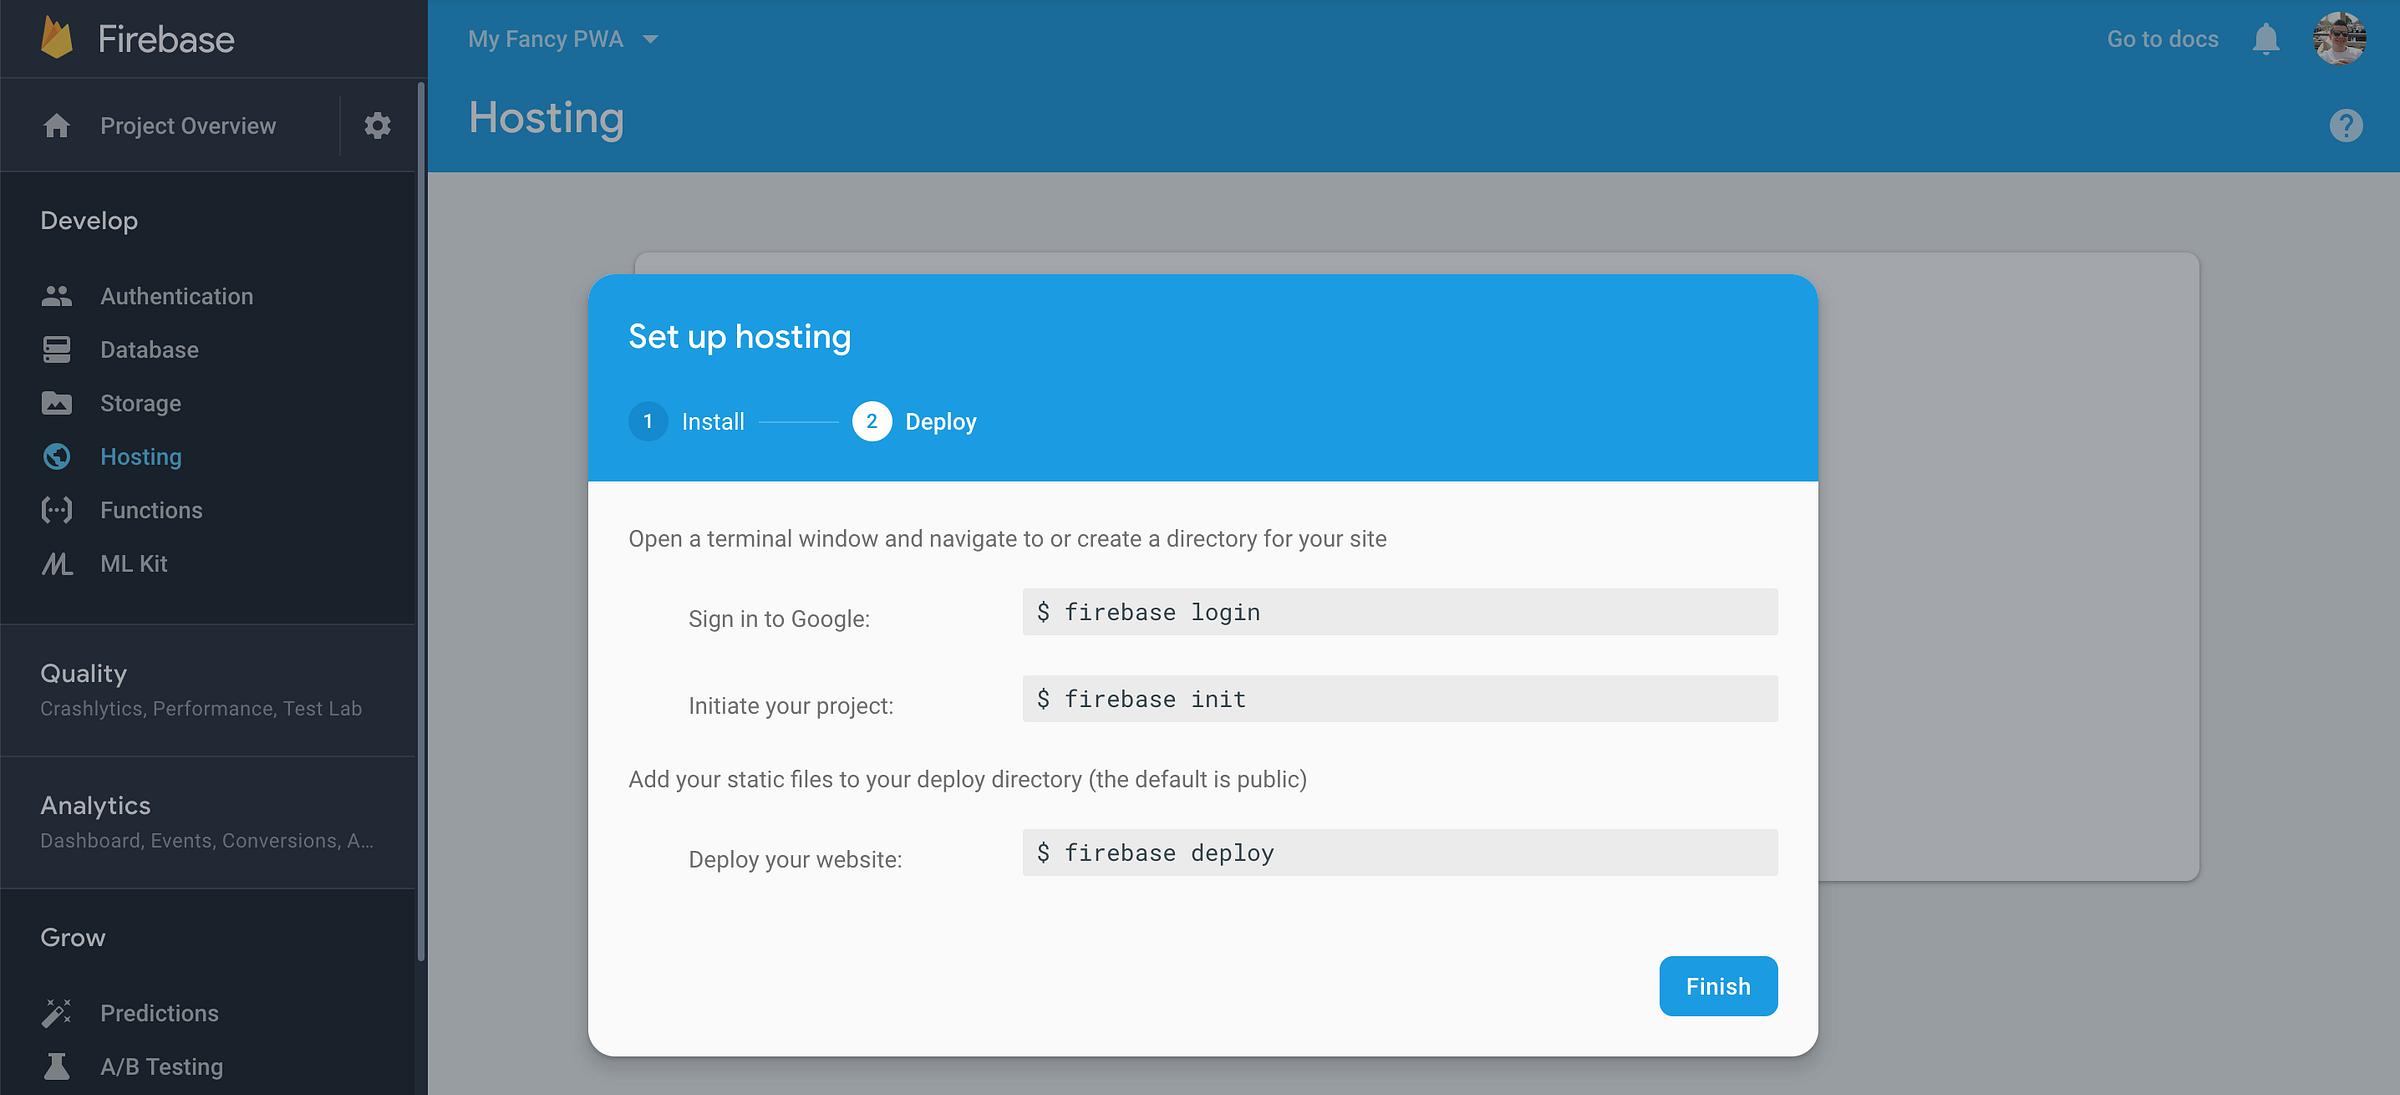
You have firebase cli already installed as a project dependency.
Click Finish in order to make your project available on CLI, do not run the commands yet.
Initialize firebase config
You can deploy your PWA to Firebase for the first time by executing 3 commands via Firebase CLI; login, init and deploy.
Install Firebase CLI
Let's install Firebase CLI if you haven't done already:
npm i -g firebase-tools
Use CLI to init config
We'll only make use of hosting service of Firebase for now. In order to do that, follow the instructions below;
- Run
npx firebase initon your project root - Check
HostingwithSpace - Press
Enter
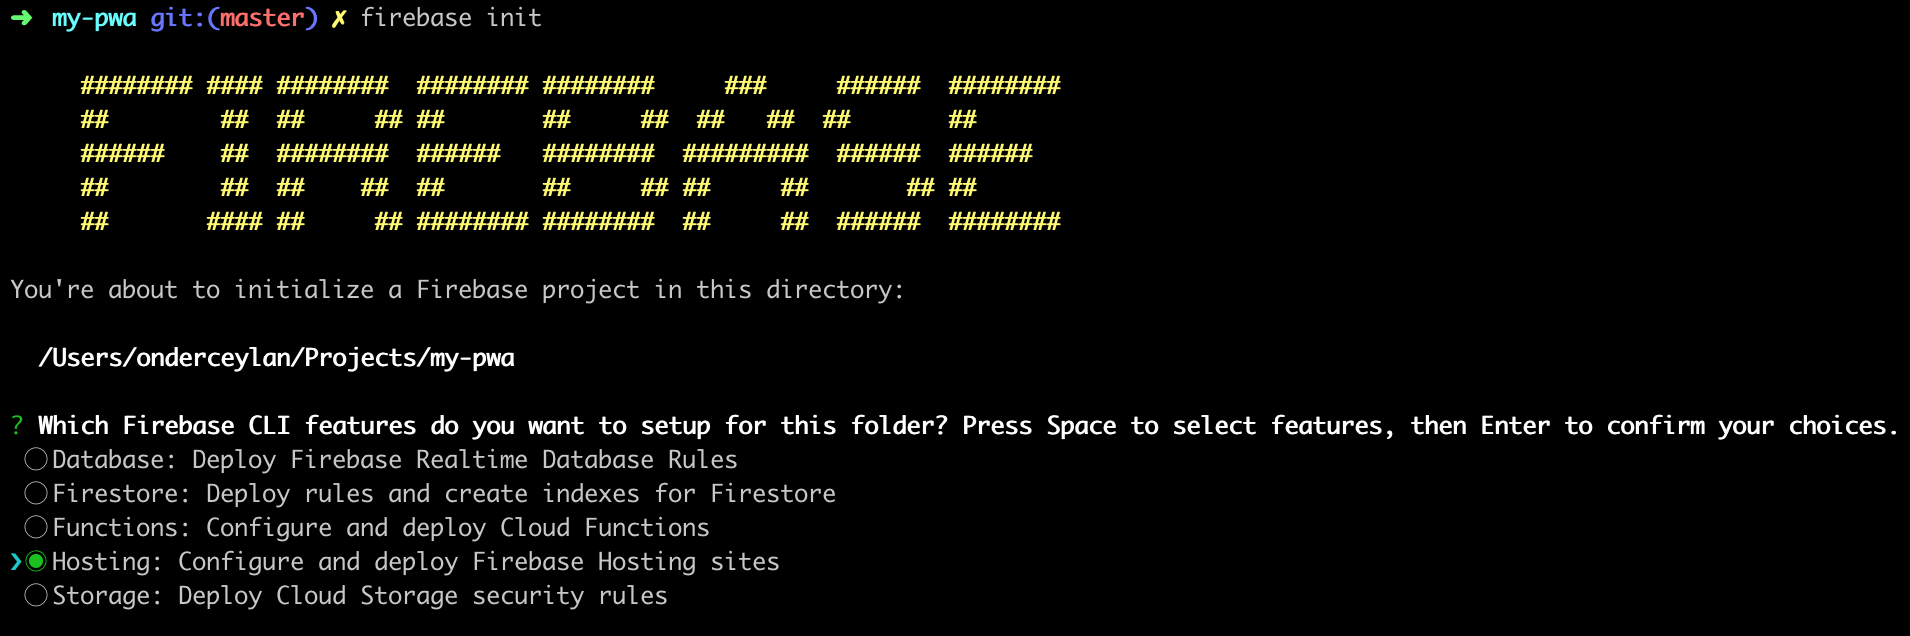
- On the next step, it will show your existing projects to you to set up a hosting on. Select the project that you've created on the step above.
- What do you want to use as your public directory? Enter
www - Configure as a single-page app (rewrite all urls to /index.html)? Press
y - File
www/index.htmlalready exists. Overwrite? Pressn
As an output of this setup, Firebase CLI creates 2 files in your project root: firebase.json and .firebaserc
Configure your hosting
It’s possible to configure your hosting on Firebase via firebase.json file in your project. You can see the default configuration of which Firebase CLI created for your project below;
{
  "hosting": {
    "public": "www",
    "ignore": [
      "firebase.json",
      "**/.*",
      "**/node_modules/**"
    ],
    "rewrites": [
      {
        "source": "**",
        "destination": "/index.html"
      }
    ]
  }
}
It’s important to be aware of a couple of points on this configuration.
- Since Angular is a SPA (Single Page Application), you must configure rewrite as above to point all sources to your index.html file.
- Do not deploy any file that keeps your credentials under no circumstances. Keys, secrets, and such confidential information on your configuration files that relies on the public folder you pointed out, might be exposed to the world immediately. Make sure to ignore any configuration file you have in your public folder.
Add custom HTTP headers for caching
Firebase hosting configuration allows you to add custom HTTP headers for your project.
This configuration is especially important for your PWA where you might want to cache your static assets and gzip them to improve your app’s loading performance. A long cache lifetime can speed up repeat visits to your page.
When a browser requests a resource, the server providing the resource can tell the browser how long it should temporarily store or cache the resource. For any subsequent request for that resource, the browser uses its local copy, rather than going to the network to get it.
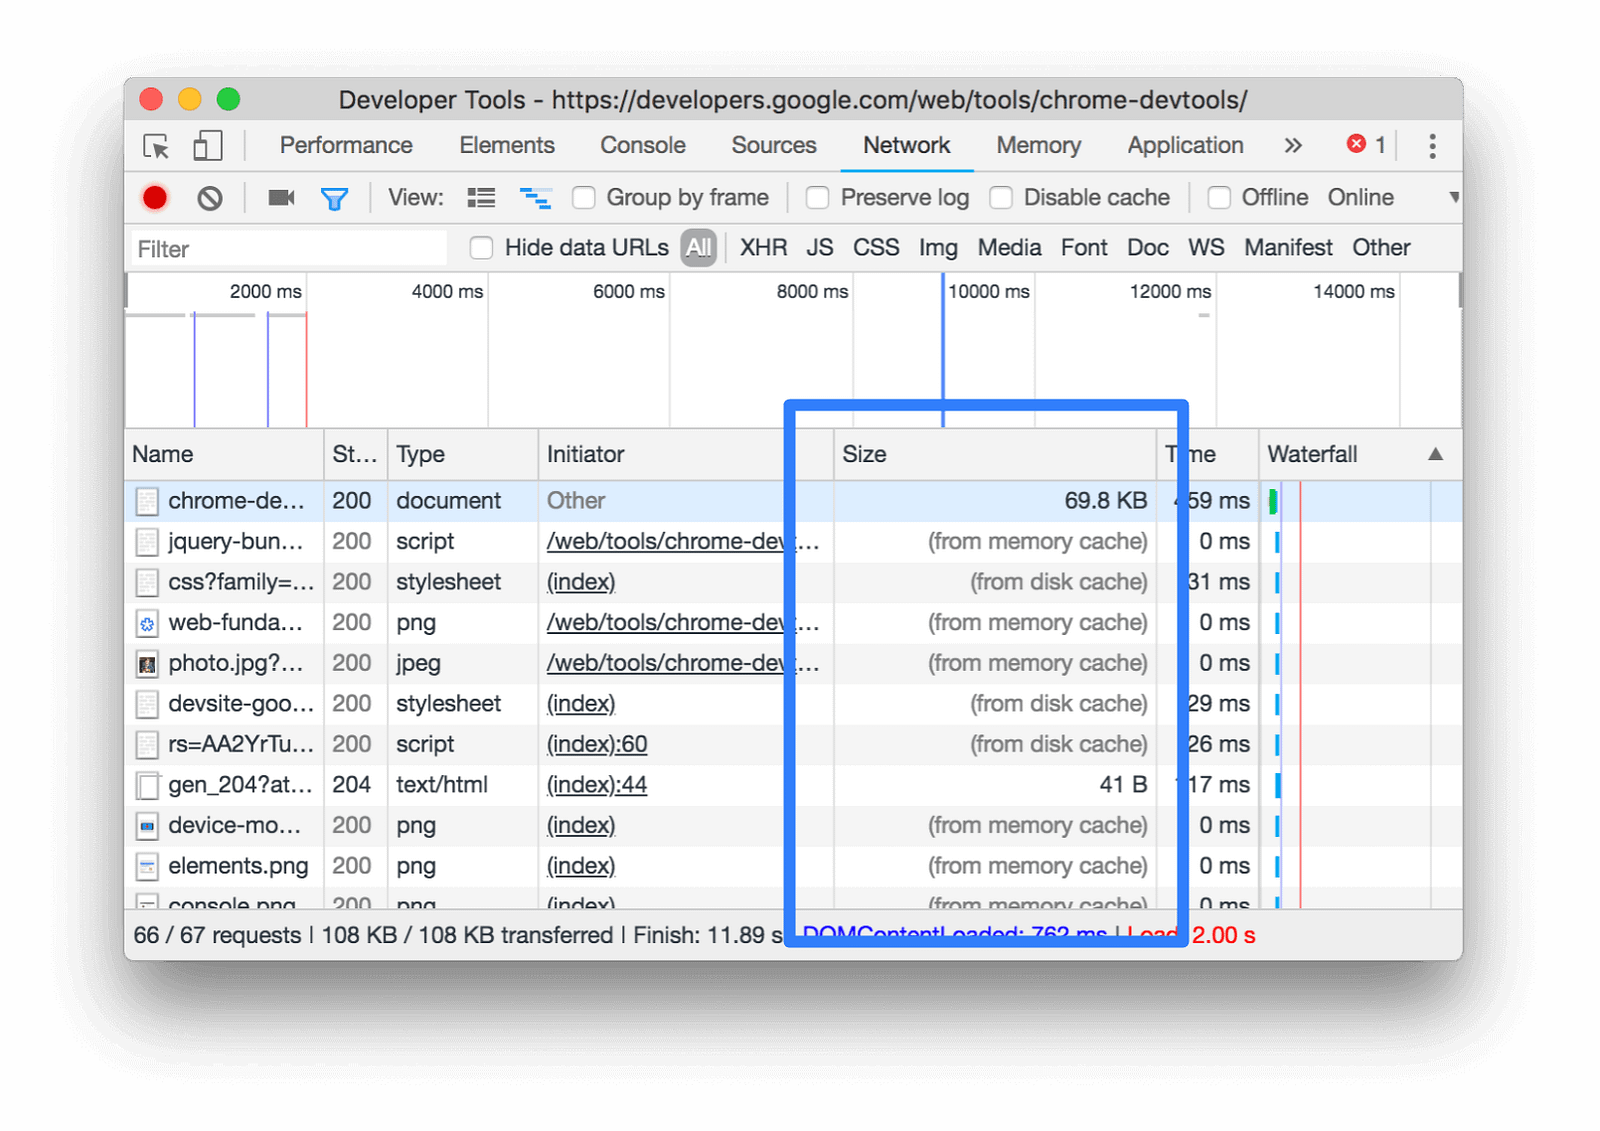
Since Angular creates your static resources with a hash postfix in the filename, you can take advantage of introducing a long cache lifetime for those resources by adding Cache-Control HTTP header. When you do that, you should also consider invalidating your caches. However, invalidating caches of static resources is not required for your Angular app as Angular’s build system automatically changes the postfix hash in your resources’ file names when they’re updated.
Add the following configuration to your firebase.json file;
{
  "headers": [
    {
      "source": "**/*.@(js|css)",
      "headers": [
        {
          "key": "Cache-Control",
          "value": "max-age=31536000"
        }
      ]
    }
  ]
}
Keep your service worker files fresh
When you make use of such cache configuration above for all your js and css files, you must create an exception rule for your additional service worker files.
Add the following no-cache exception to your firebase.json file;
{
  "headers": [
    {
      "source": "**/*-sw.js",
      "headers": [
        {
          "key": "Cache-Control",
          "value": "no-cache"
        }
      ]
    }
  ]
}
Deploy your app
Run npm run build:prod and npx firebase deploy in project root.
Good to go 🎯
Now you can continue to Step 10 -> Use an Android Emulator.