References
December 23, 2021 · View on GitHub
"Socketing" a development board allows easily inserting/removing the development board from a keyboard PCB.
One typical benefit for this is allowing for an easy 'upgrade'
process. (e.g. replacing a Pro Micro development board with
pin-compatible boards like the Arm-powered
customMK/Bonsai-C[1],
or nice technology's nice!nano[2] for
wireless functionality).
It's less effort to socket the board first, compared to desoldering
the board from the PCB by destroying the headers used to mount the board,
and desolder the header pins.
Another benefit to this is cost. At the time of writing, there's still a shortage on the chips used for these development boards. The stuff which is available is much more expensive than it was a couple of years ago.
Here are some example pictures of socketing the development boards:
Comparison
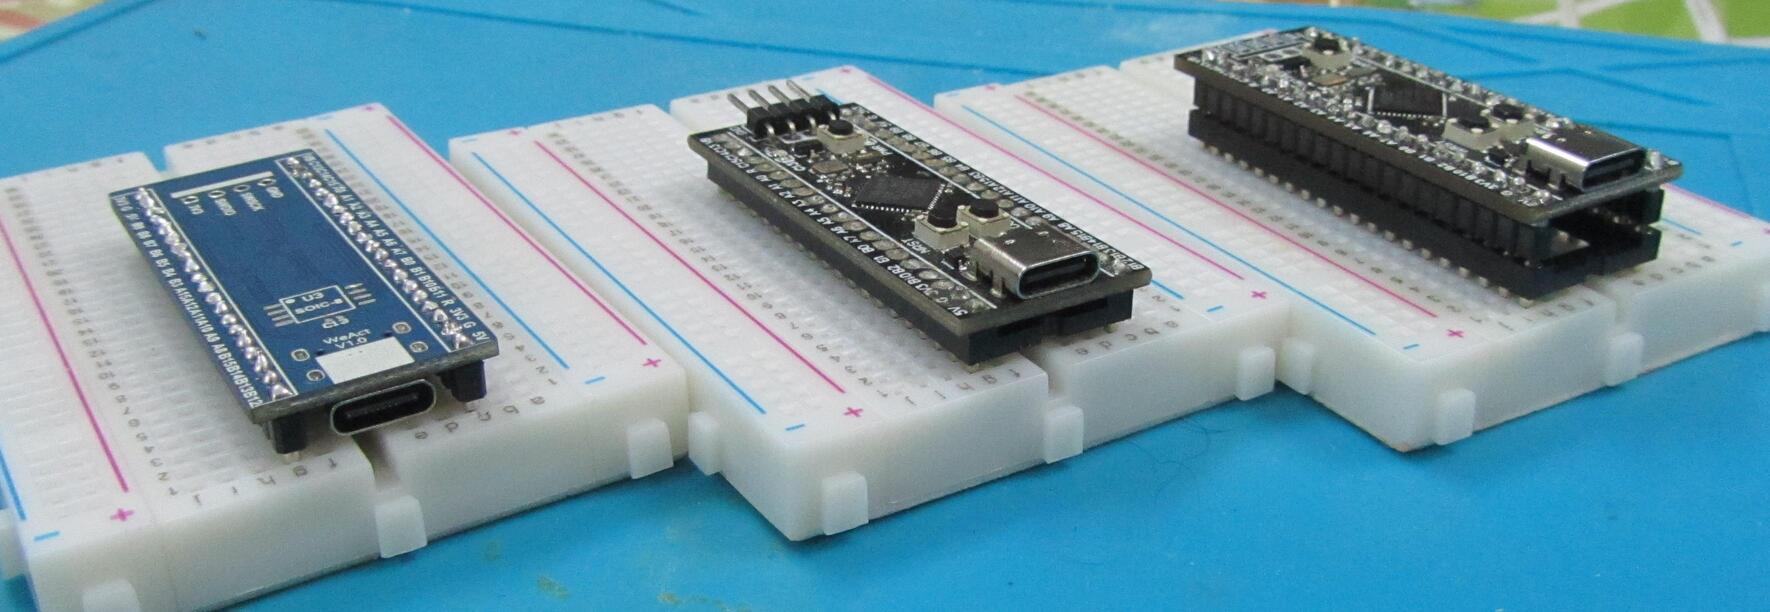
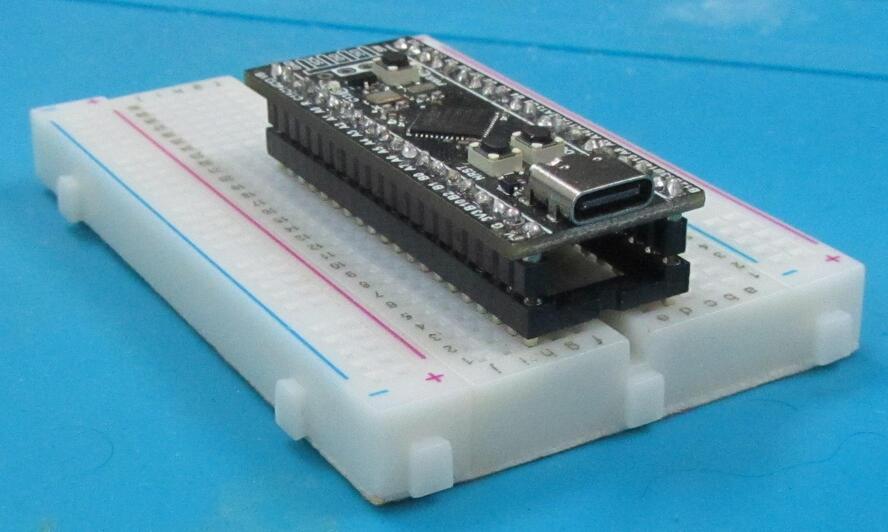
Socketing, Using Round-Pin Male Headers
Socketing, Using Conductive Wire
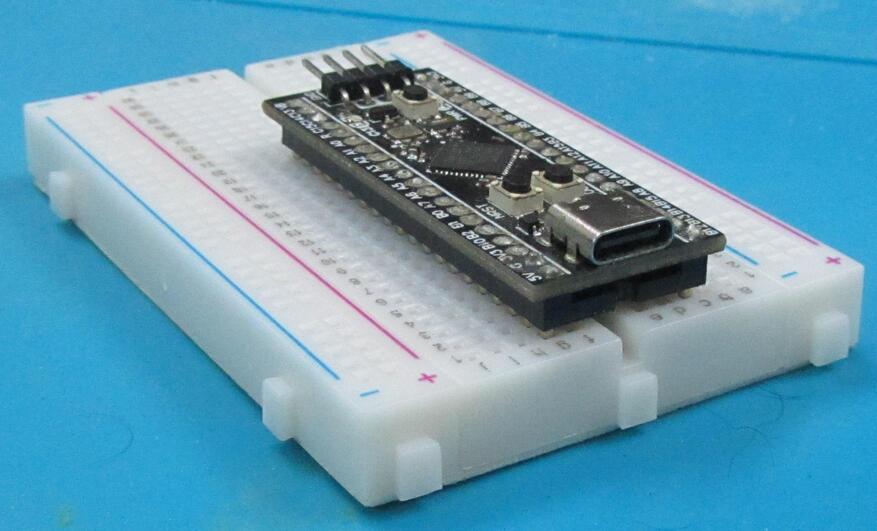
Using e.g. the leftover clippings from diode legs works. Otherwise, e.g. 24-26 AWG solid core hook-up wire works. (22 AWG works, but requires some effort to insert the board into the socket).
This ends up with a much lower profile socketed board. However, the conductive wire is often quite fragile, and prone to bending.
Socketing, Using Conductive Wire
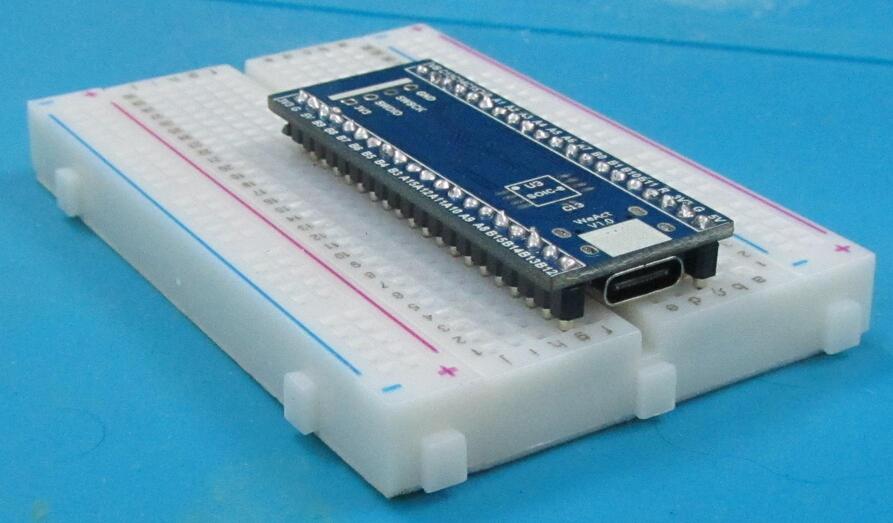
Same as the previous, but flipping the board upside down. This results in the lowest profile, but this technique can't be used on every keyboard design. (Since the board is flipped, the pads of the board are mirrored from what the board is otherwise expected to be).
References
[0] https://www.40percent.club/p/socketing-pro-micro.html [1] https://github.com/customMK/Bonsai-C [2] https://nicekeyboards.com/nice-nano/