📘 AutoOS Settings User Guide
July 18, 2026 · View on GitHub
What NOT to do on AutoOS, click to expand
- Run any other
tweaksoroptimizersfor obvious reasons. - Use
timer resolutionormemory cleanersbecause they do more harm than good. - Use
external frame rate limiterslikeNVCPorRTSSbecause they trade better 1% lows for added latency (unless non-competitive). - Set
visual effectstoBest Performance. - Disable
animations,transparencyorpaging file. - Uninstall
MSI Afterburner, OBS, Everything, Windhawk, StartAllBackor any of theruntimes. - Install
7-ZiporWinRARbecauseNanaZipis already installed. - Uninstall more AppX Packages like
Xbox Game BarorMicrosoft Edge.
If you want to merge the space of your old Windows partition with the AutoOS partition, click to expand
Step 1:
- Copy your Games to the same path but on the AutoOS partition.
- Open all the manifest files from the game launchers, then use
Ctrl + Hto replace the drive letters, click Replace All and save the file.- Epic Games
C:\ProgramData\Epic\UnrealEngineLauncher\LauncherInstalled.datC:\ProgramData\Epic\EpicGamesLauncher\Data\ManifestsC:\ProgramData\Epic\EpicOnlineServicesShared\InstallHelper\InstalledItems
- Riot Games
C:\ProgramData\Riot Games\Metadata\<your game>\<your game>.live.product_settings.yaml
- Steam
C:\Program Files (x86)\Steam\steamapps\libraryfolders.vdf
- Epic Games
Step 2:
-
Install
Minitool Partition Wizardfrom theApplicationstab. -
Right click on the old Windows partition and select Delete.
-
Right click on the AutoOS partition and select Extend, select the old Windows partition and max out the slider.
-
Click Apply and then Restart Now.
If you are on an ASUS Motherboard and get GPT header corruption has been detected message, click to expand
- Press
F1to get intoBIOS. - Press
F7to get intoadvanced mode. - Go to
Boottab, then selectBoot Configuration. - Change
Next Boot Recovery ActiontoRecovery(if available). - Change
Boot Sector (MBR/GPT) Recovery PolicytoAuto Recovery(if available).
If the old Windows entry is still showing up on boot, click to expand
- Open Command Prompt and paste:
bcdedit /enum- Find the entry of your old Windows partition, copy its
identifiervalue and then run:
bcdedit /delete {identifier} - Press
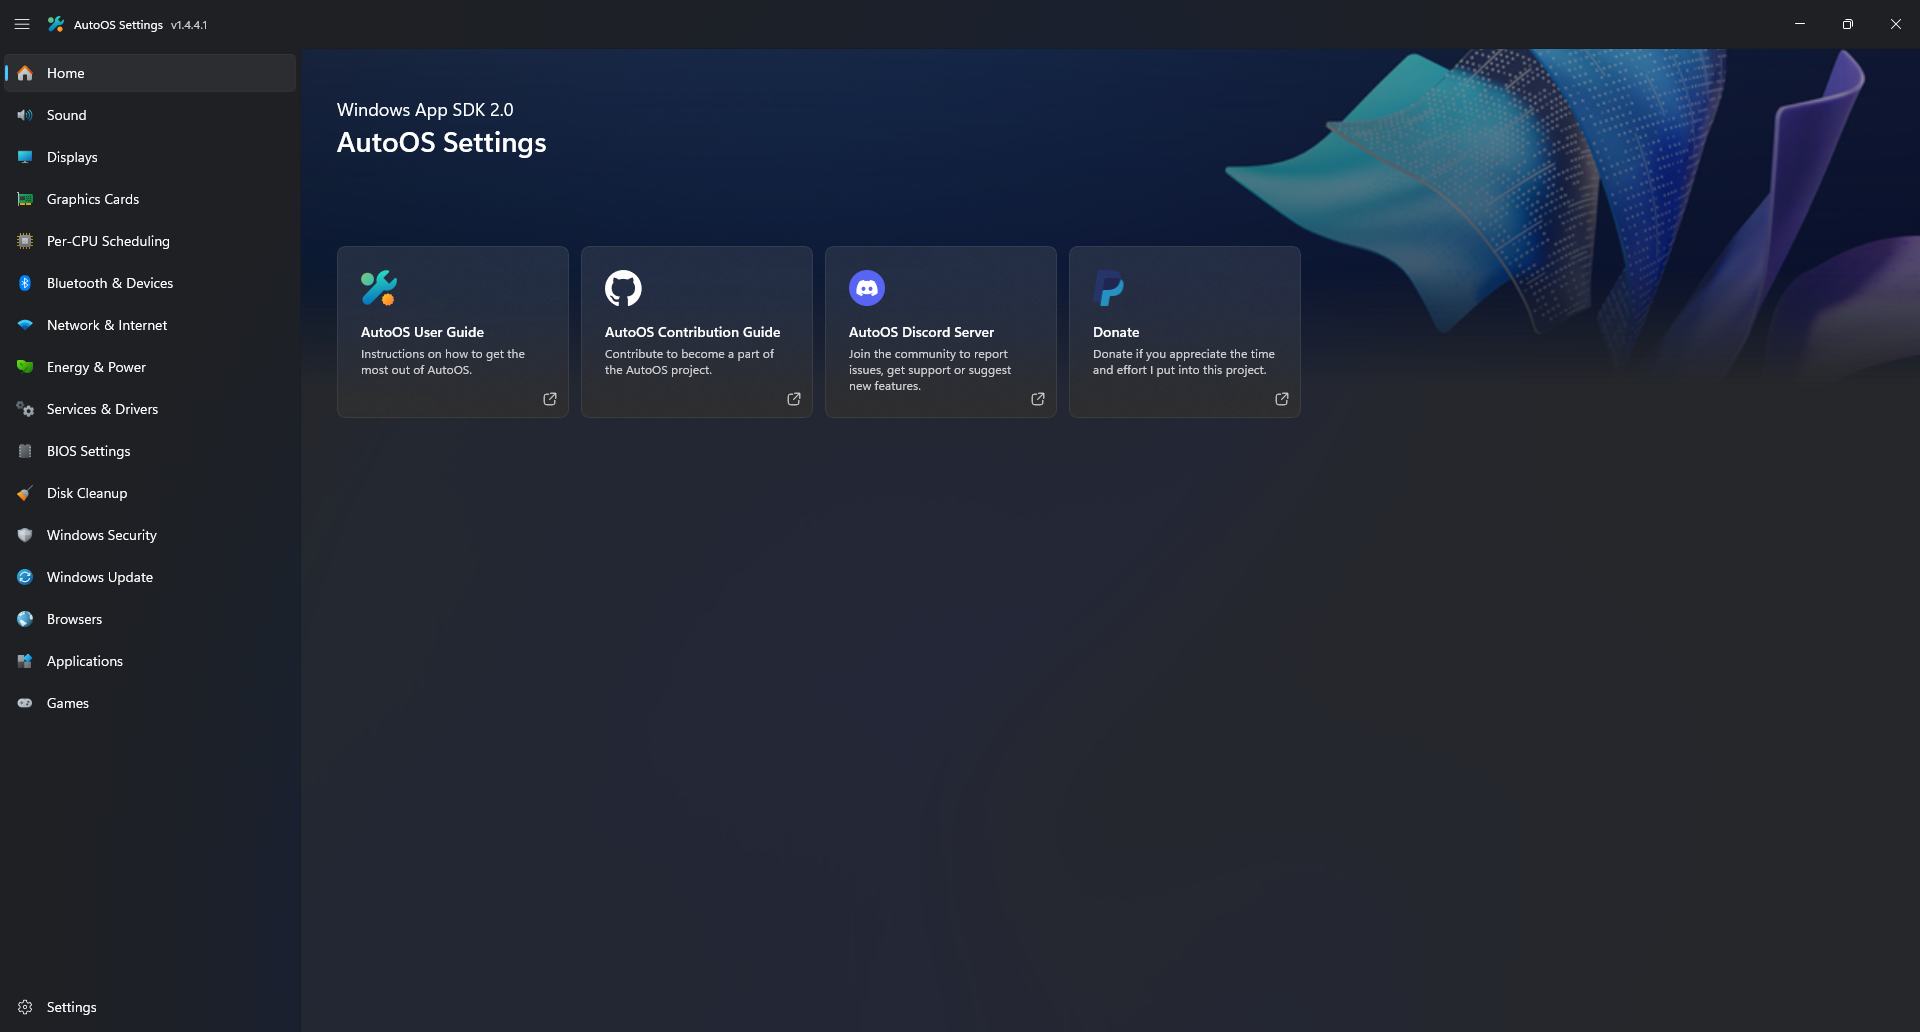
Home
Quick access for links:
- Open AutoOS User Guide
- Open AutoOS Contribution Guide
- Join AutoOS Discord Server
- Donate
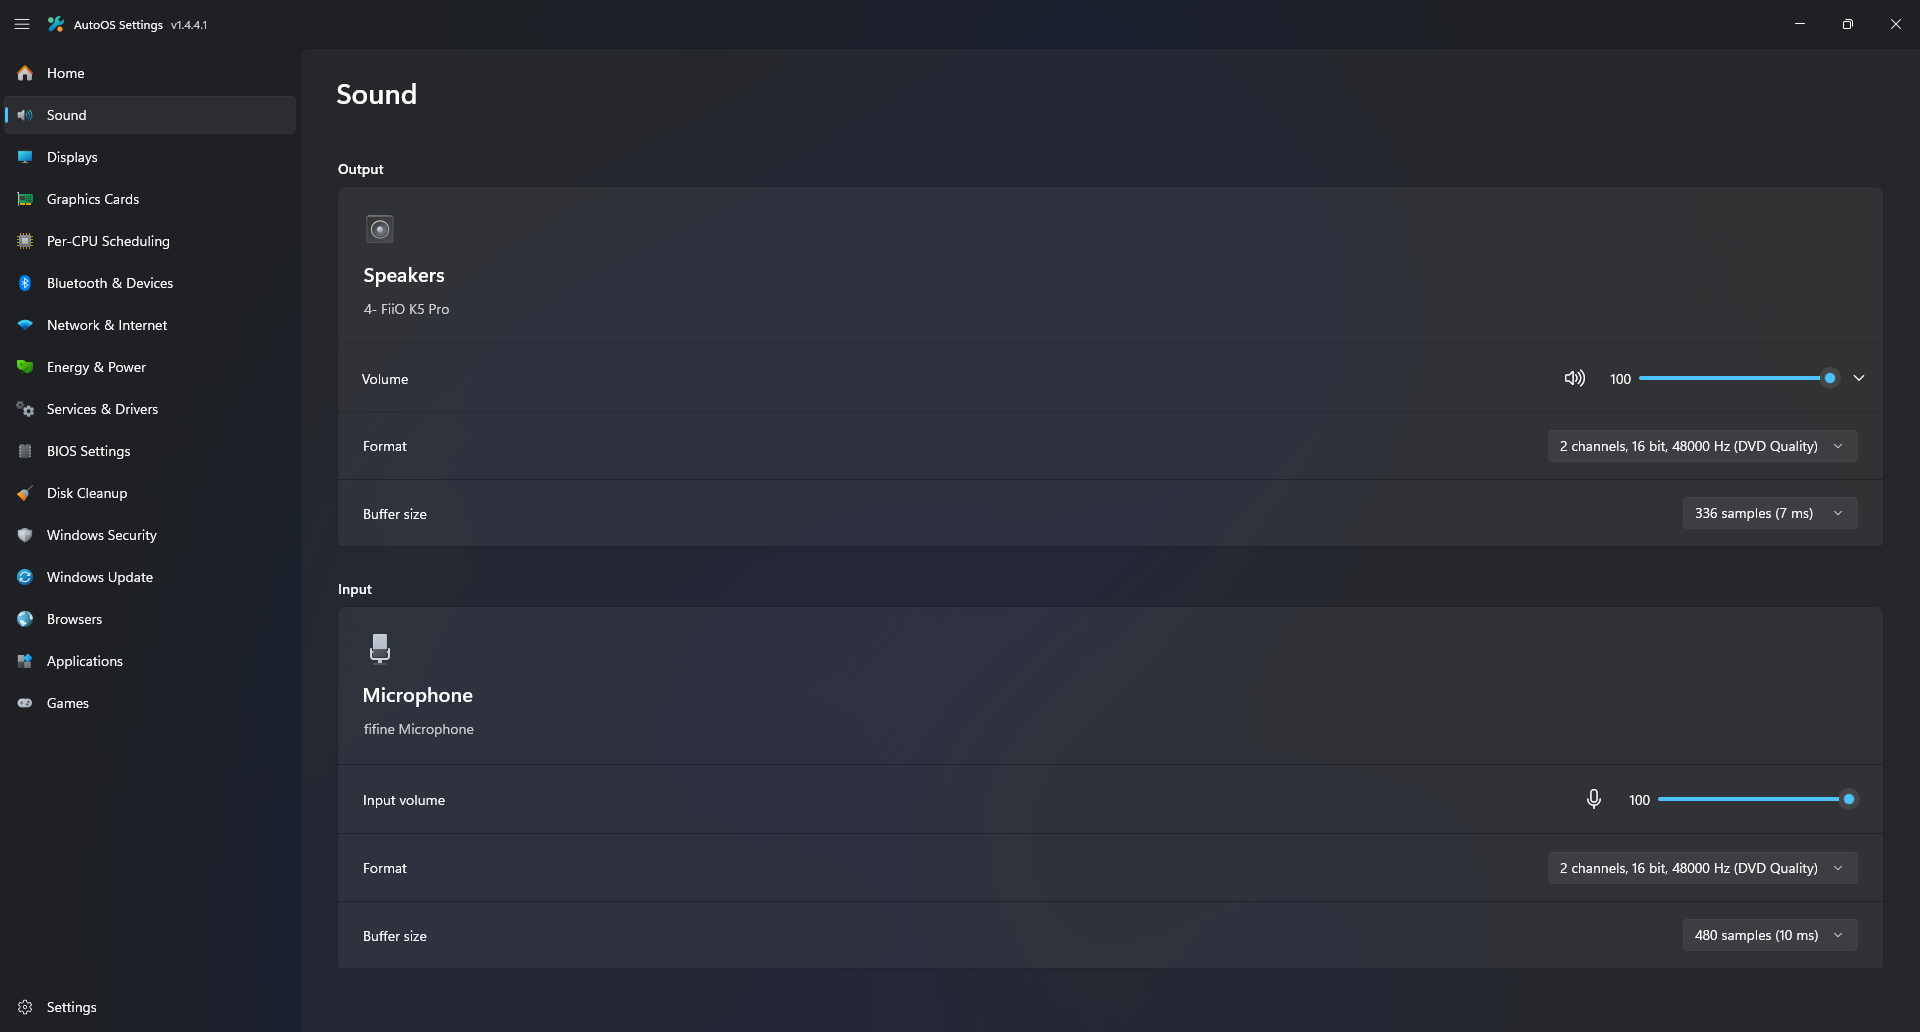
Sound
Adjust Volume, Format and Buffer Size of your current input and output device:
- If your audio output device supports a lower
buffer size, you can lower it in exchange for higher CPU usage.
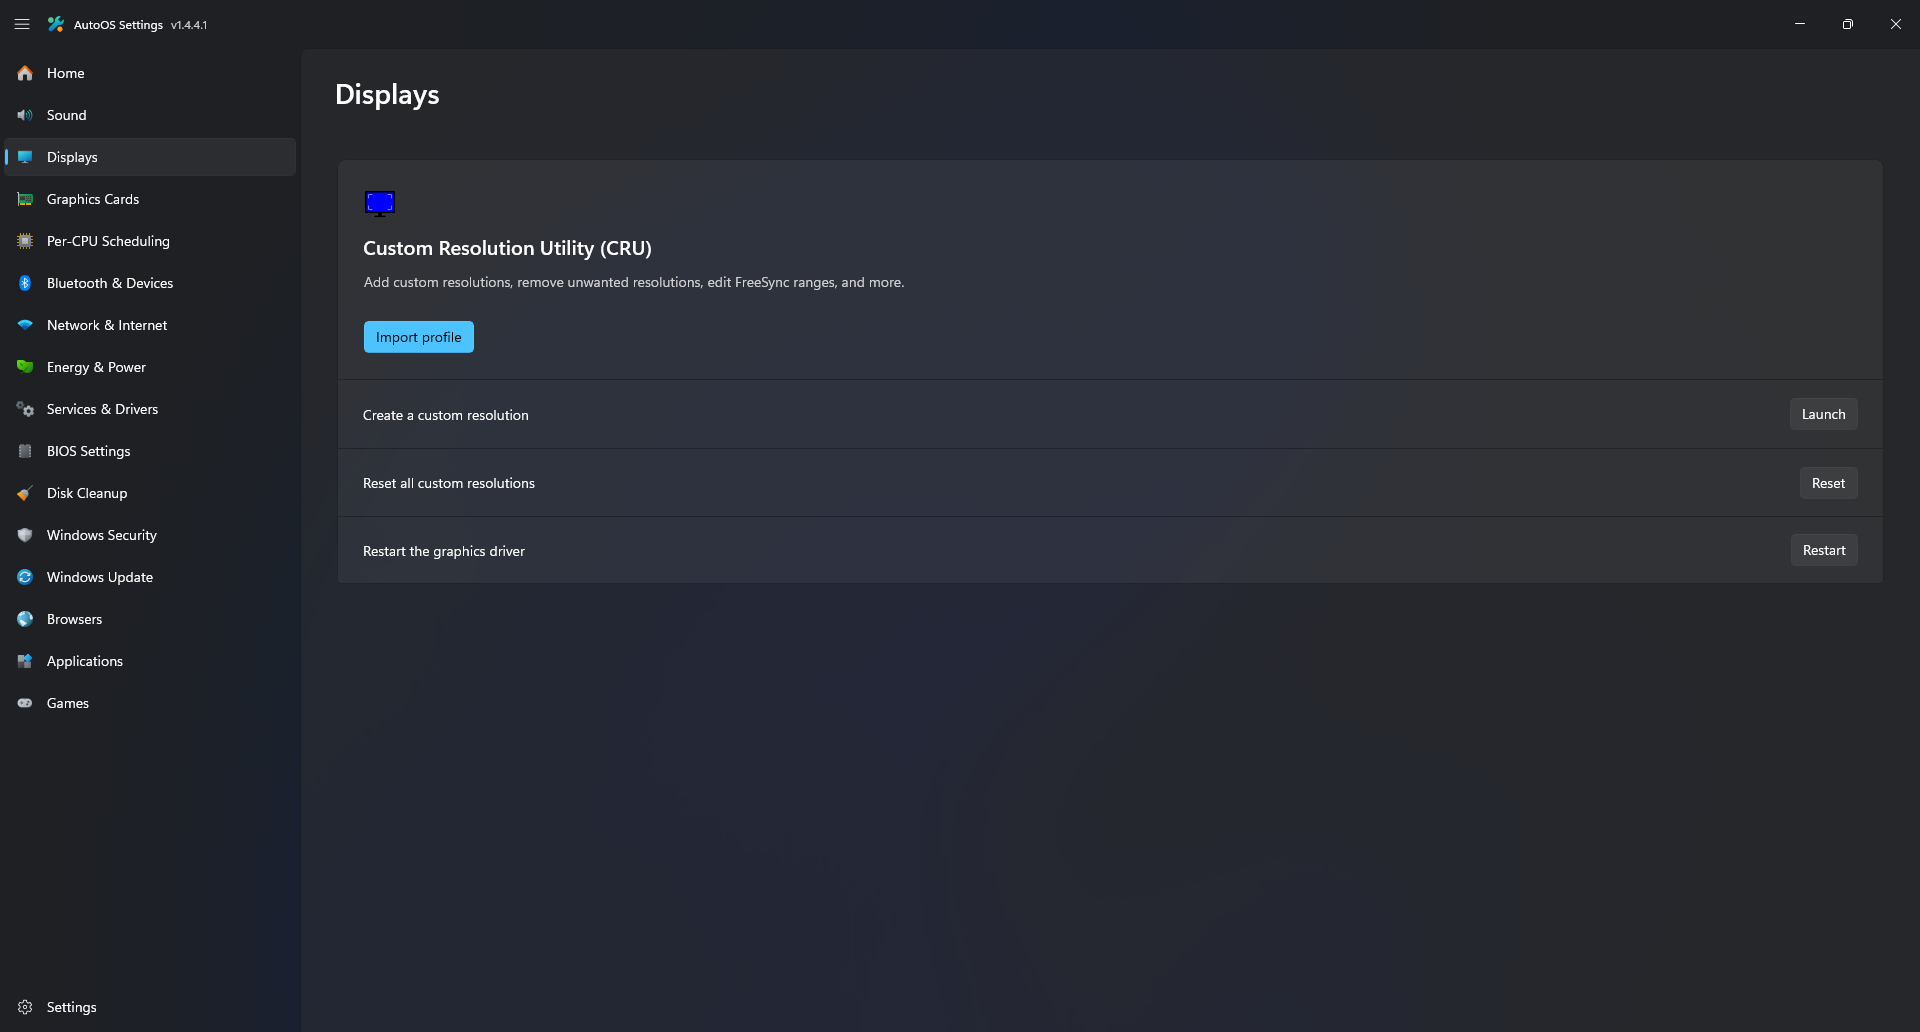
Displays
Manually adjust or import a Custom Resolution Utility (CRU) profile:
For NVIDIA GPUs, click to expand
-
Open NVIDIA Control Panel, go to
Display->Change resolutionand select your desiredmonitor. -
Make sure your desired resolution and refresh rate is active.
-
Click on
Customize...->Create Custom Resolution, and clickAccepton the disclaimer. -
Change the
Timing->StandardtoManual.Testing Loop: Whenever you change a value below, click
Testand follow these rules:- If the display works normally: Click
Noand continue adjusting. - If you see glitches/flickering: Click
No. Use smaller steps to find the exact working limit. - If you get a Black Screen / No Signal: Press
Enterto cancel. Use smaller steps to find the exact working limit.
Phase 1: Maximize Vertical Total Pixels
- Increase the Vertical
Total pixelsin increments of 20. - Click
Testafter each change using the rules above until you find the maximum working value.
Phase 2: Minimize Horizontal Total Pixels
- Take note of the default value.
- Decrease the Horizontal
Total pixelsin increments of 20. - Click
Testafter each change using the rules above until you find the minimum working value.
Phase 3: Final Vertical Total Pixels
- Increase the Vertical
Total pixelsagain, in increments of 1. - Click
Testafter each change using the rules above until you find the absolute maximum working value. - If you were not able to increase it further than what you had from Phase 1, set Horizontal
Total pixelsback to the default value and skip Phase 4.
Phase 4: Final Horizontal Total Pixels
- Increase the Horizontal
Total pixelsagain, in increments of 10. - Click
Testafter each change using the rules above until you find the absolute maximum working value.
Save changes using Custom Resolution Utility (CRU):
- Click
LaunchunderCreate a custom resolutionin AutoOS. - Click on the entry under
Extension blocks, then click onEditbelow. - Change the
TypetoDisplayID 2.0, if it has no data, change it back toCTA-861. - Click on the resolution entry with the same
refresh rateyou modified in NVIDIA Control Panel underDetailed resolutions, then clickEditbelow. - Enter all values from NVIDIA Control Panel under the corresponding fields in CRU.
- Front porch (pixels) -> Front porch
- Sync width (pixels) -> Sync width
- In Custom Resolution Utility (CRU), click on
Totaland enter your values. - Polarity -> Sync polarity
- Refresh rate -> Refresh rate
- If the
Actualrefresh rate doesn't end in.000 Hz, increase or decrease the Horizontal Total pixels by 1 until it ends with.000 Hz. - Click
OKand thenExport, change Save as type toEXE File (*.exe)and save it an external location like a USB or HDD. - Click
OKto exit Custom Resolution Utility (CRU). - Click on
RestartunderRestart the graphics driverin AutoOS.
Future usage:
- Click
Import profilein AutoOS and select the.exefile you exported to instantly reapply the custom resolution.
- If the display works normally: Click
Graphics Cards
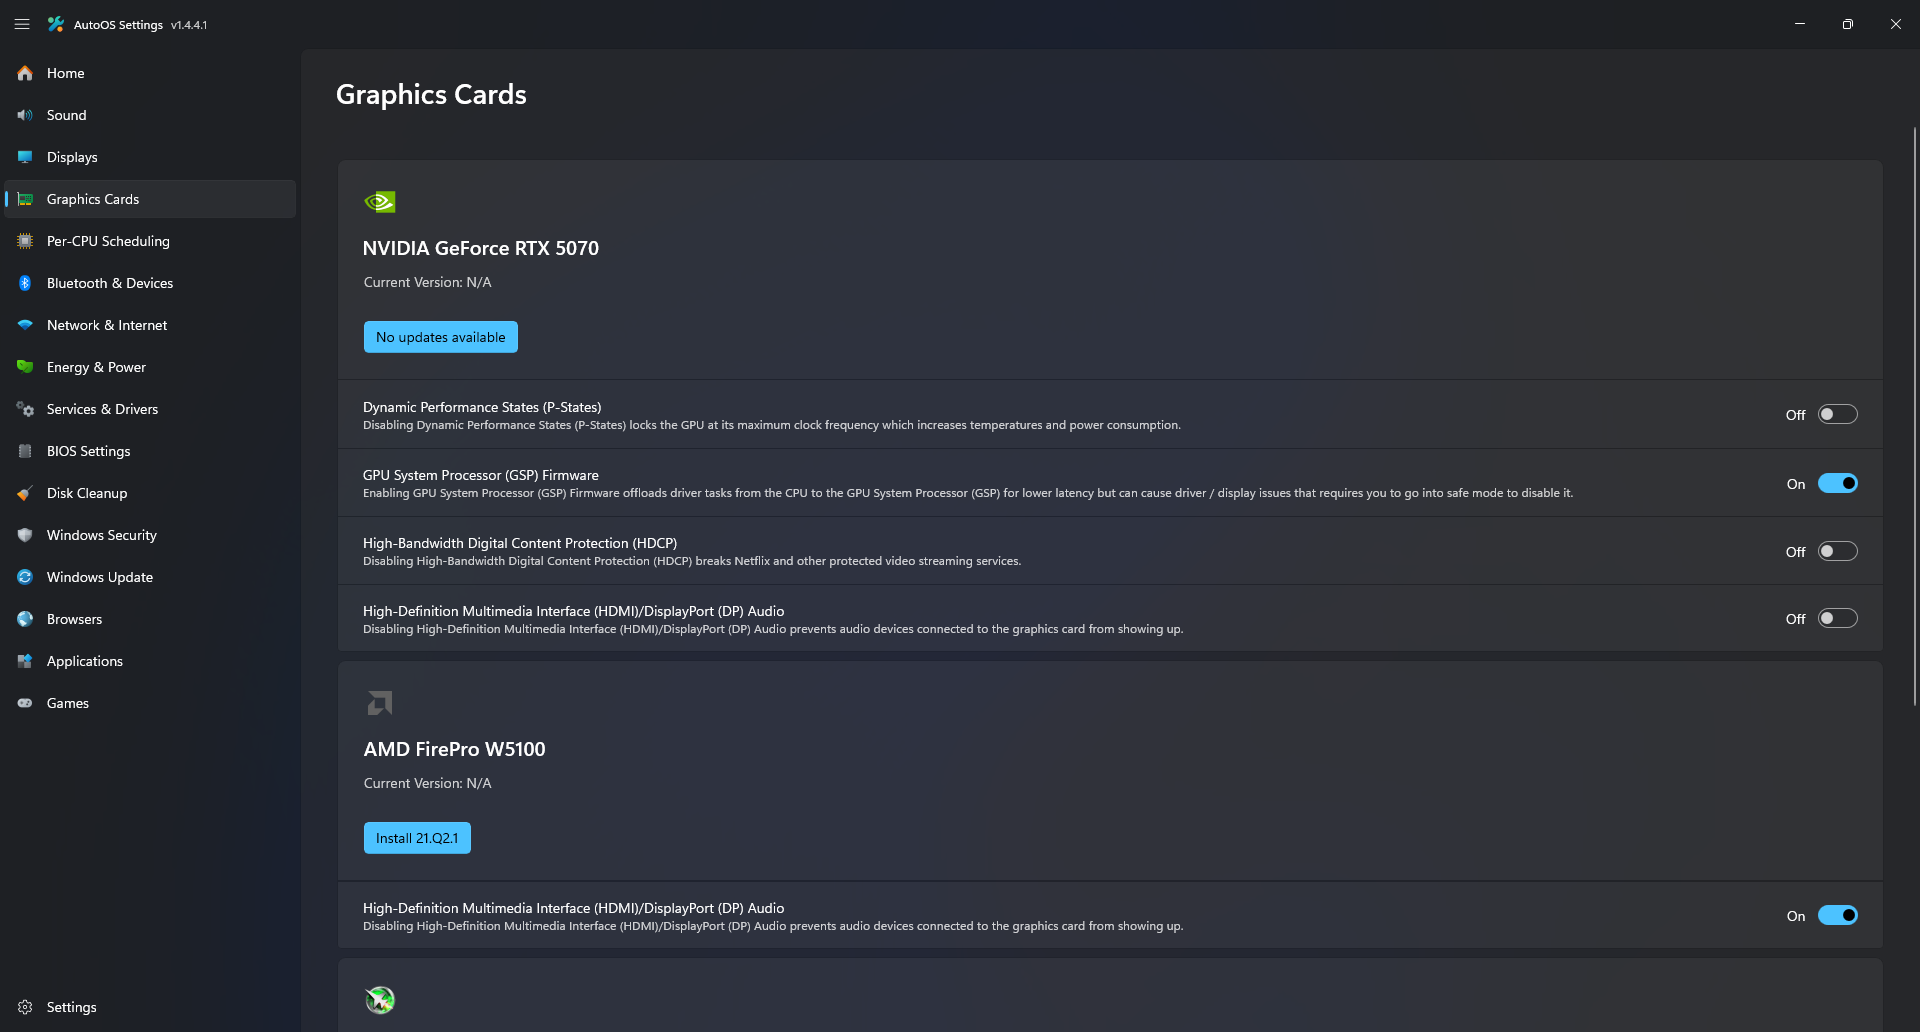
Select your Graphics Card preferences:
- Click
Updateif available, which updates your GPU driver while keeping your current settings. - Enable
High-Bandwidth Digital Content Protection (HDCP)if you watch DRM protected content likeNetflixetc. - Disable
High-Definition Multimedia Interface (HDMI)/DisplayPort (DP) Audioif you don't use headphones or speakers connected to your monitor or audio receiver. - Manually adjust or import an
MSI Afterburner Profile. - Enable the
OBS Studiotoggle if you want to haveclips(30sec,Alt + F10).
Per-CPU Scheduling
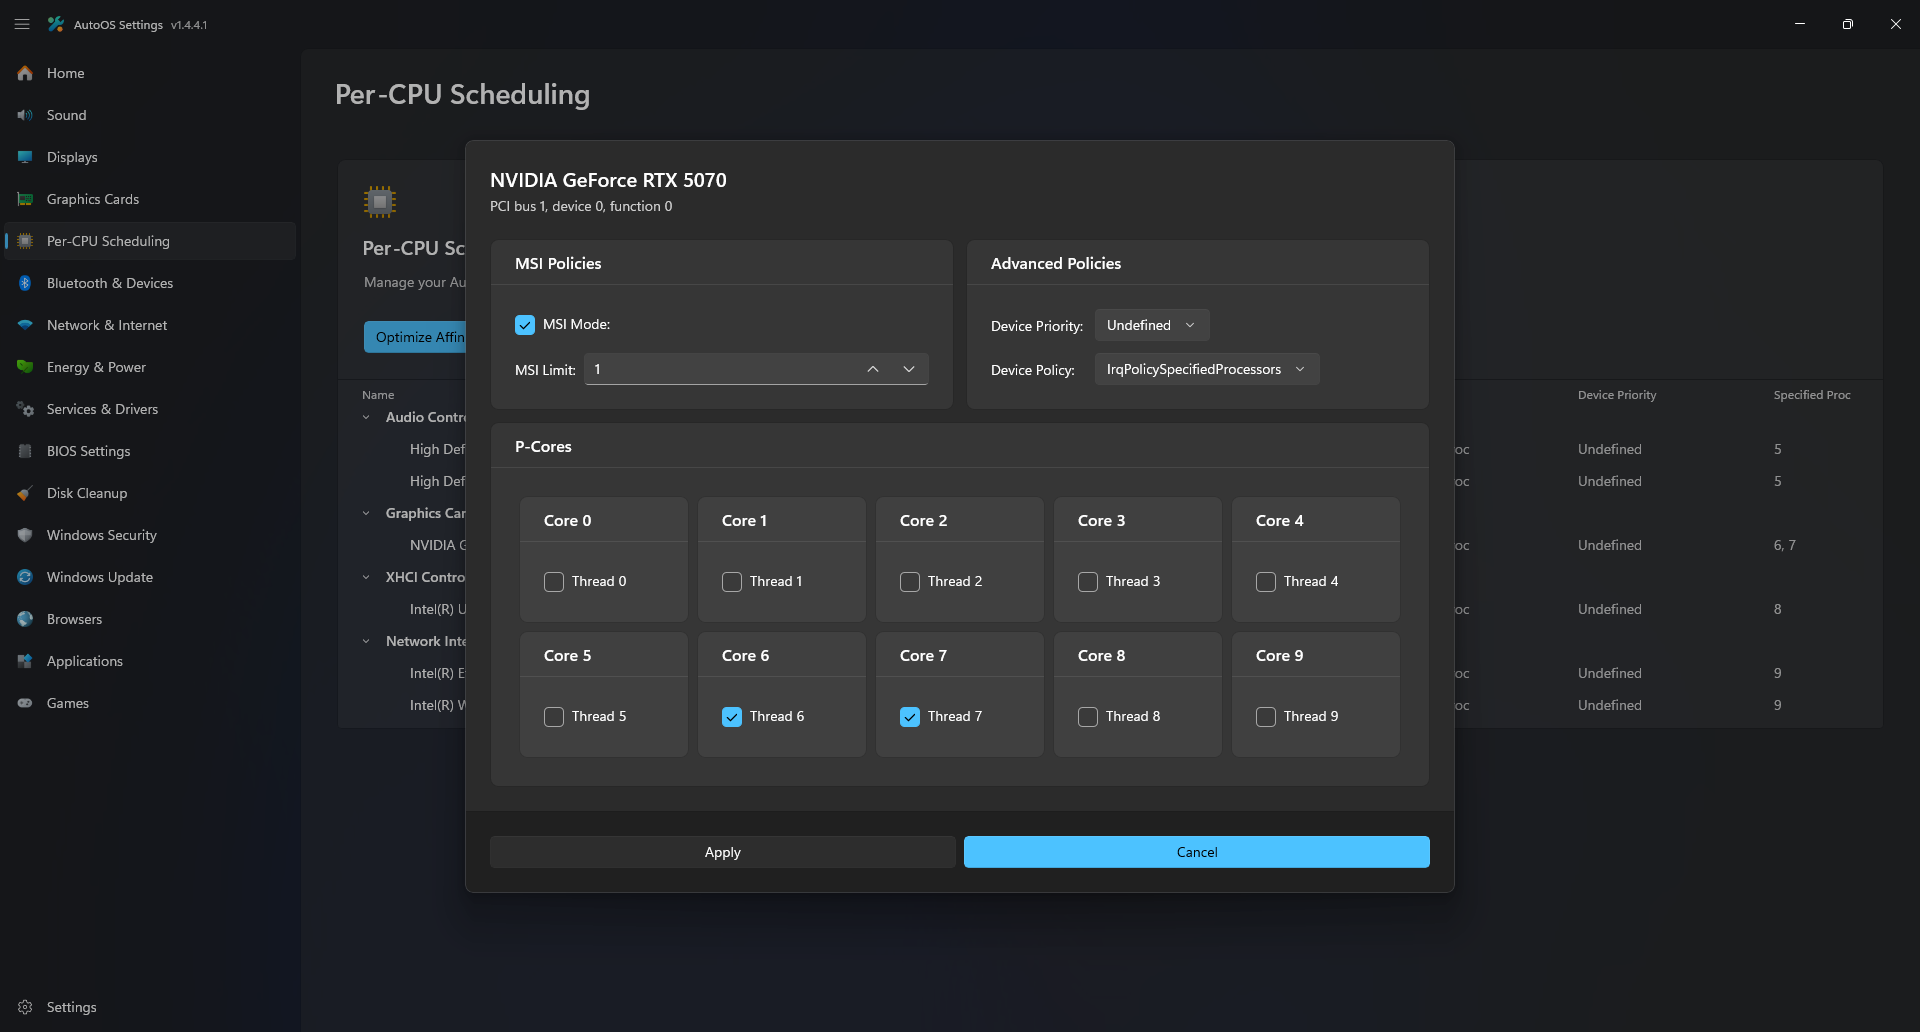
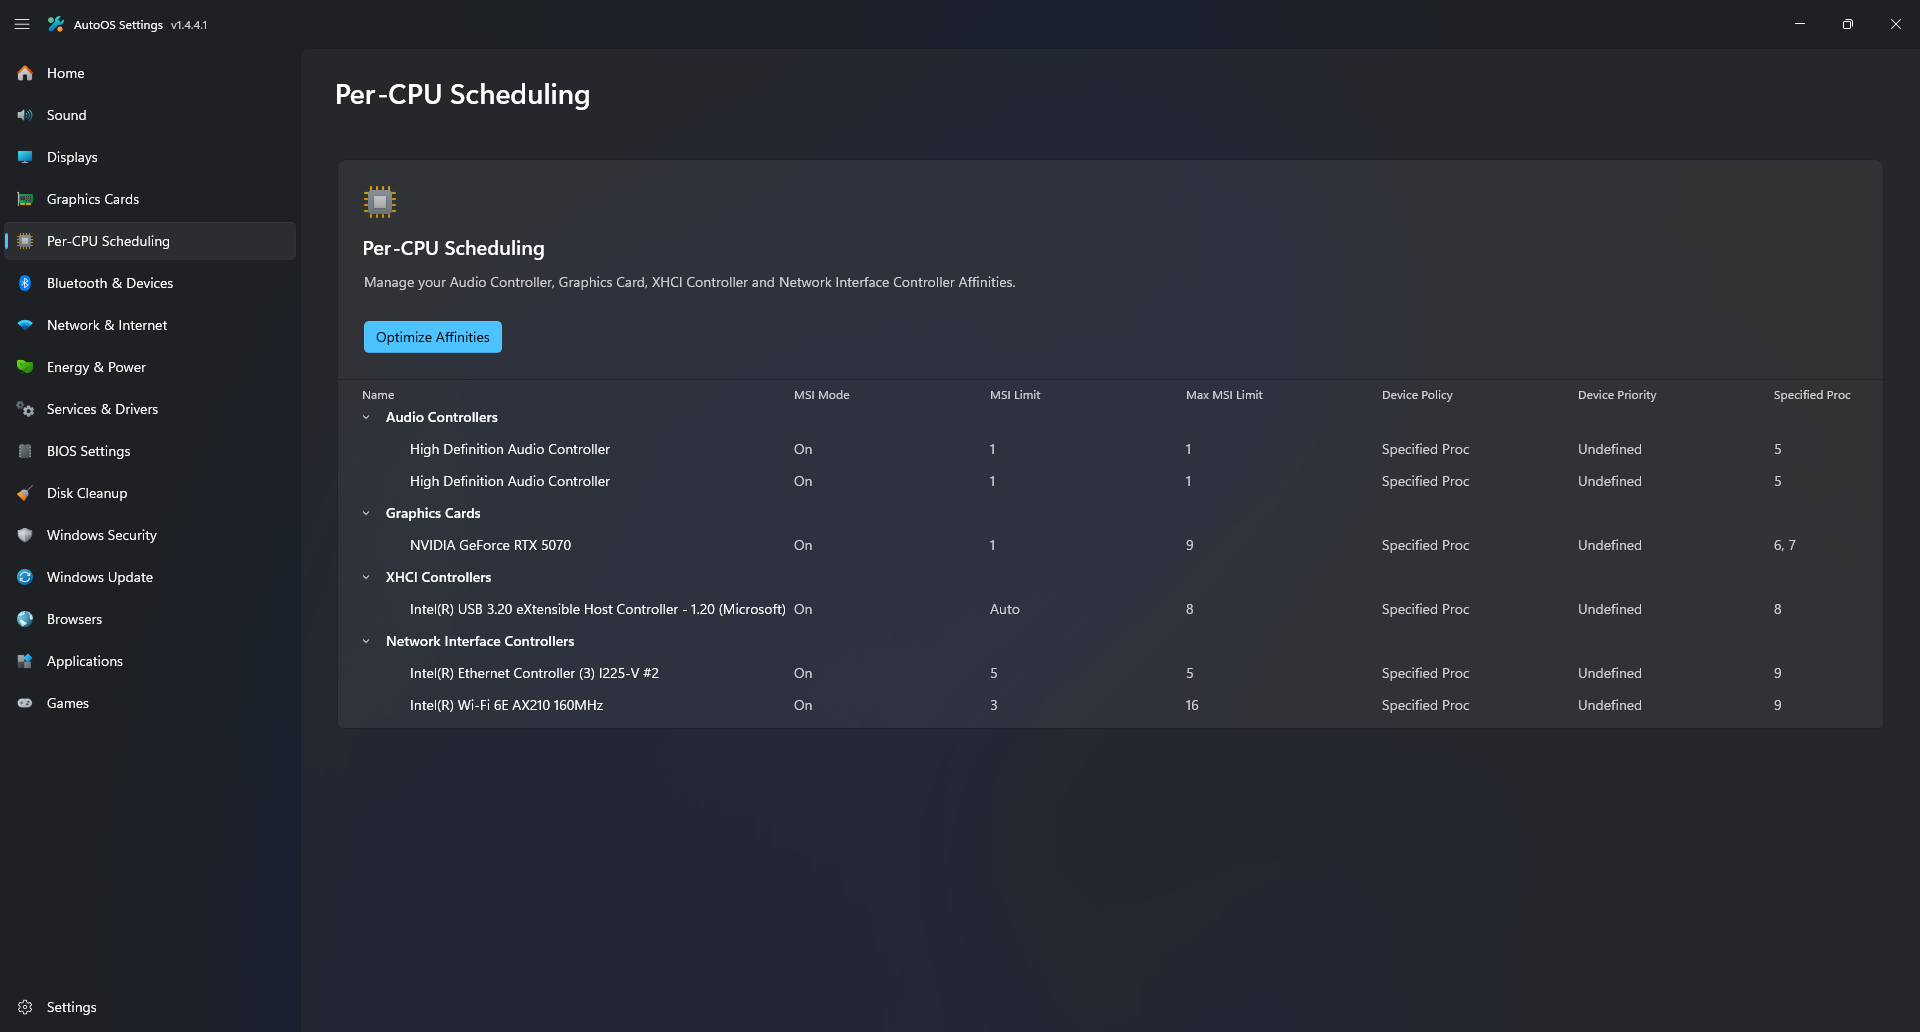
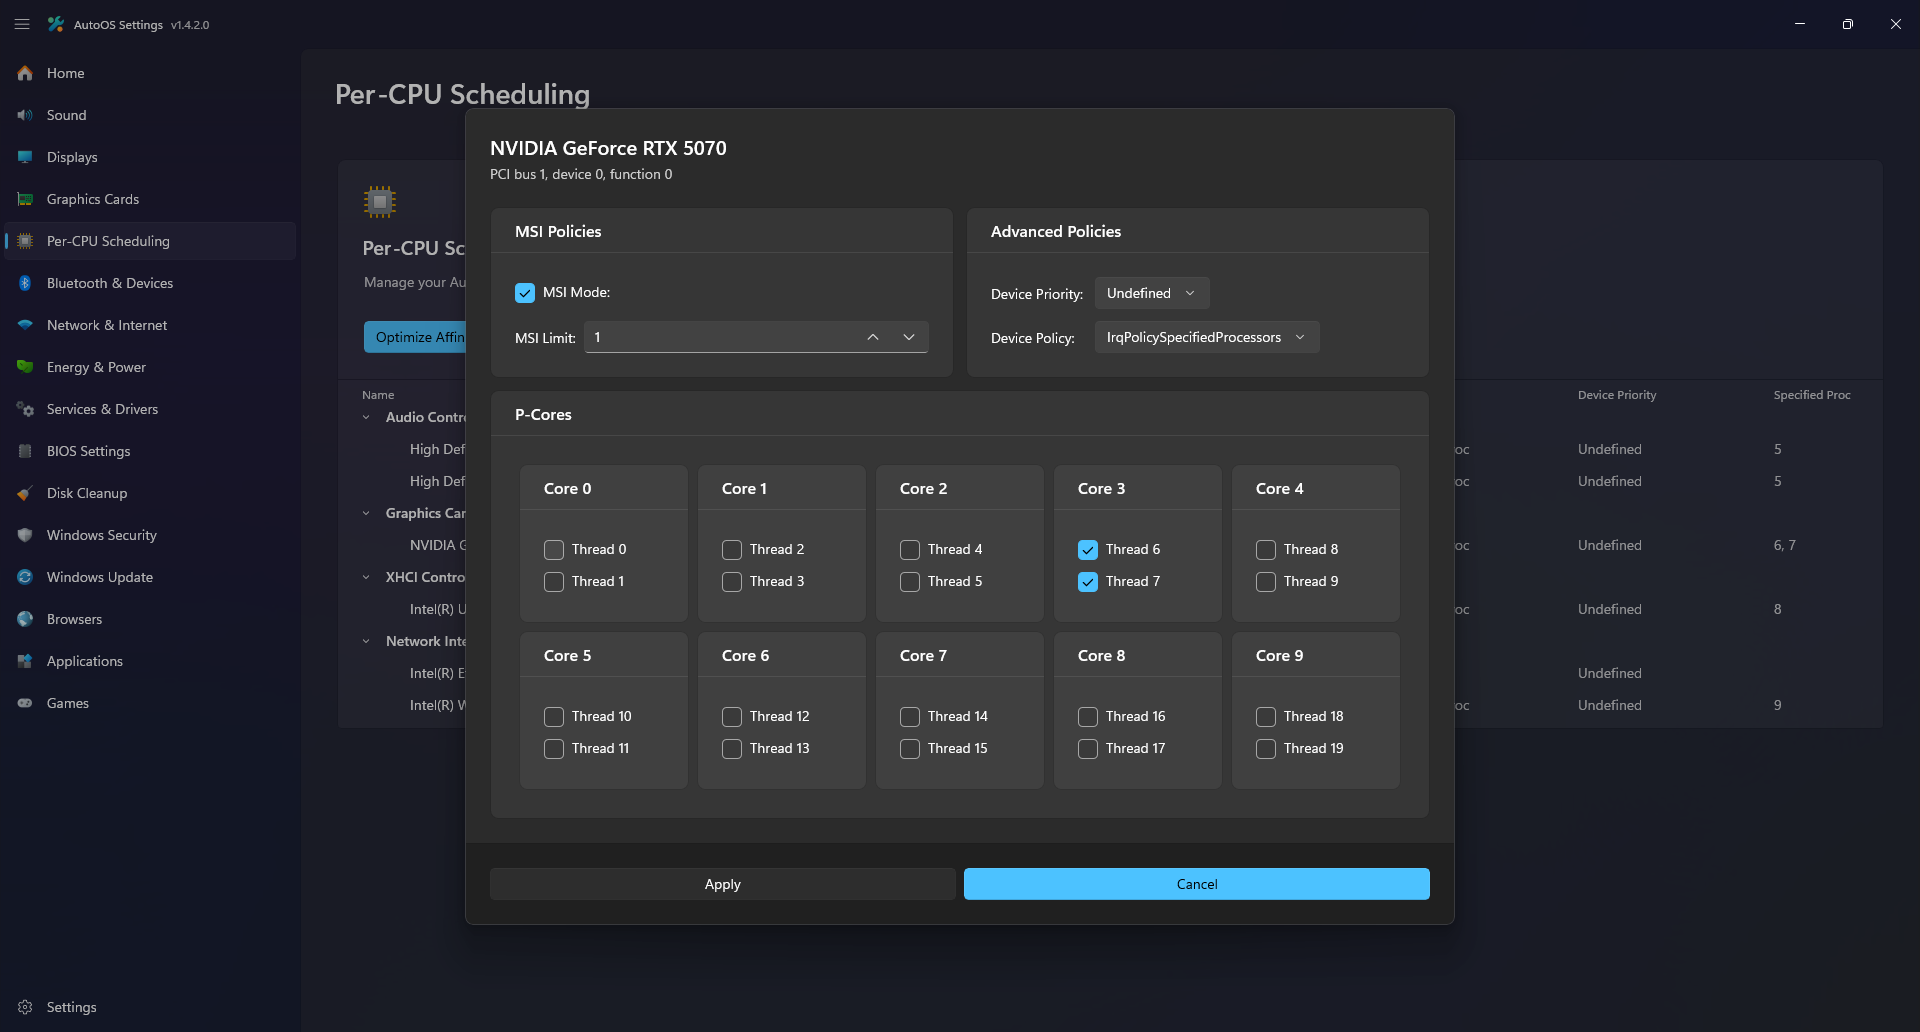
Manually adjust or automatically optimize Audio, GPU, XHCI and NIC Affinities:
- Click
Optimize Affinitiesto reapply Affinities to all devices after manual driver reinstalls or after togglingHyper-Threading/SMT.
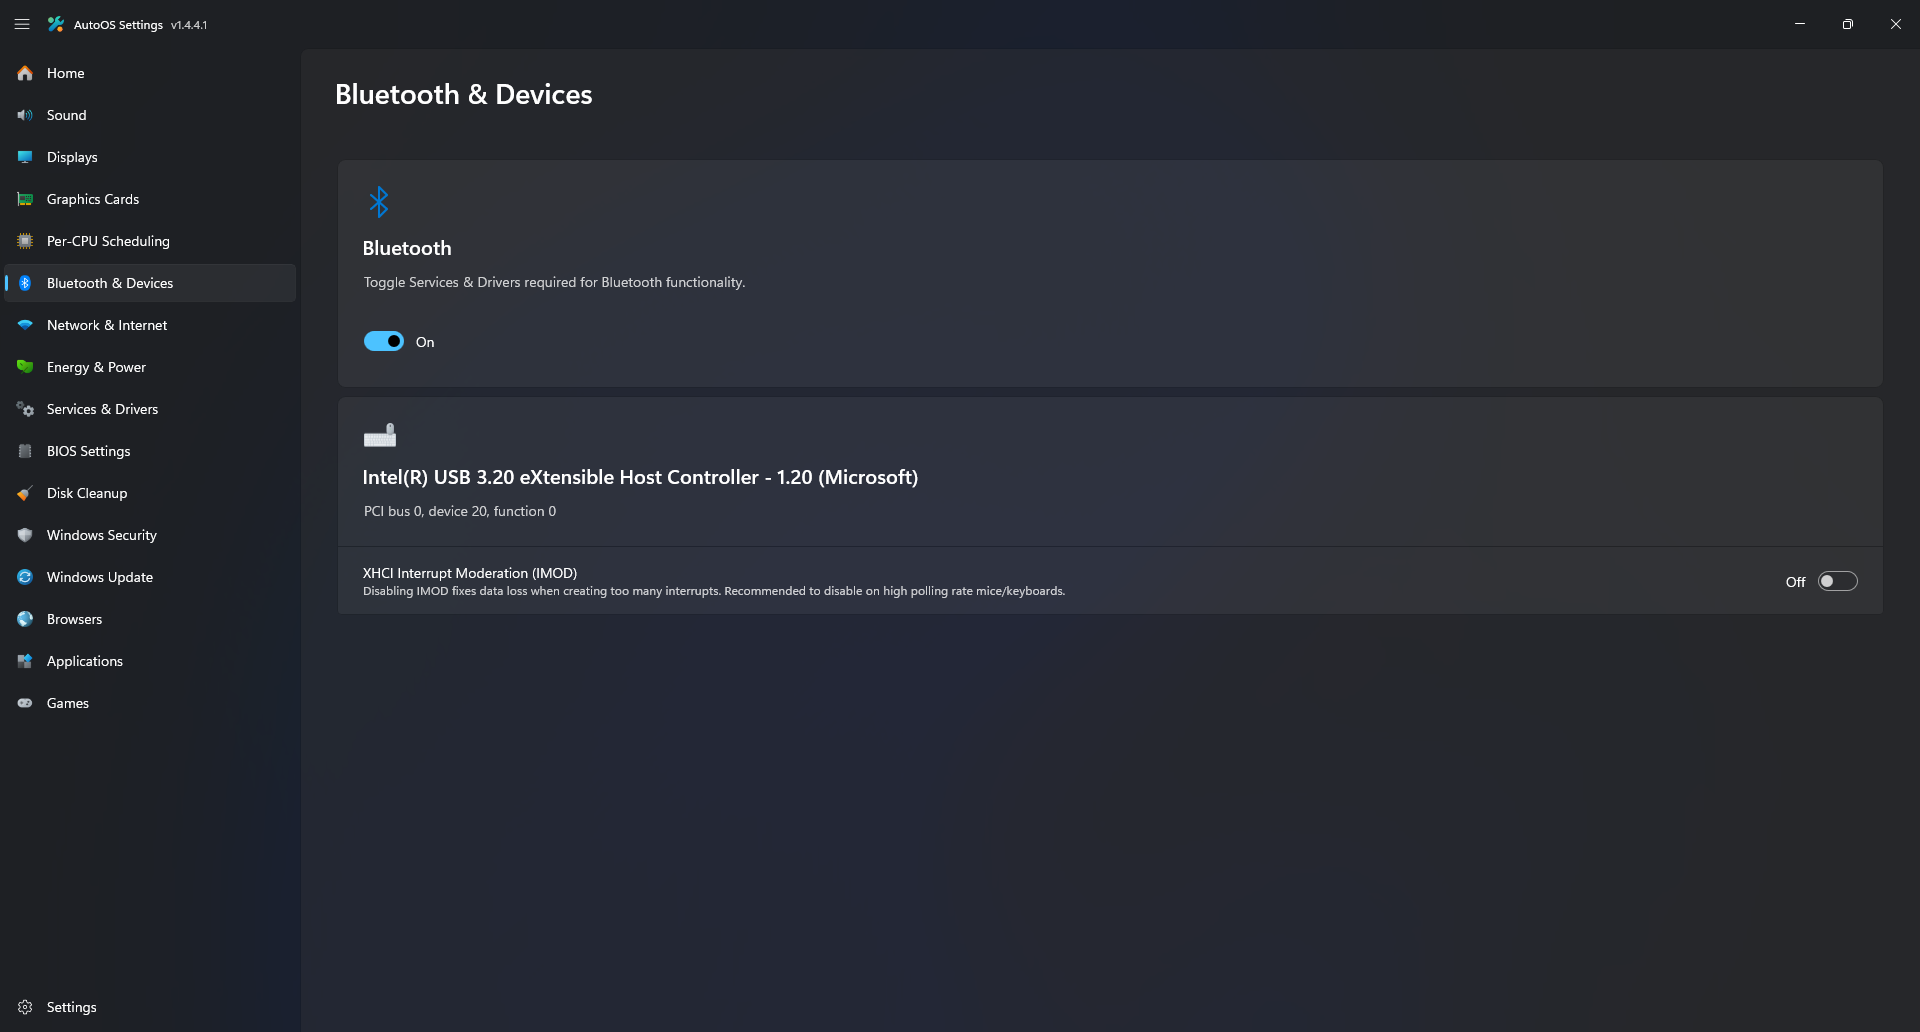
Bluetooth & Devices
Toggle Bluetooth Services & Drivers and XHCI Interrupt Moderation (IMOD) per controller:
- Keep XHCI Interrupt Moderation (IMOD) disabled for all USB controllers.
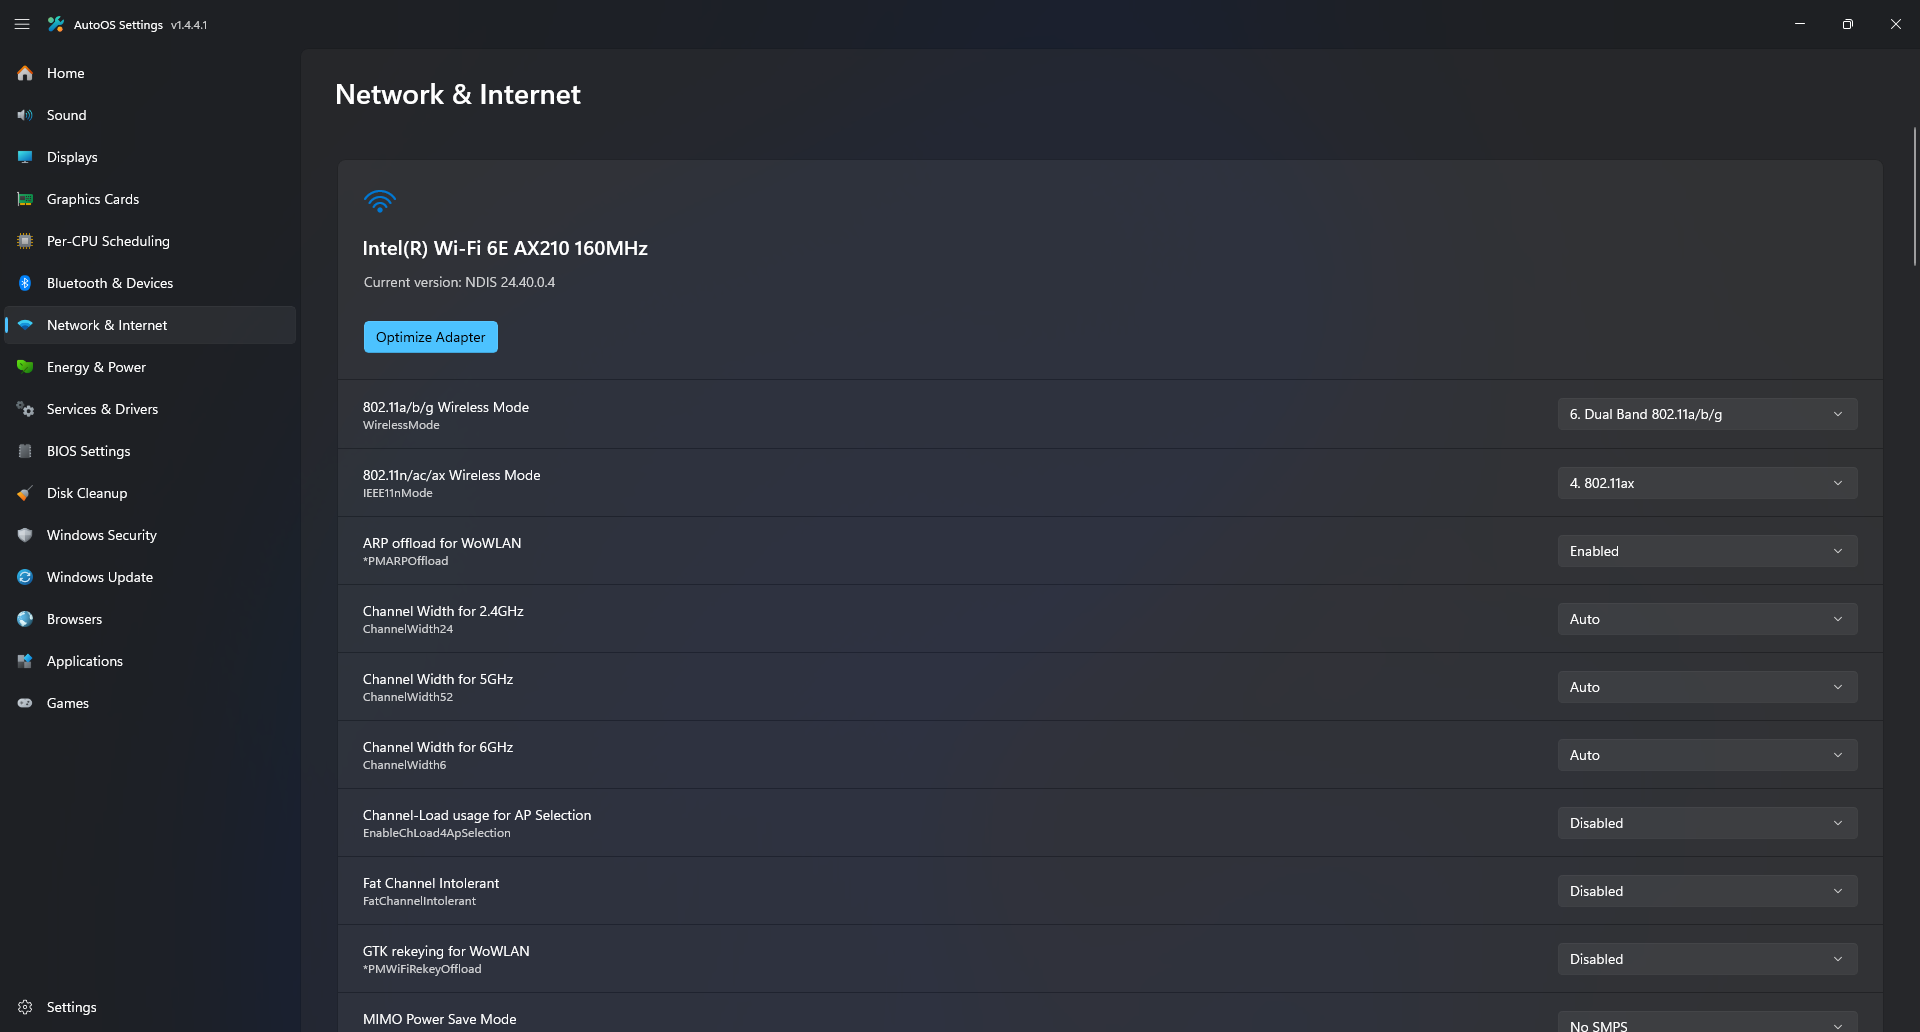
Network & Internet
Manually adjust or automatically optimize advanced network adapter settings:
- Click
Optimize Adapterto reapply settings after driver reinstalls.
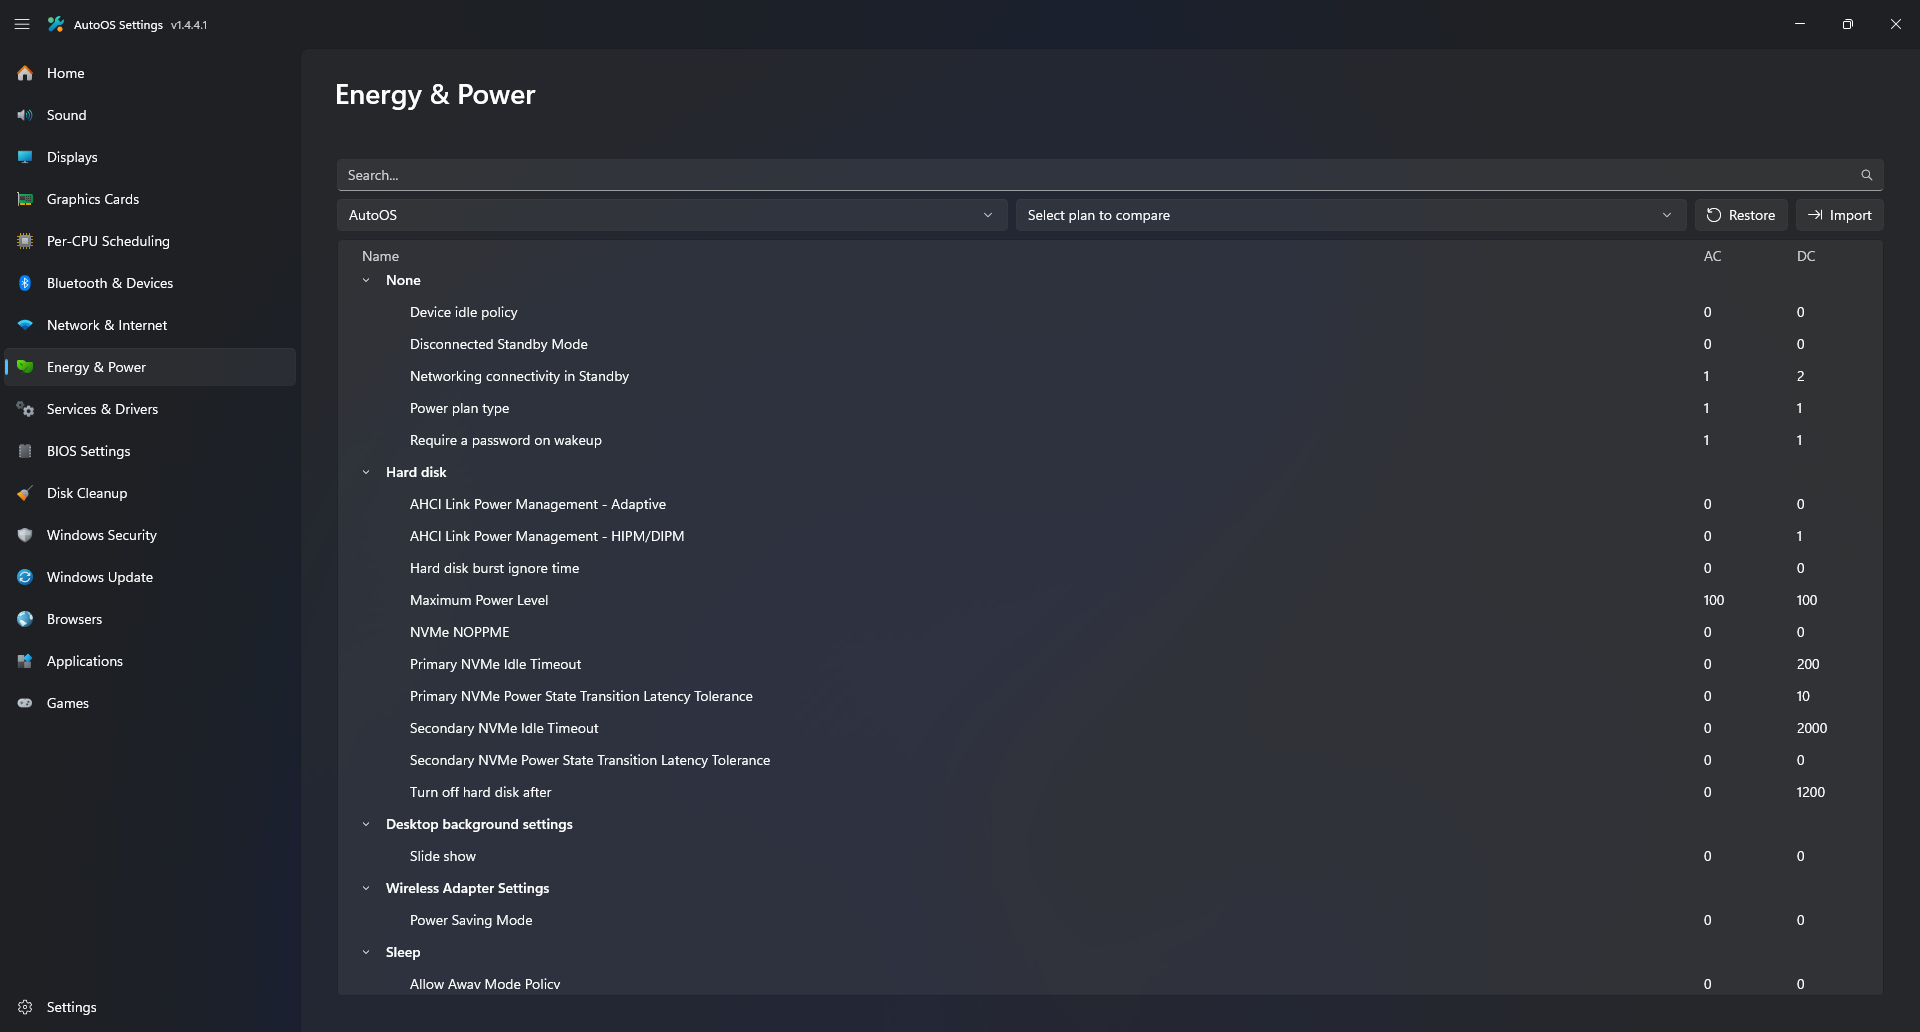
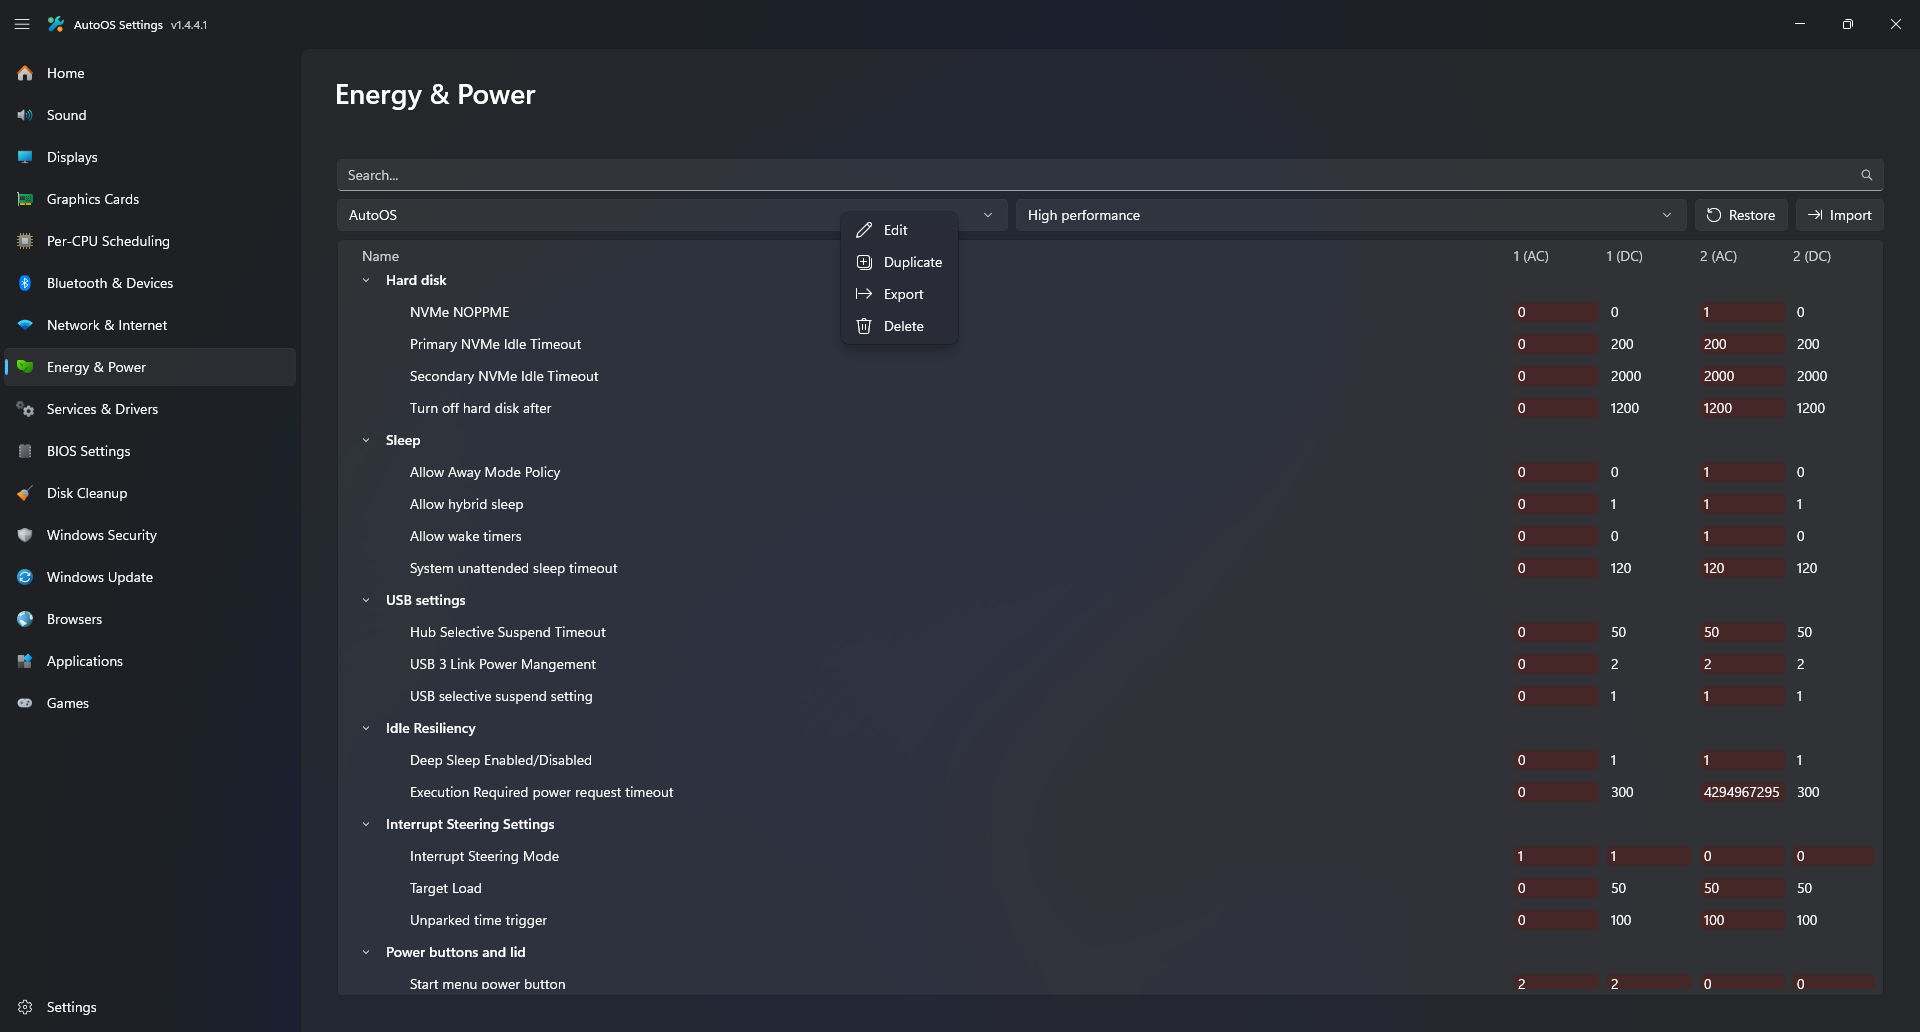
Energy & Power
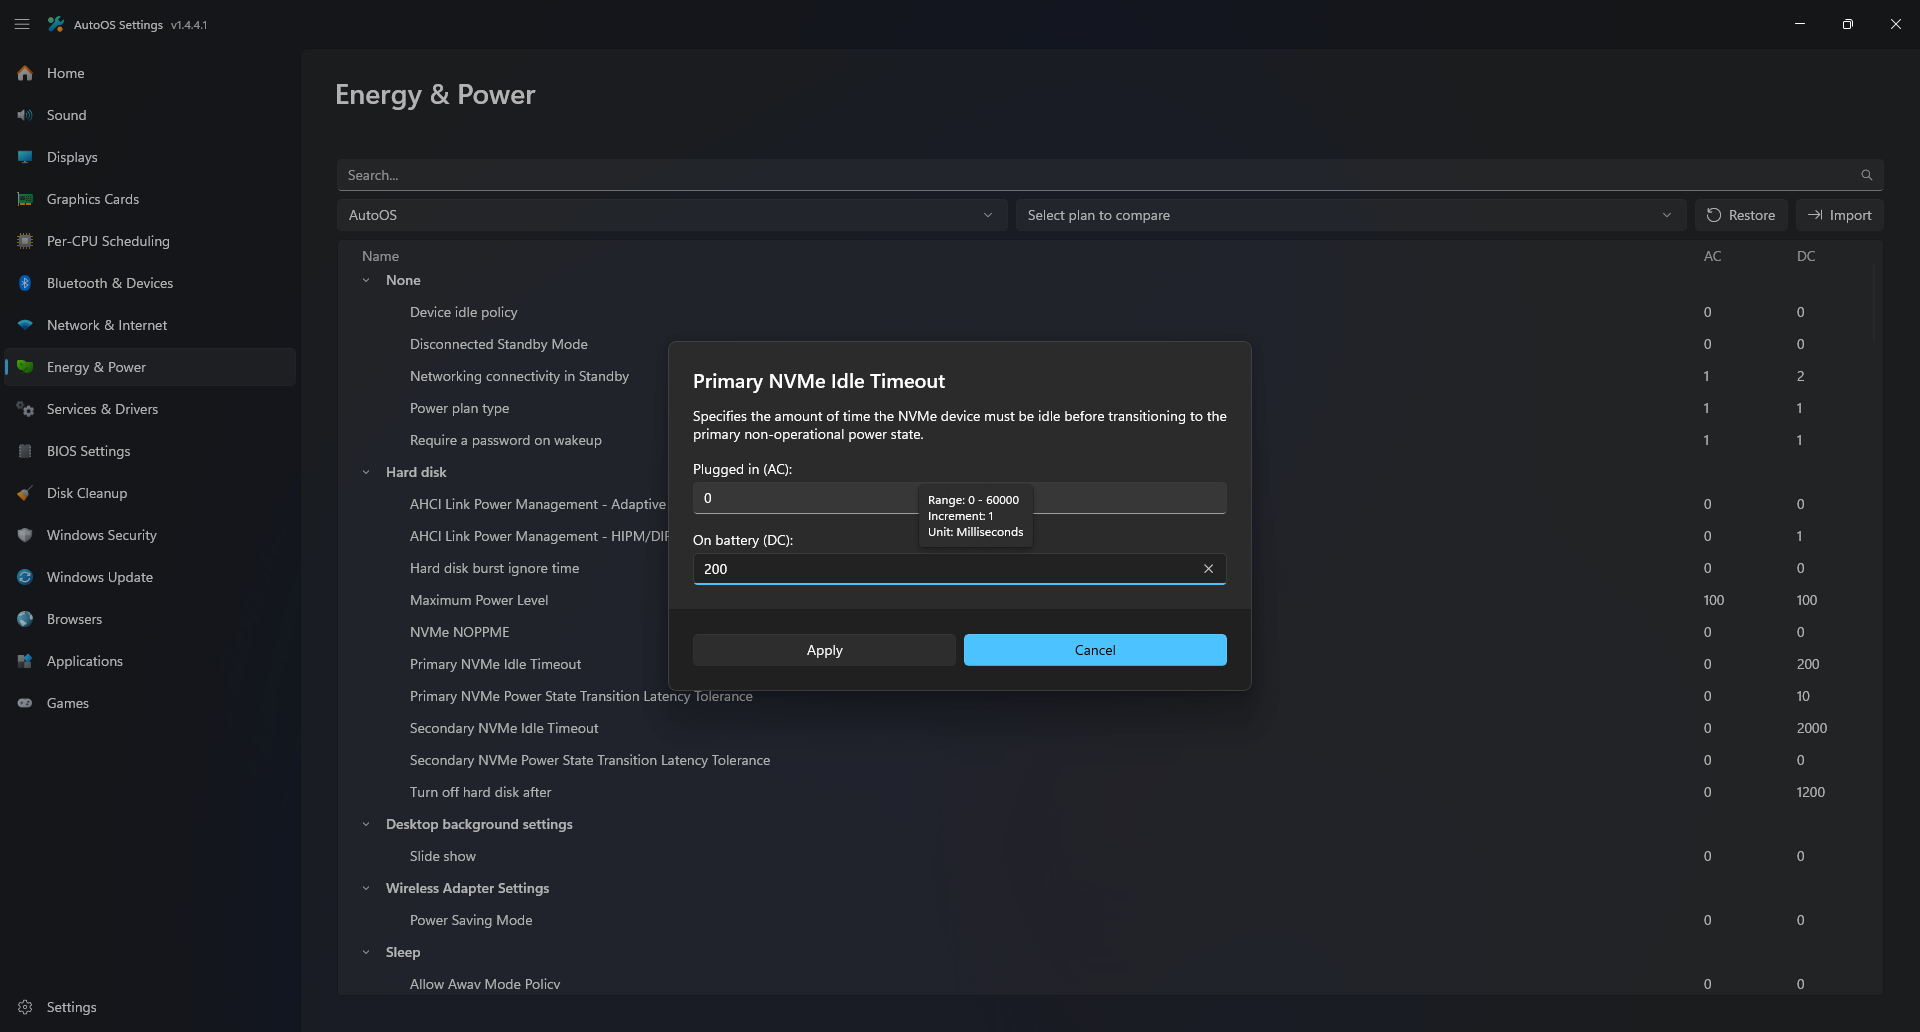
Adjust, Edit, Duplicate, Delete, Restore, Export, Import Power plans and compare them:
- Keep using the AutoOS Power Plan.
- If you have issues with the AutoOS Power Plan, leave a message on the Discord Server.
- Select another power plan in the 2nd combobox to compare it to the active power plan.
- Right click on the active power plan combobox to
Edit, Duplicate, Delete or Exportit.
Services & Drivers
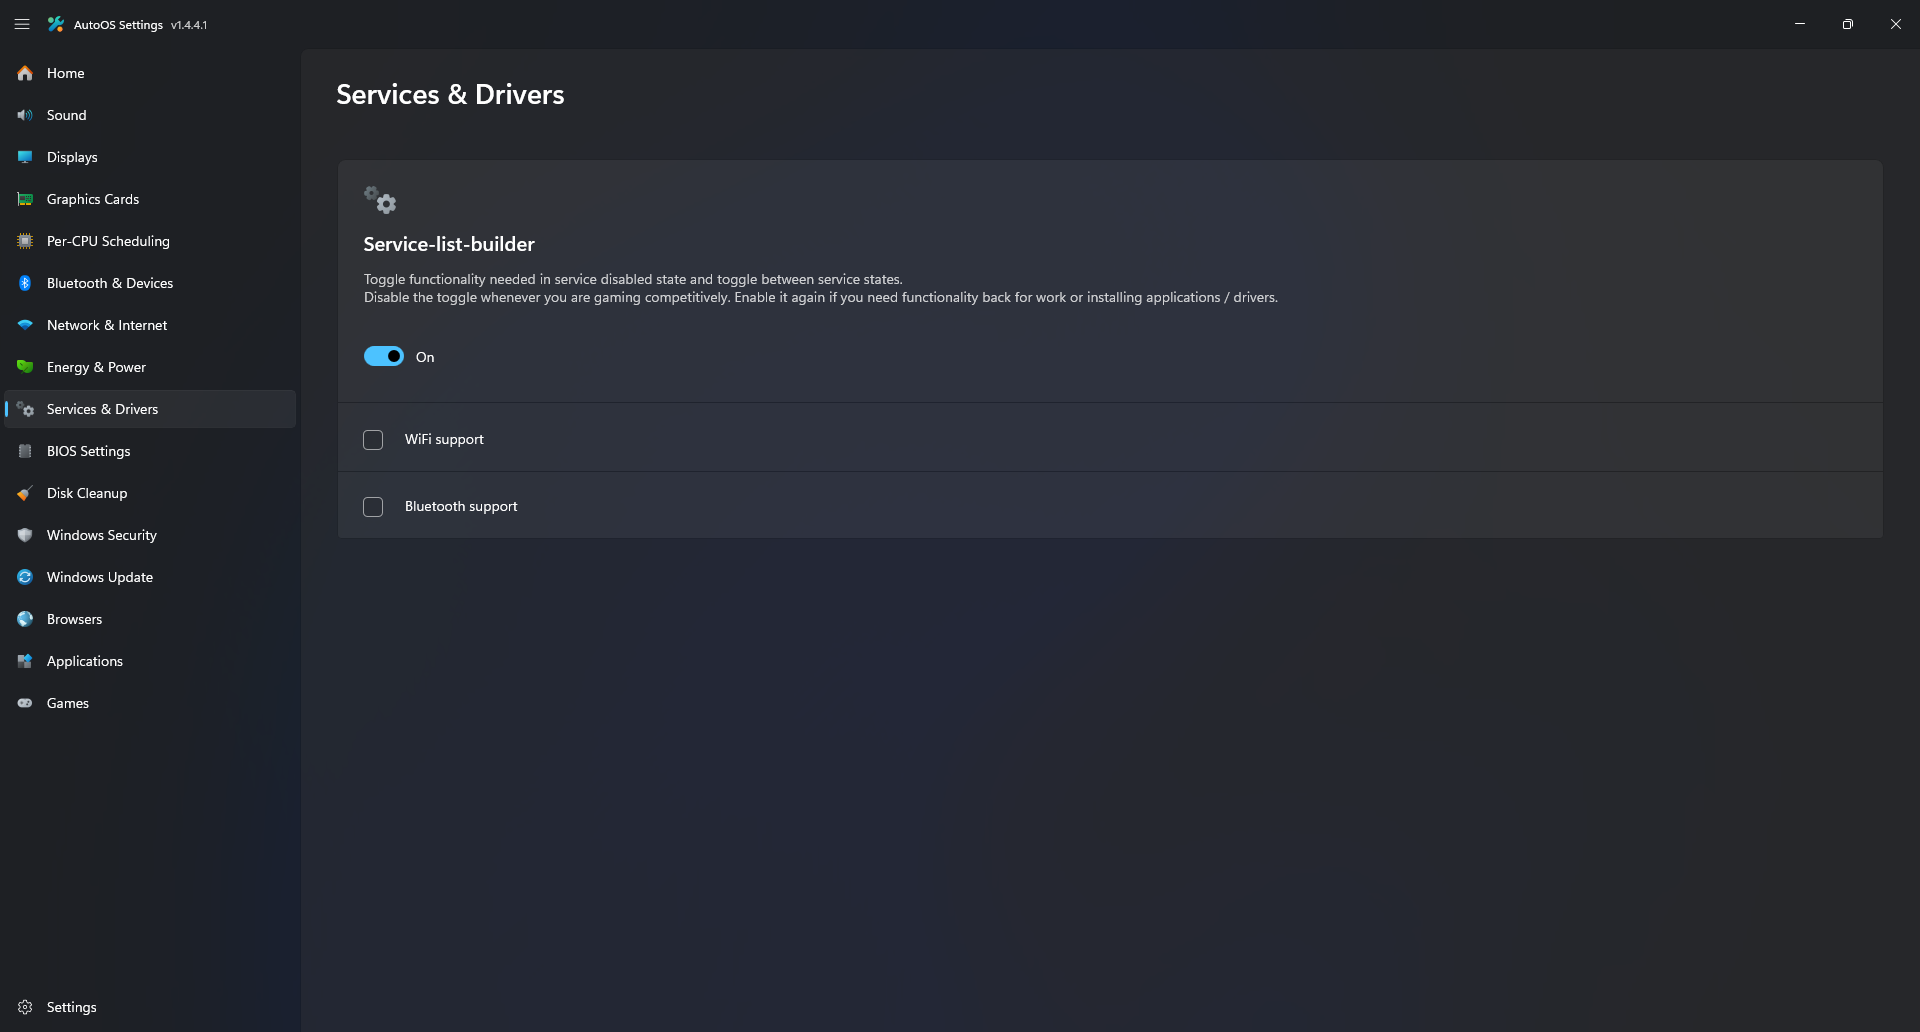
Toggle Services & Drivers states with configured functionality:
- Enable the
WiFi Supportcheckbox if you are using WiFi while Gaming. - Enable the
Bluetooth Supportcheckbox if you are using Bluetooth while Gaming. - Disable the toggle at the top and restart whenever you are Gaming competitively.
- Enable it again and restart if you need
functionalityfor Work or installing applications / drivers.
BIOS Settings
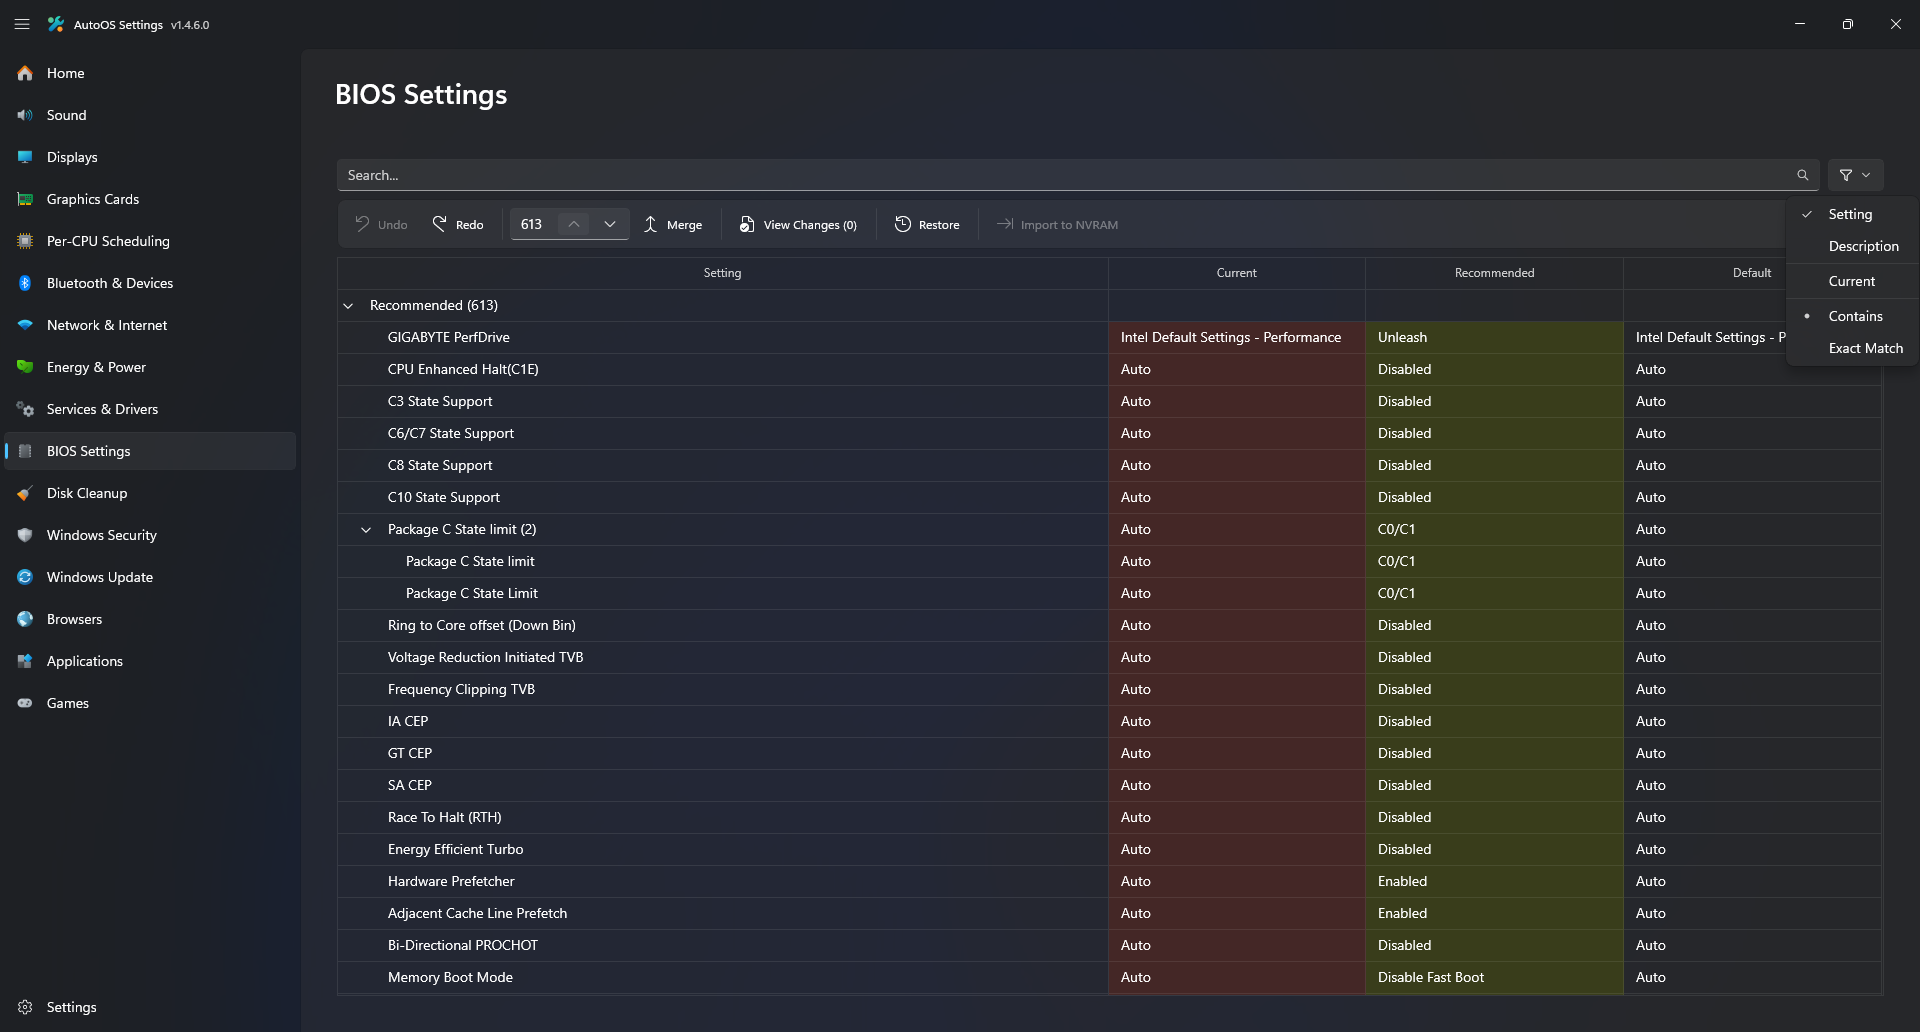
Manually adjust or merge recommended BIOS Settings:
-
In the toolbar, click
MergeandImport to NVRAM, then restart your PC.If no internet:
- Enable the toggle in the
Services & Driverstab and restart your PC. - Click
Optimizein thePer-CPU Schedulingand in theNetwork & Internettab.
If not booting:
- Reset CMOS using the button on your motherboard (if yours has one) or by removing the CMOS battery for 5 minutes.
- After that, lower the Merge Count until you find the setting that causes your PC to not boot.
- Once you find the setting, please leave a message on the Discord Server.
If crashing, freezing or worse performance:
- Option 1 (Easier): Click
Restoreand select the oldest or previous NVRAM backup. - Option 2 (Harder):
- Intel:
- Lower
Max Turbo Ratios - Enable
Hyper-Threading - Disable
E-Cores(Active E-Cores, Active Efficient Cores, Active Efficient-cores, No. of CPU E-Cores Enabled)
- Lower
- AMD:
- Lower
All Core Curve Optimizer Magnitude
- Lower
- Intel:
- Enable the toggle in the
Disk Cleanup
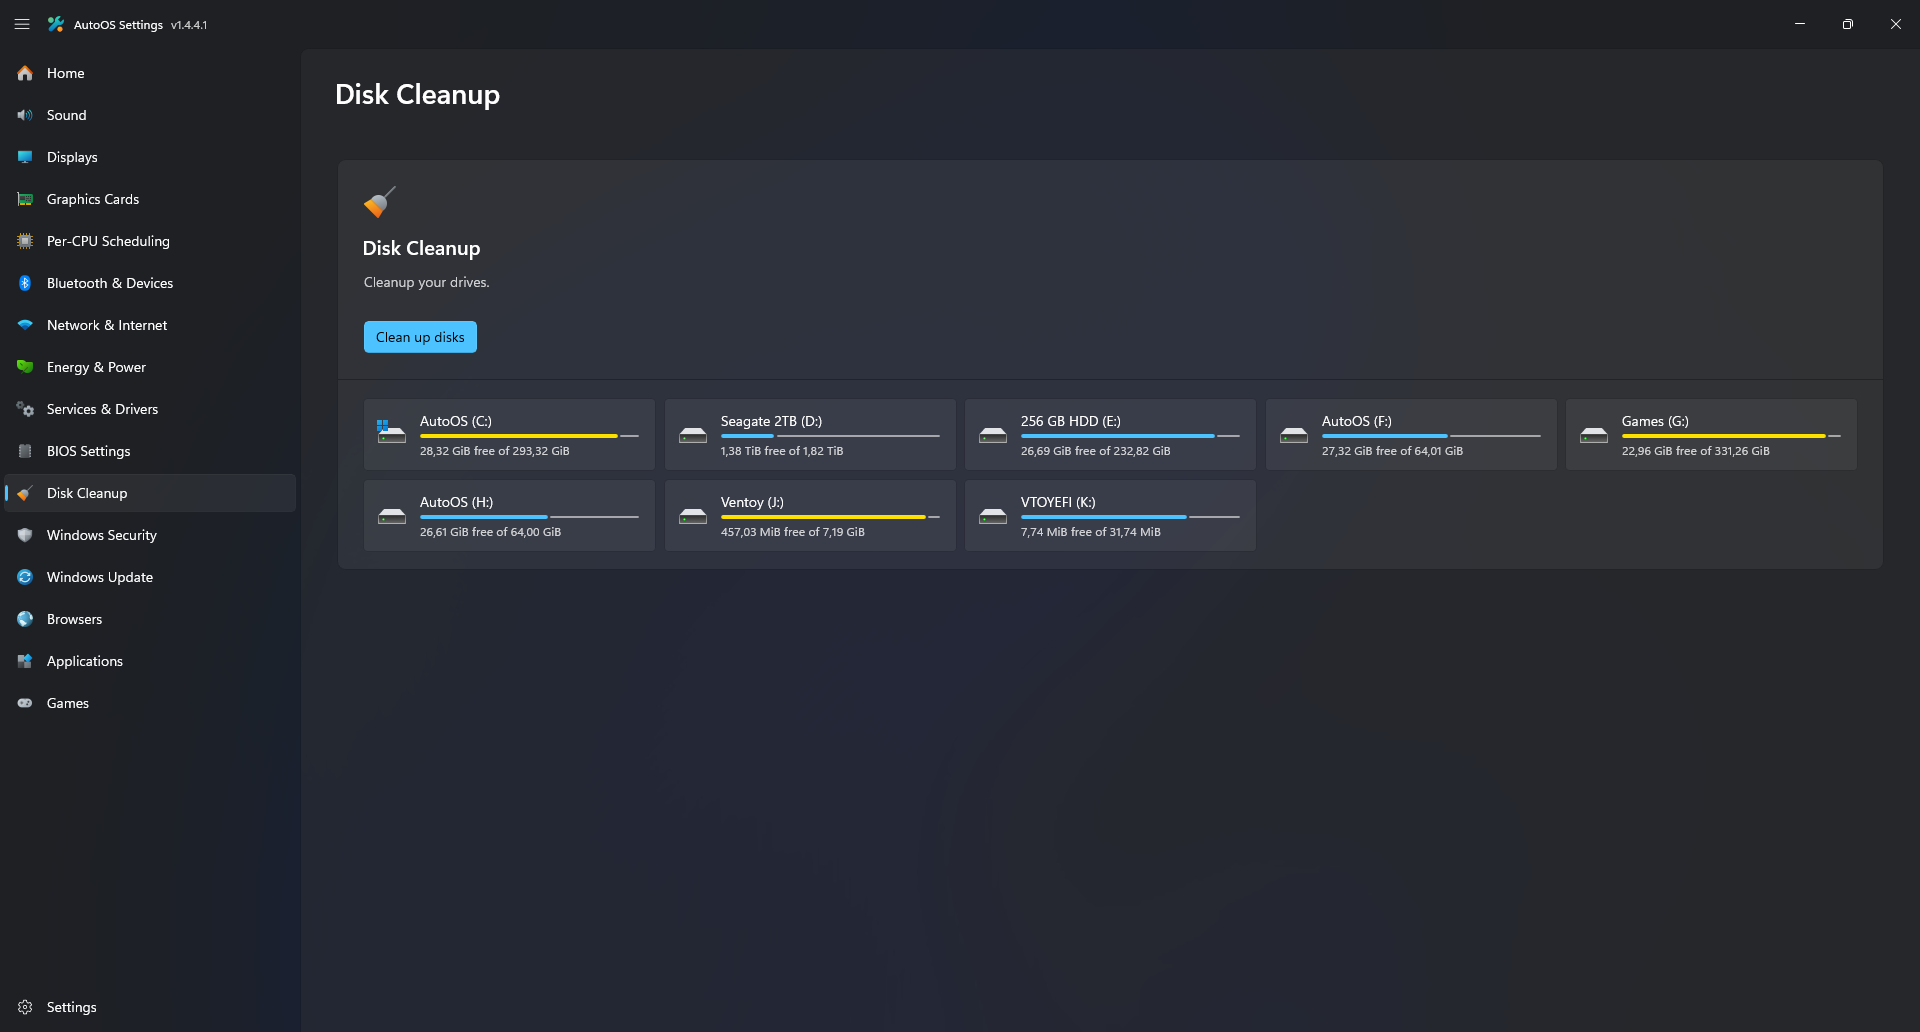
Clean up your drives:
- Click
Clean up disksto run disk cleanup to free up some space.
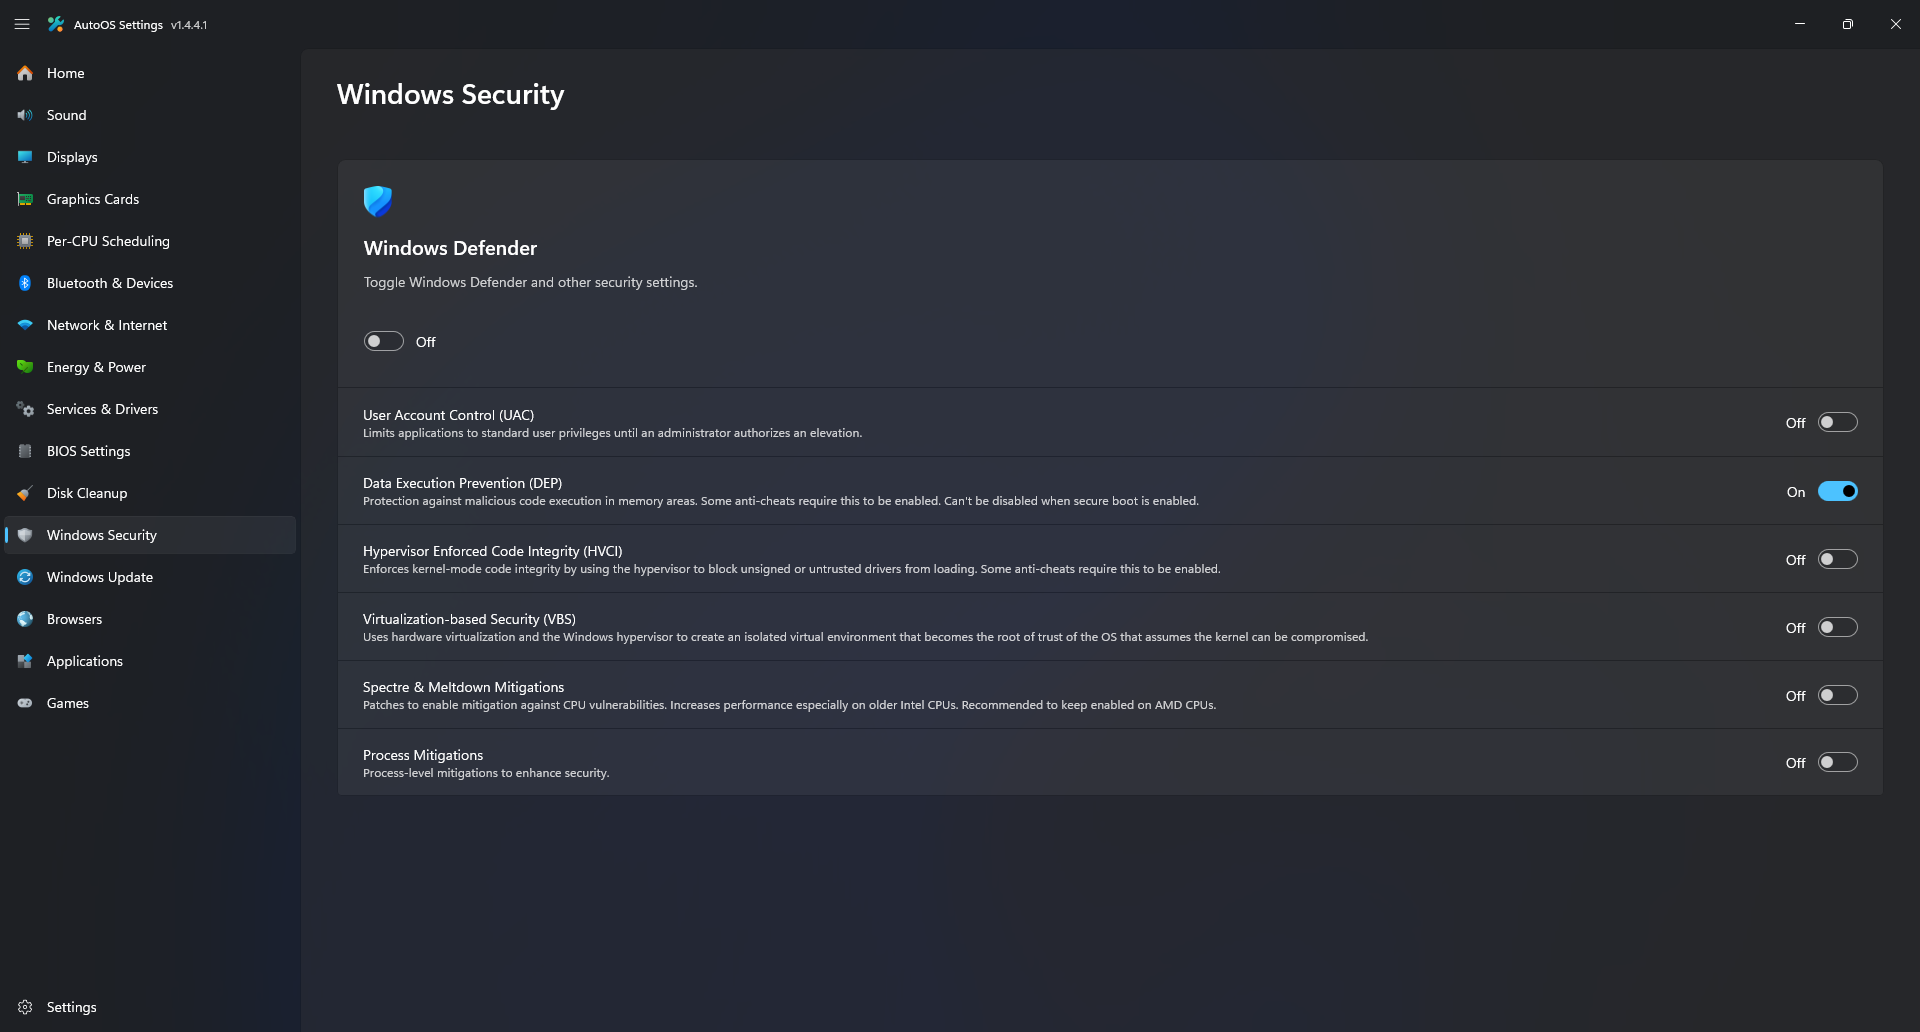
Windows Security
Toggle Windows Security Options:
- Enable
HVCIandVBSif you playFACEITorValorant.
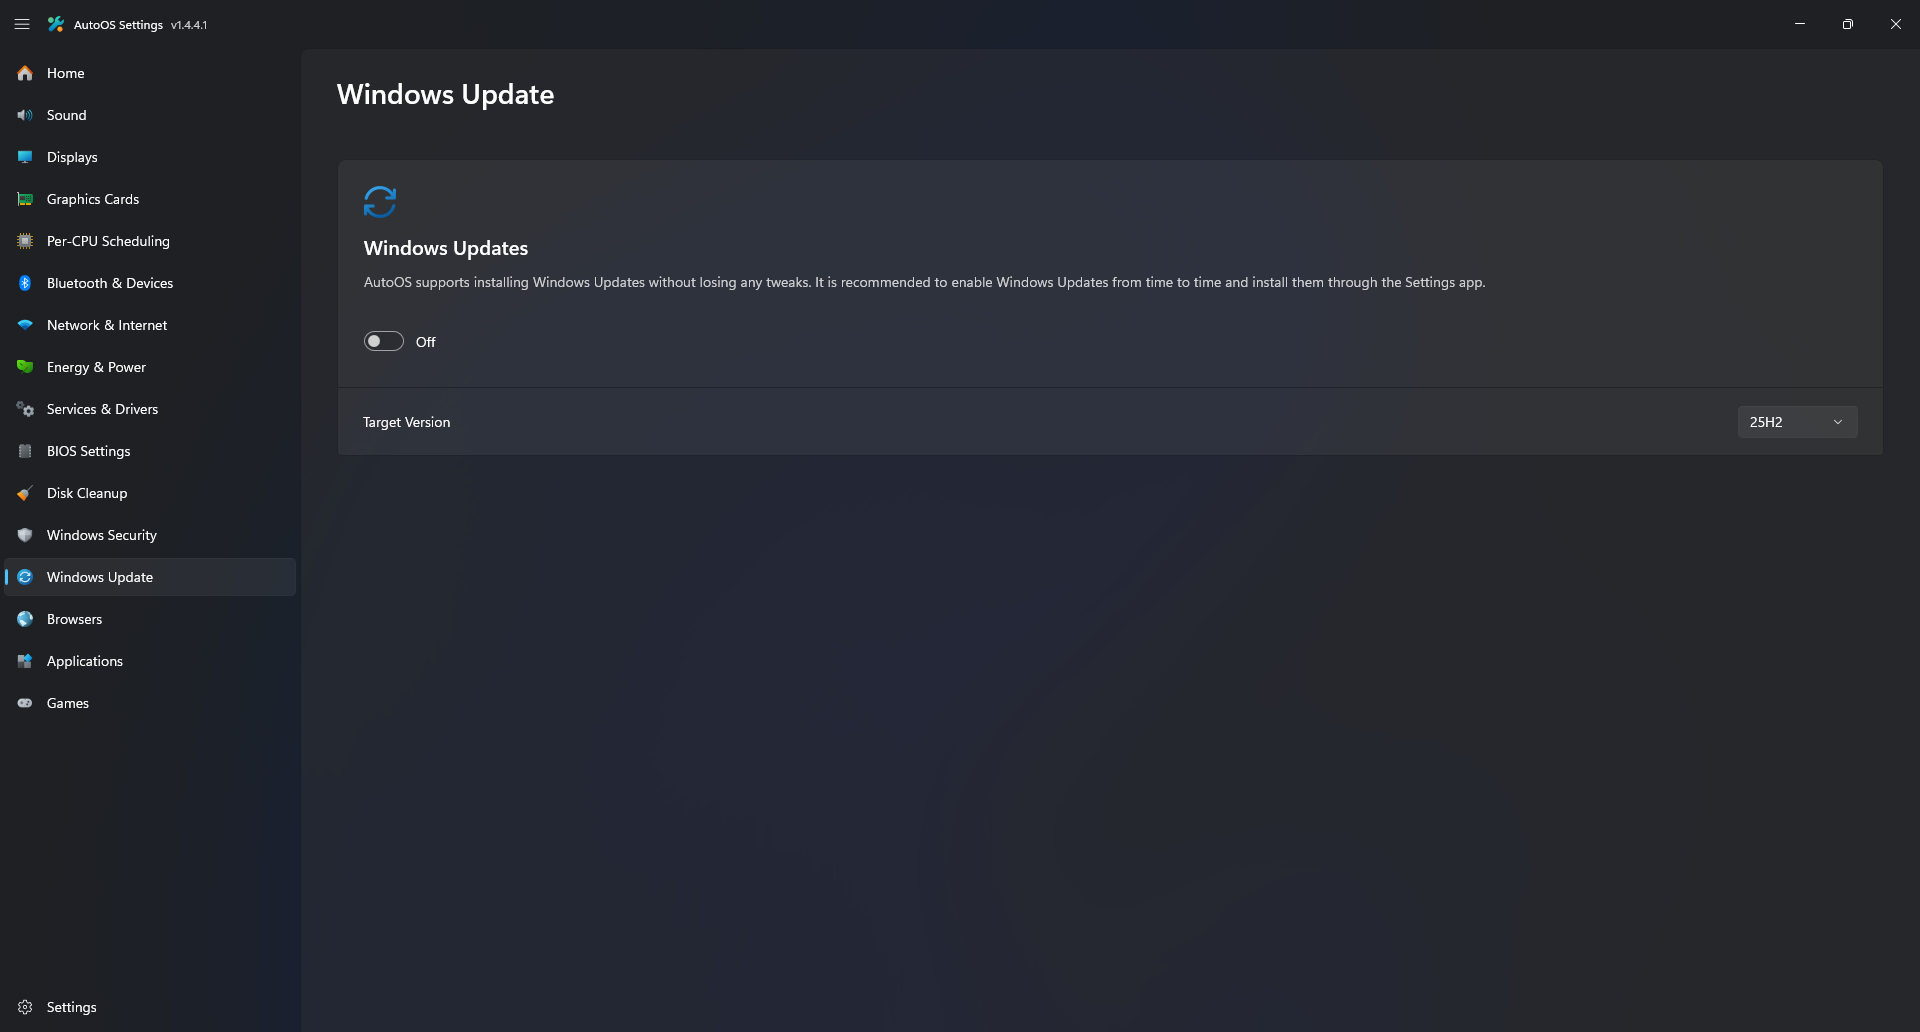
Windows Update
Toggle Windows Updates and set target version:
- Enable
Windows Updatesto get the latest features and security updates. - All optimizations will be kept.
- Drivers are excluded by default.
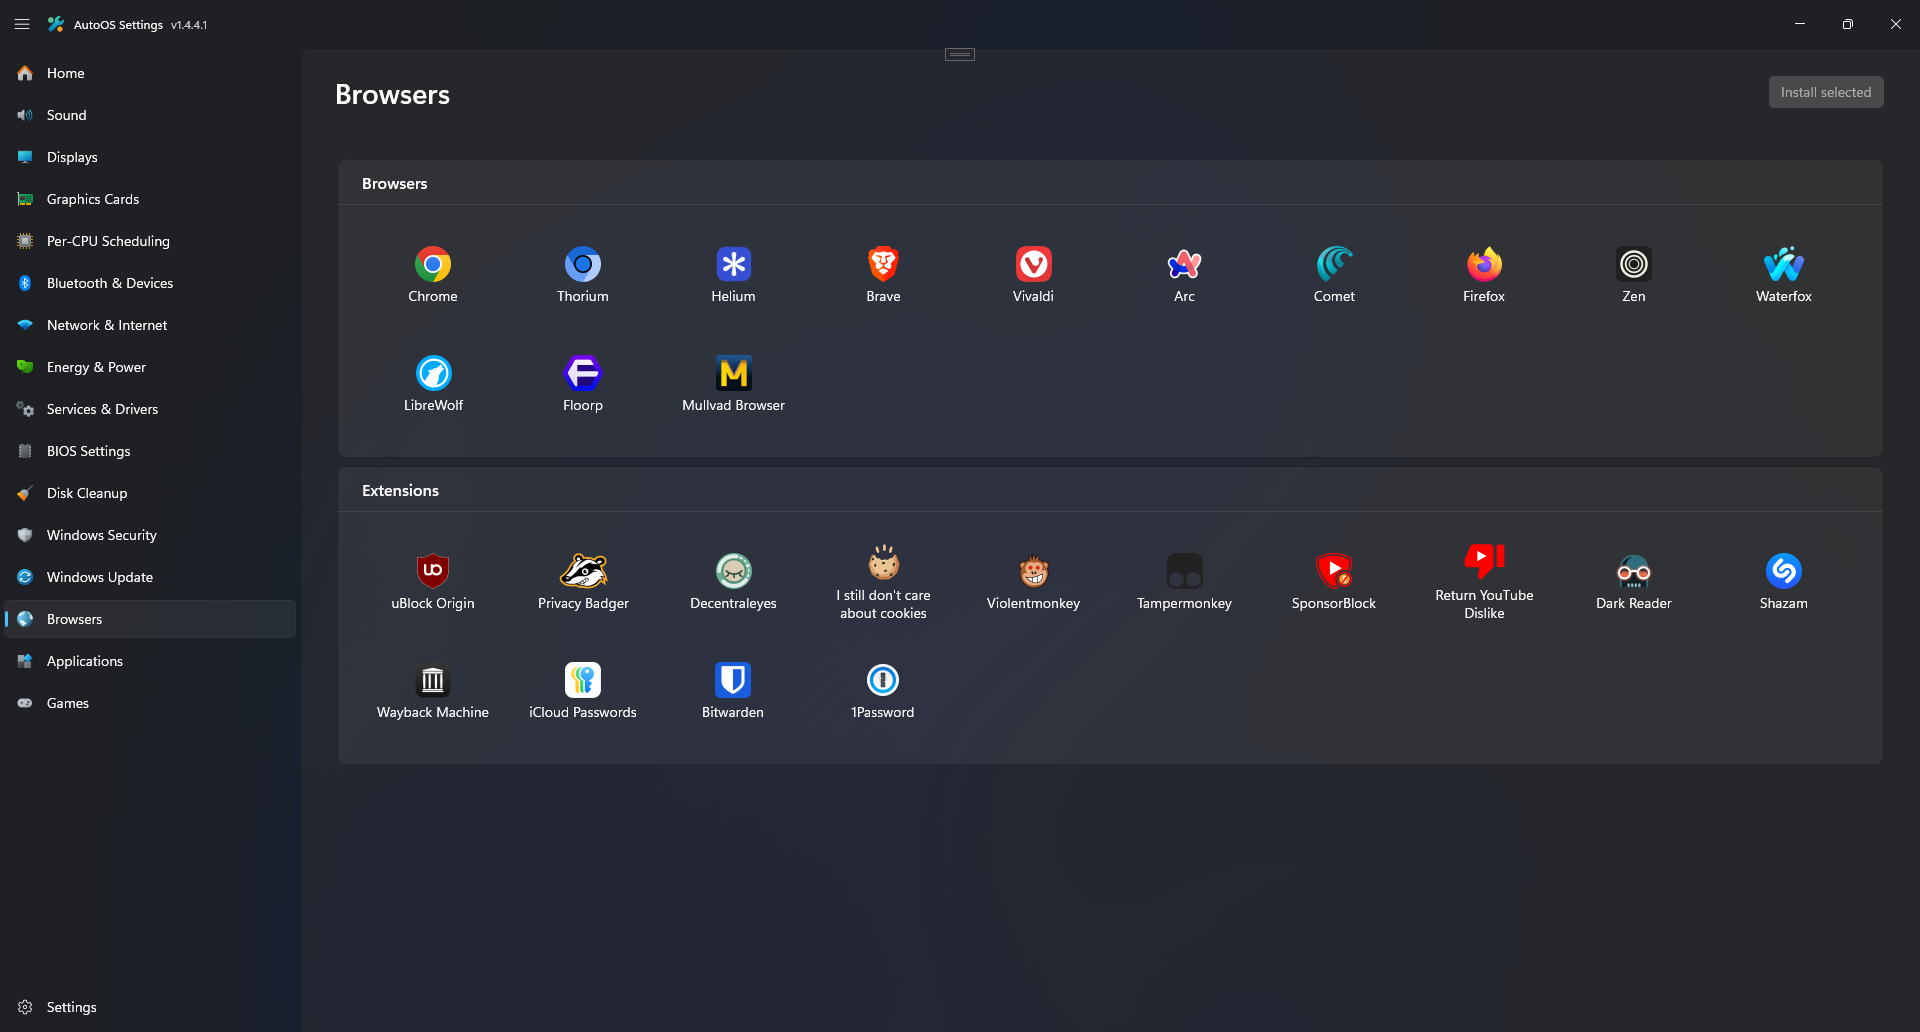
Browsers
Post-install your Browsers and Browser Extensions:
- Use
ThoriumorHeliumoverChrome. - Use
Zenfor best productivity and design.
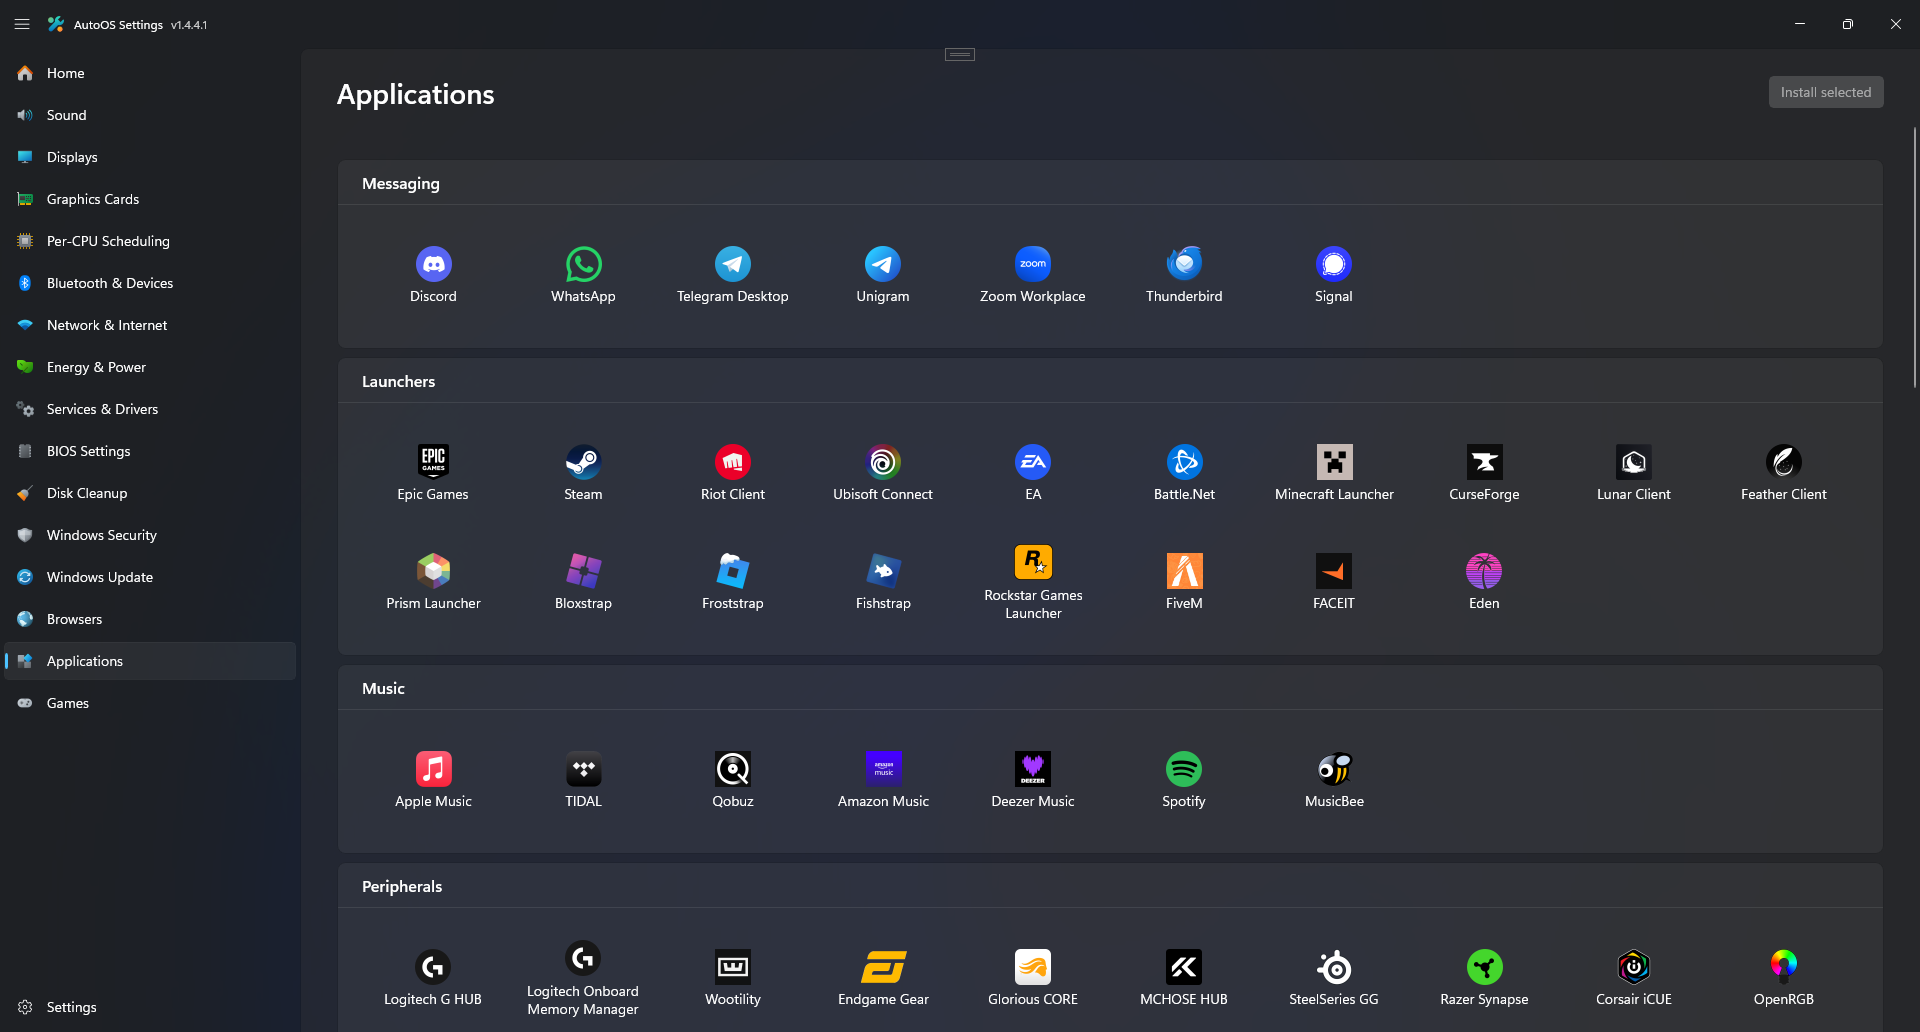
Applications
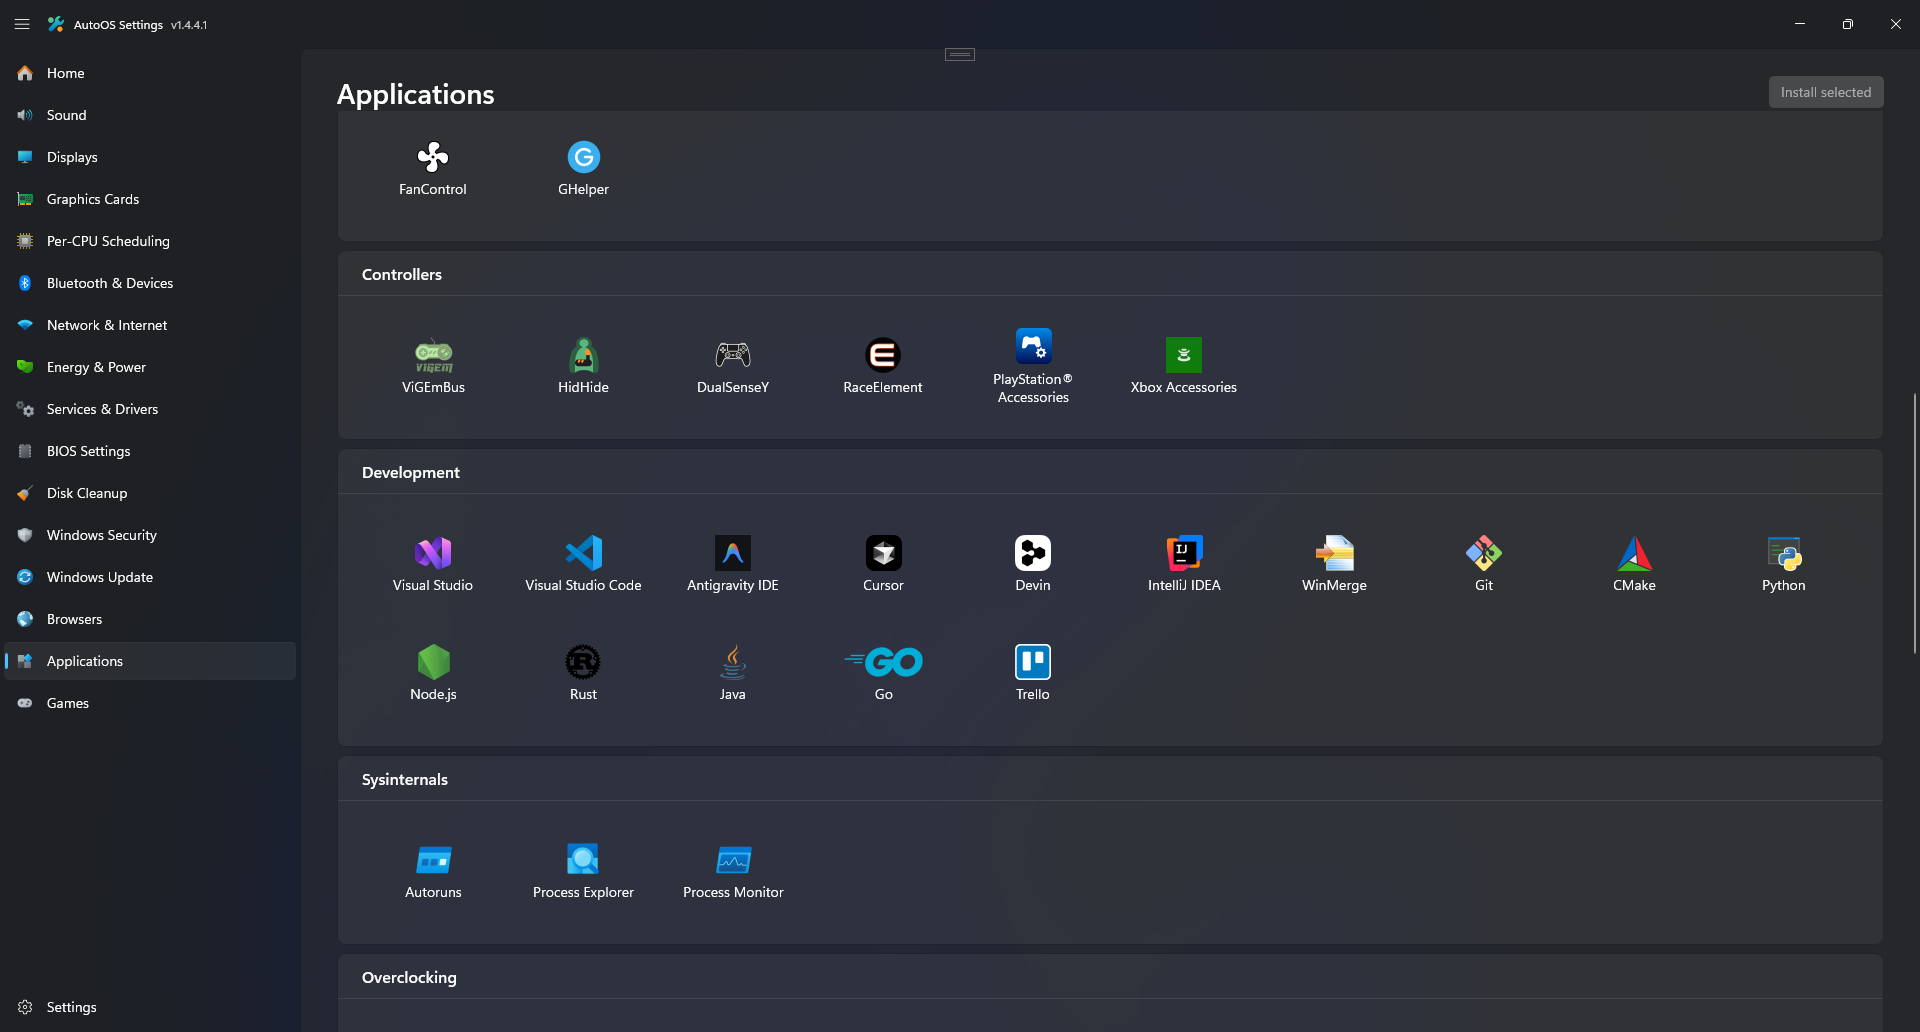
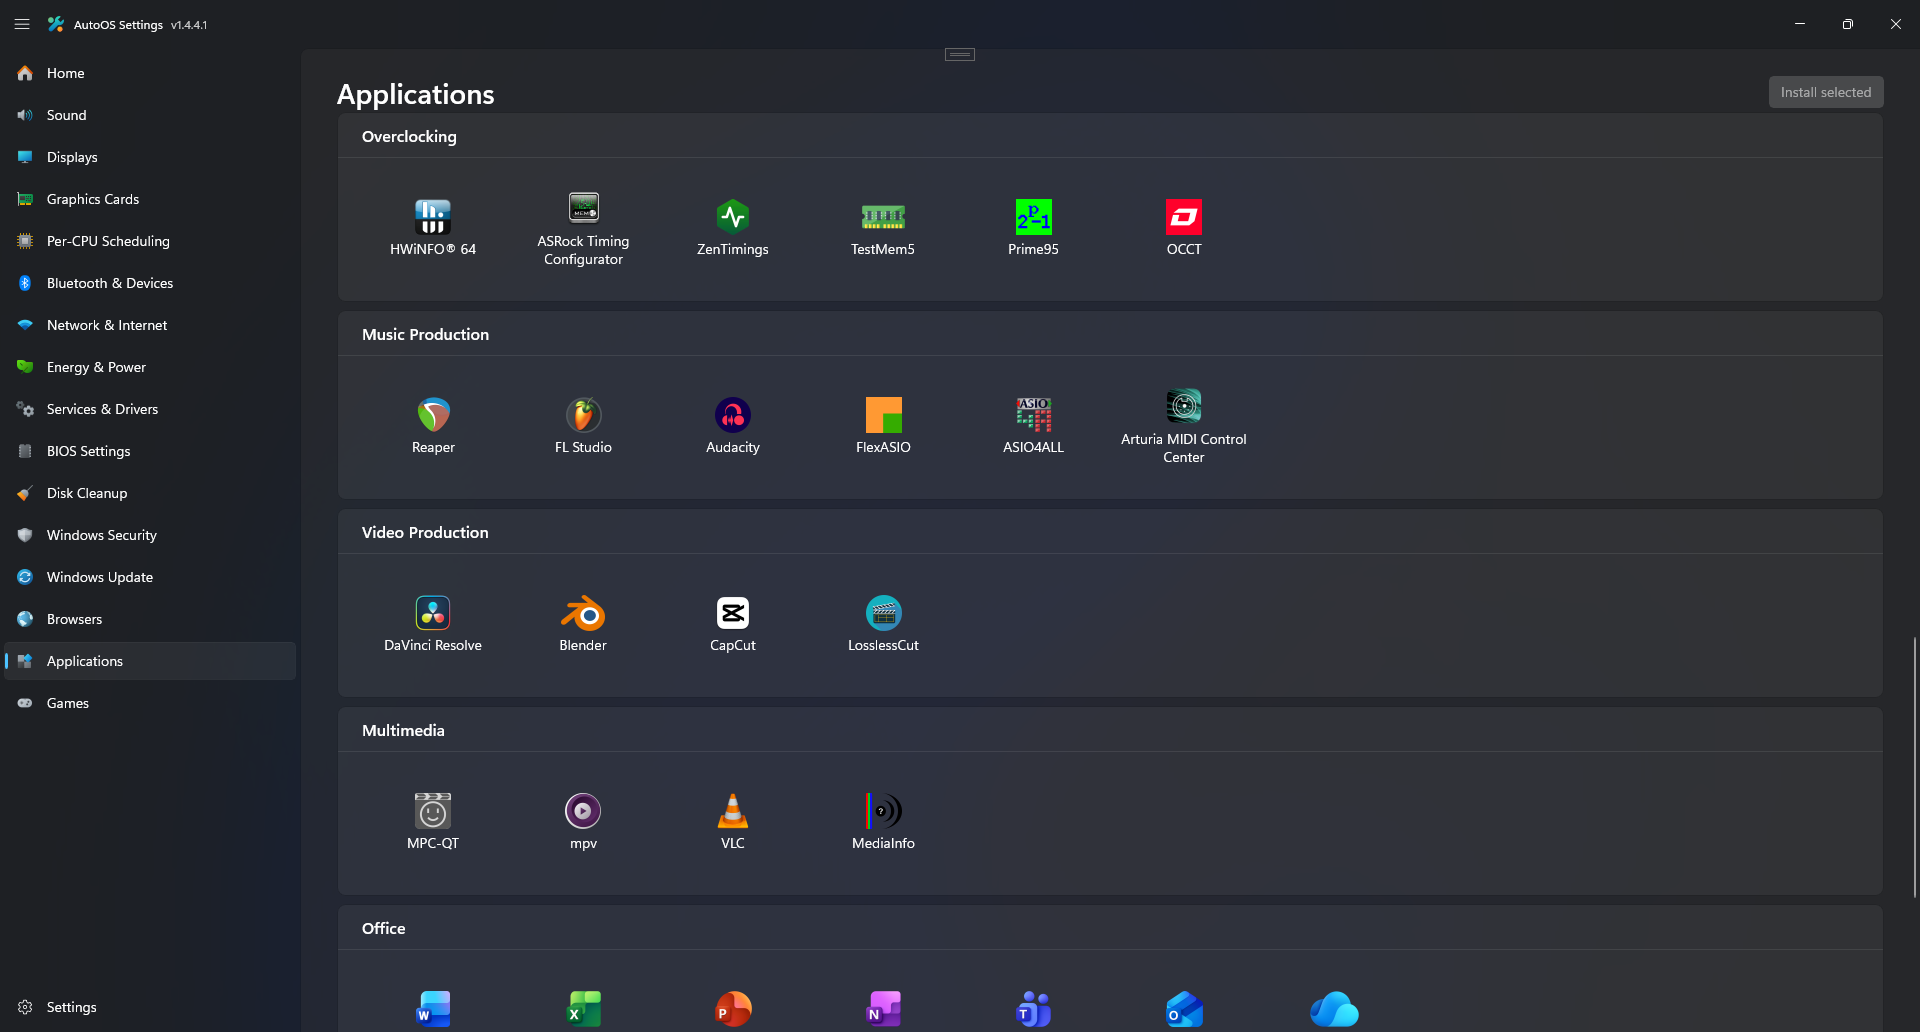
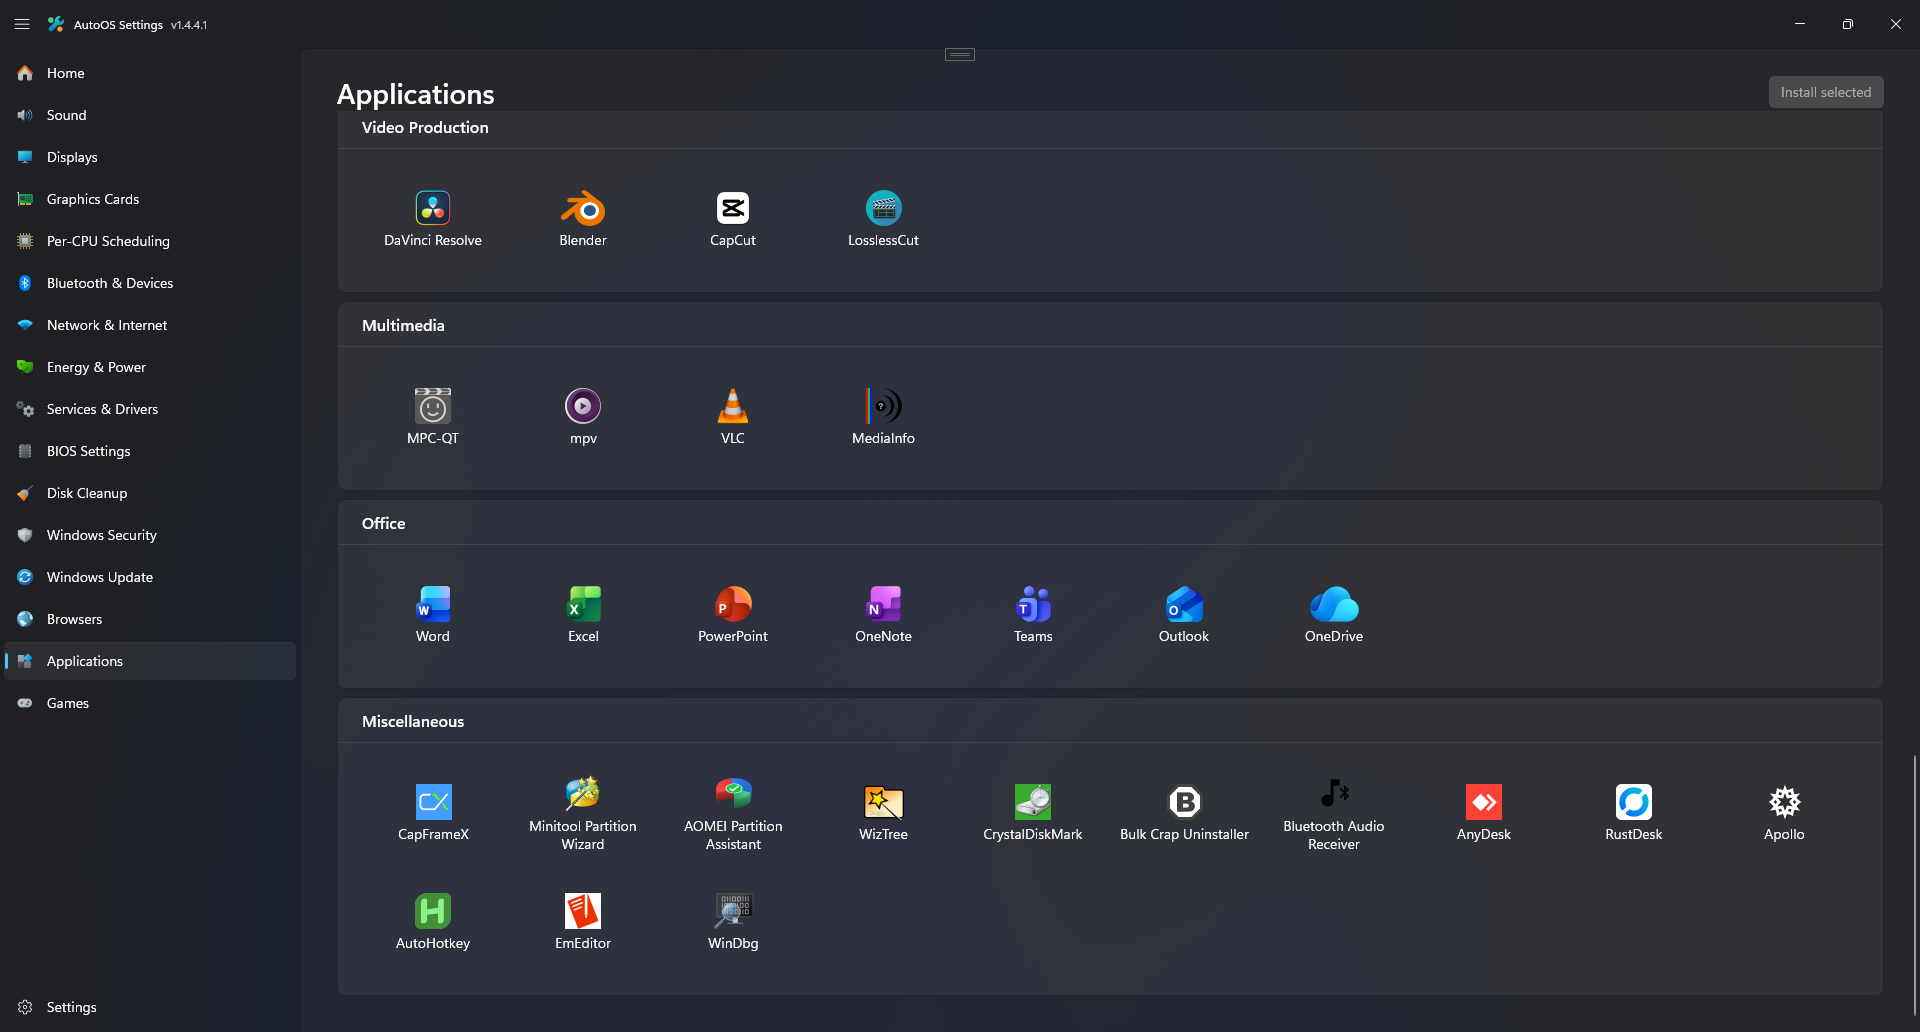
Post-install your Applications:
- Select
Discord, which comespreconfiguredwithVencord,OpenAsarandall settings. - Use
Logitech Onboard Memory ManageroverLogitech G HUBif you have a Logitech Mouse.
Games
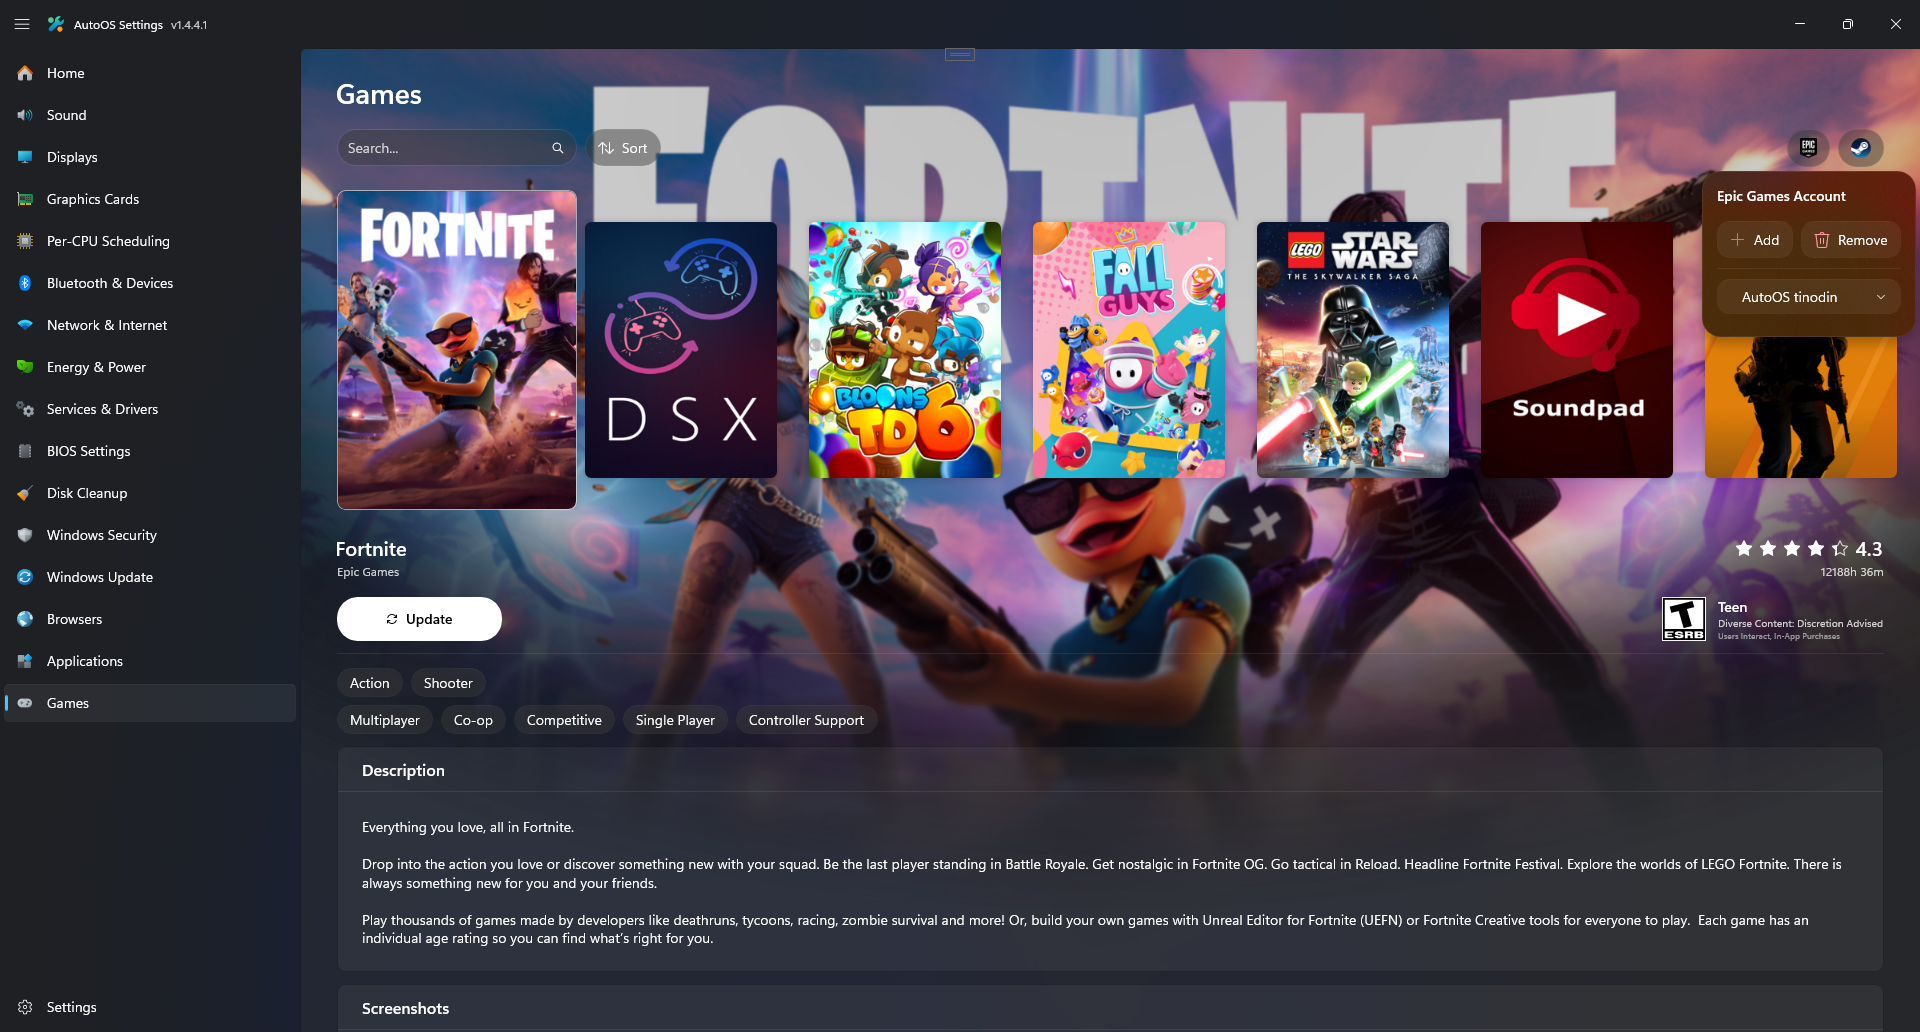
View your Game Library (Supports Epic Games, Riot Games, EA, Ubisoft Connect, Steam, Eden, Citron and Ryujinx):
-
Switch between Epic Games and Steam Accounts on the top right.
-
Press the
Playbutton to launch any Game.If Services & Drivers toggle disabled:
- Once you are in the
Game, press theStop Processesbutton. - Use
Alt+Tabto switch between apps in this state. - Press the
Restart Processesbutton to restore the taskbar etc.
Adding Games:
- For
Riot Gamestitles to show up in theGamestab, install them through theEpic Games Launcheras well. - For
EAorUbisoft Connecttitles to show up in theGamestab, add them to yourEpic Games Launcherlibrary. - To add custom games, add the game as a
non-steam gameinSteam. - The name has to be the same as found on IGDB.
Notes:
- Cap your Game's
frame rate limittoa multipleof your monitor'srefresh rate(eg. 144hz -> 72/144/288fps).
- Once you are in the
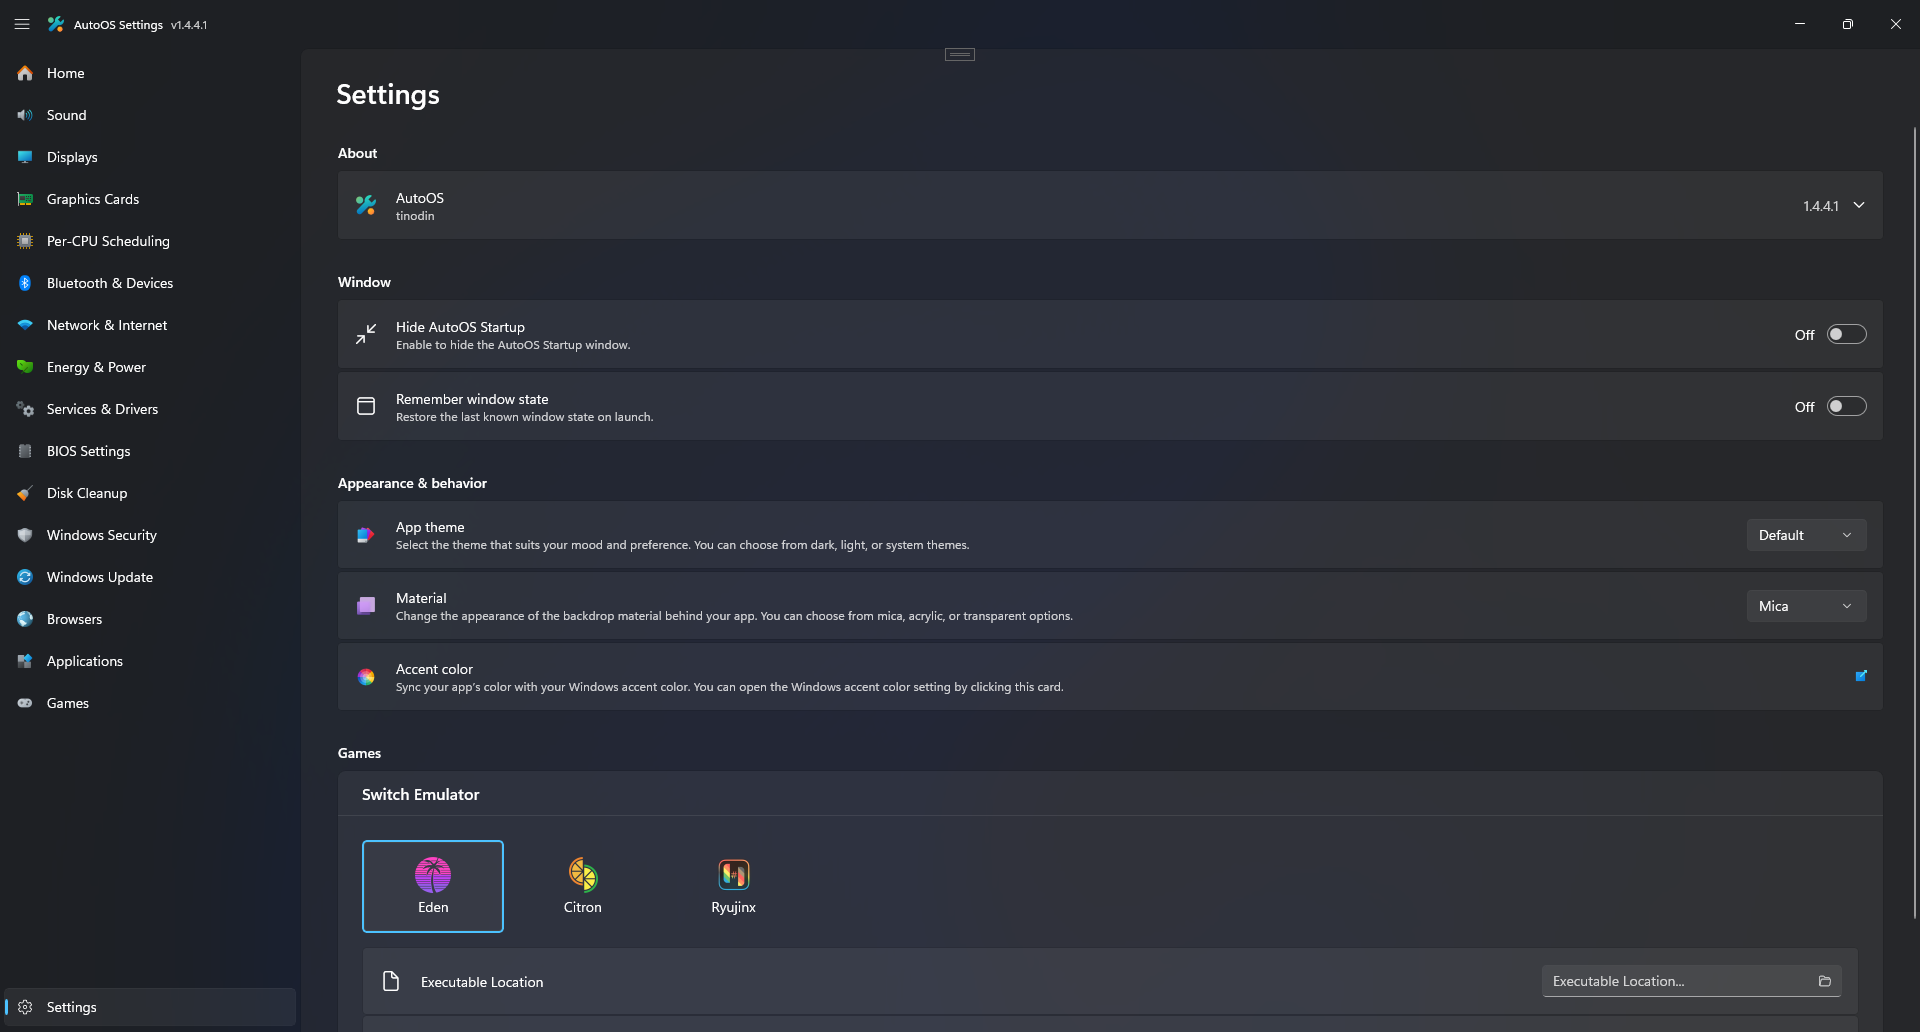
Settings
Configure AutoOS window and theme preferences:
- Enable
Hide AutoOS Startupif you don't want to see theAutoOS Startup. - Change
Materialto customize the window appearance. - Select paths for Switch Emulator data to make them show up in the
Gamestab.