MANUAL.md
November 9, 2022 · View on GitHub
Optimize Plenoxel model from scratch
Inside opt/, run
./launch.sh <exp_name> <GPU_id> <data_dir> -c <config>
For example, to optimize the Lego in NeRF-synthetic dataset, run
./launch.sh nerf_lego 0 ../data/nerf_synthetic/lego -c configs/syn.json
For more information please refer to Plenoxels.
Extract mesh from optimized Plenoxel model
Inside opt/, python cage/extract_mesh.py <ckpt(.npz)>
You may use --resfactor to change the resolution of the mesh.
An example for Lego in NeRF-synthetic dataset:
python cage/extract_mesh.py ckpt/nerf_lego/ckpt.npz
Generate cage from mesh
Inside opt/, run python cage/mesh2cage.py <fine(.obj)>
Where <fine(.obj)> should be fine mesh extracted using above script, or the corresponding mesh that you already have.
Tips for cage generation
General tips
radius: you could use--radiusto adjust the resolution (fineness) of the cage. There is a tradeoff between the fineness of the cage and the computation speed of the radiance field deformation. You could try to setradiusbetween 4-10 and keep the number of cage vertices between 100-400.sym_axis: for synthetic scenes with symmetry, you could use--sym_axisto specify the axis of symmetry for better cage quality.shrink_factor: since we discretize the fine mesh with a coarse grid, sometimes the cage becomes much larger than the original mesh. In this case, you could use--shink_factorto shrink the cage. Practically 0.85~0.95 is appropriate.
An example for Lego in NeRF-synthetic dataset:
python cage/mesh2cage.py ckpt/nerf_lego/fine.obj --radius 4 --sym_axis z --shrink_factor 0.9
For scenes w/ background (e.g., DTU dataset)
Here are the steps to generate the cage of the target object from the scene with background. Here we will use Blender to edit the mesh.
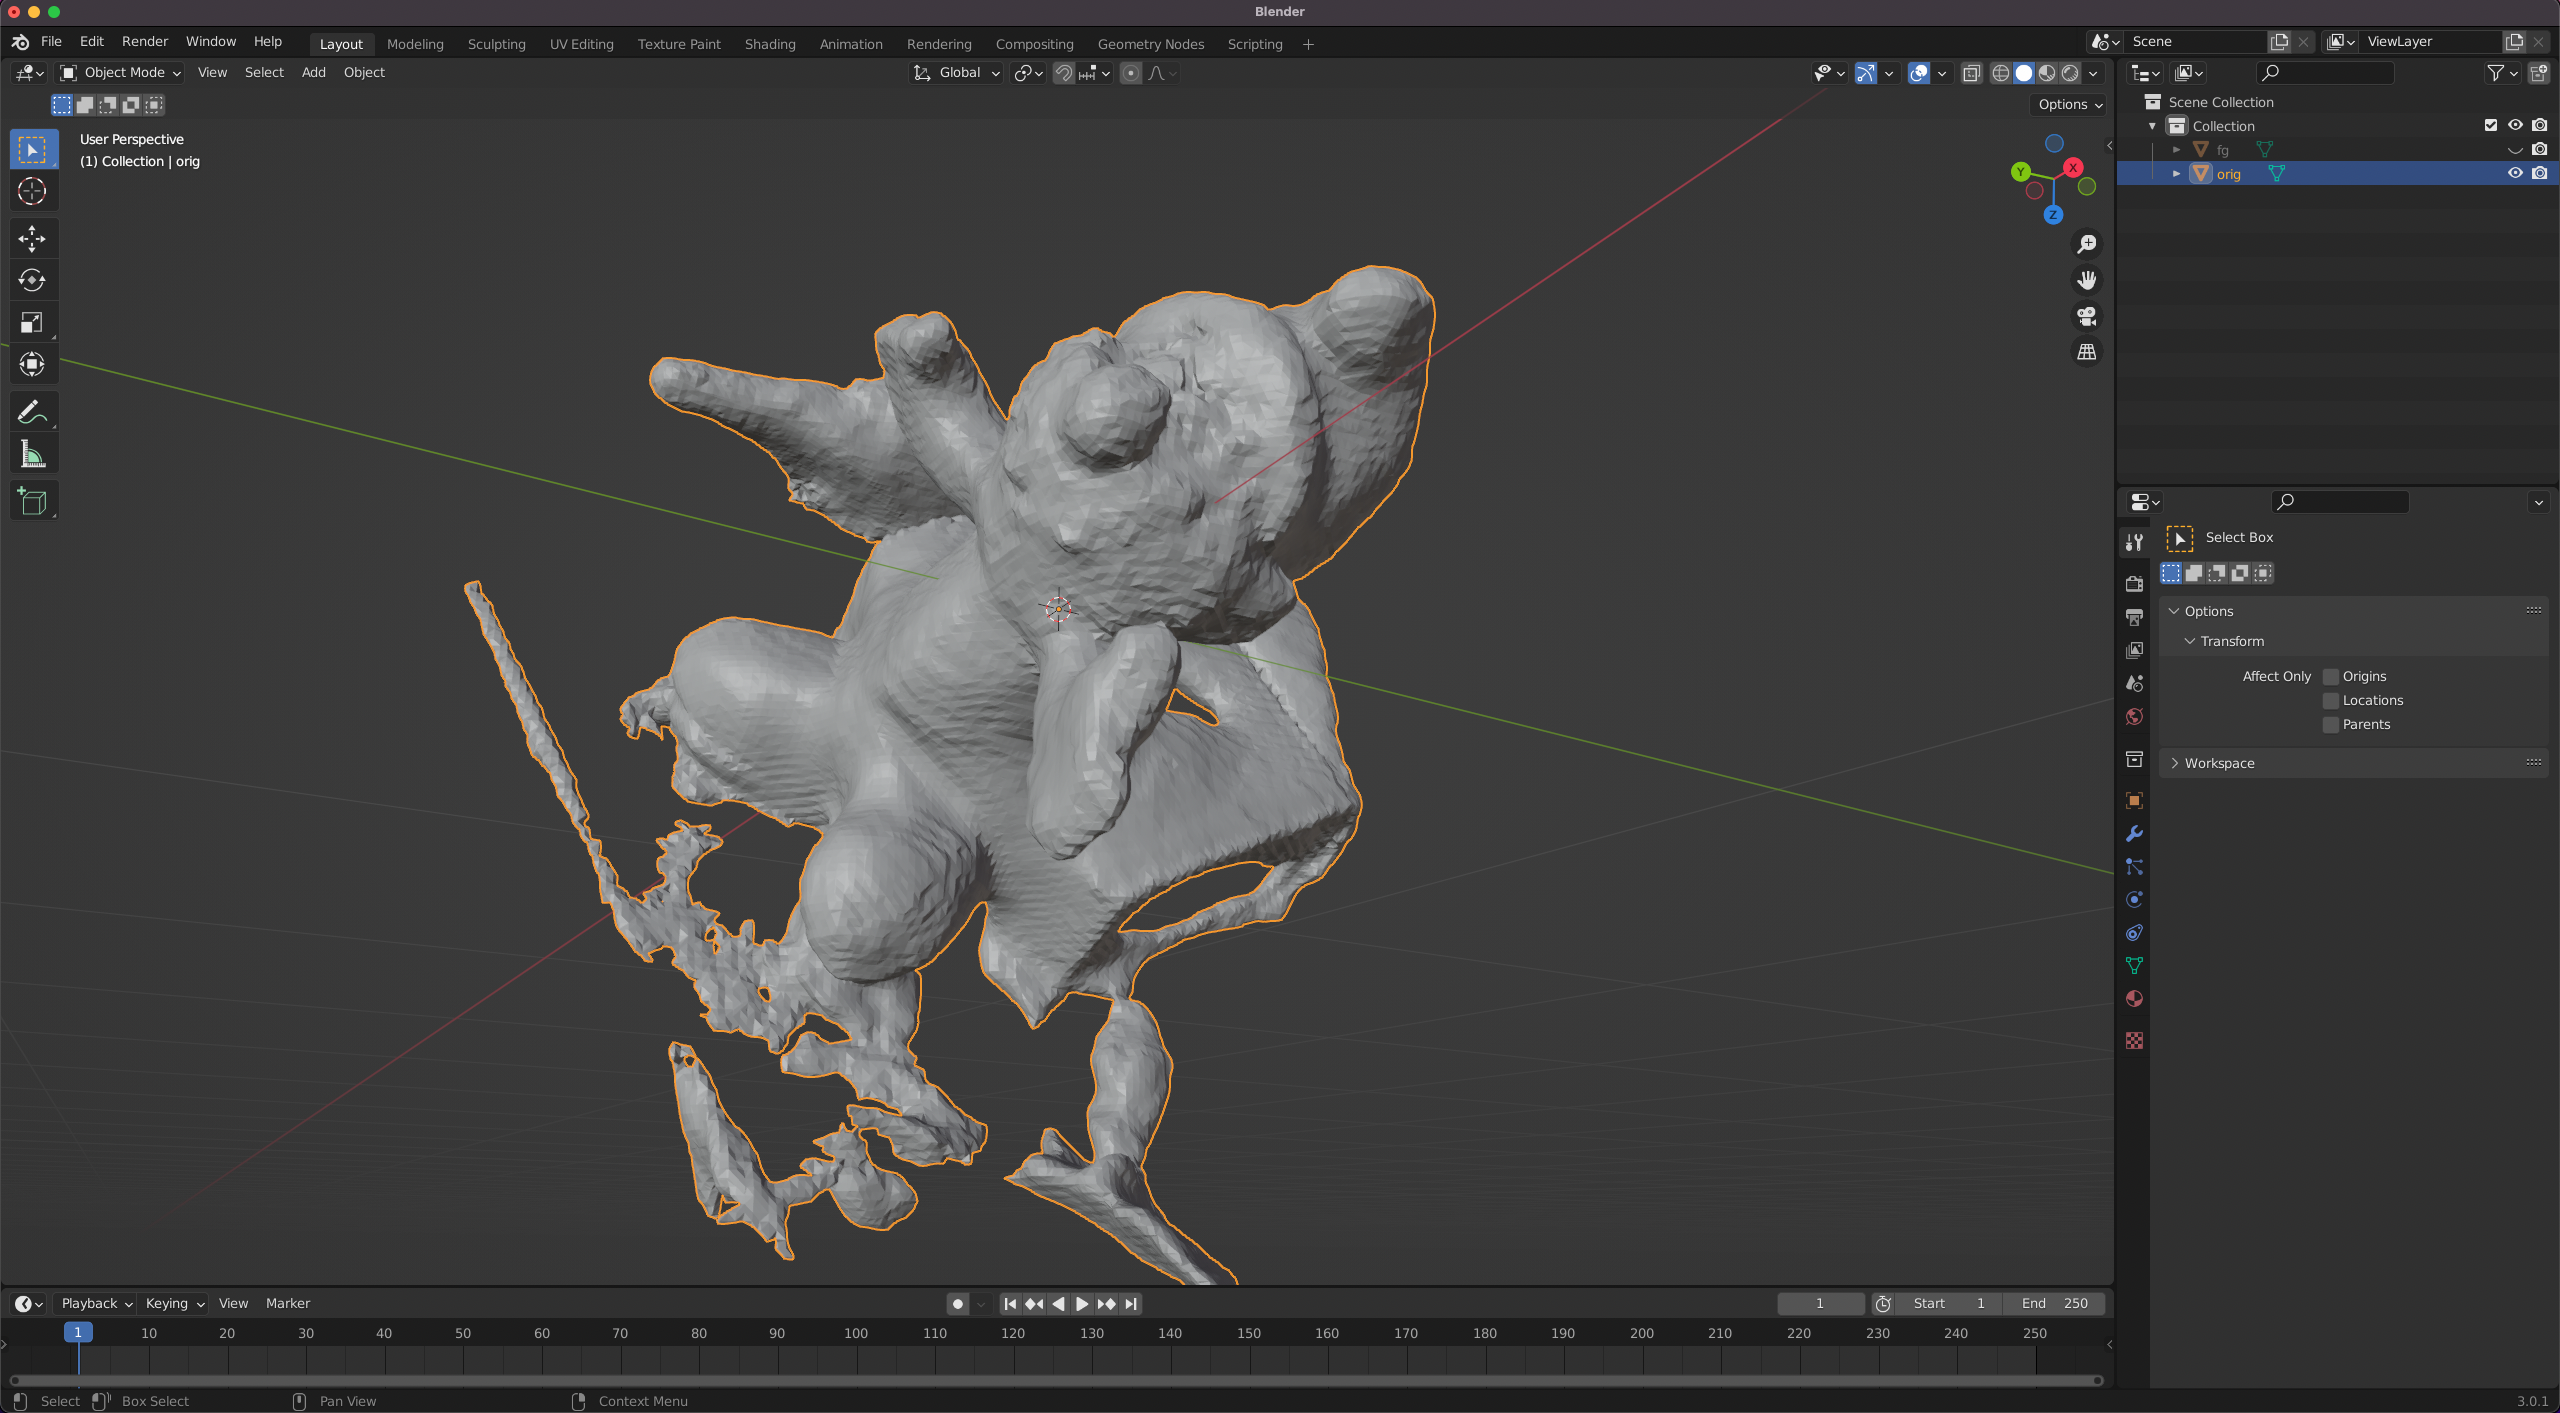
(1)Run cage/extract_mesh.py above and you should get the mesh of the whole scene, and open it with Blender:
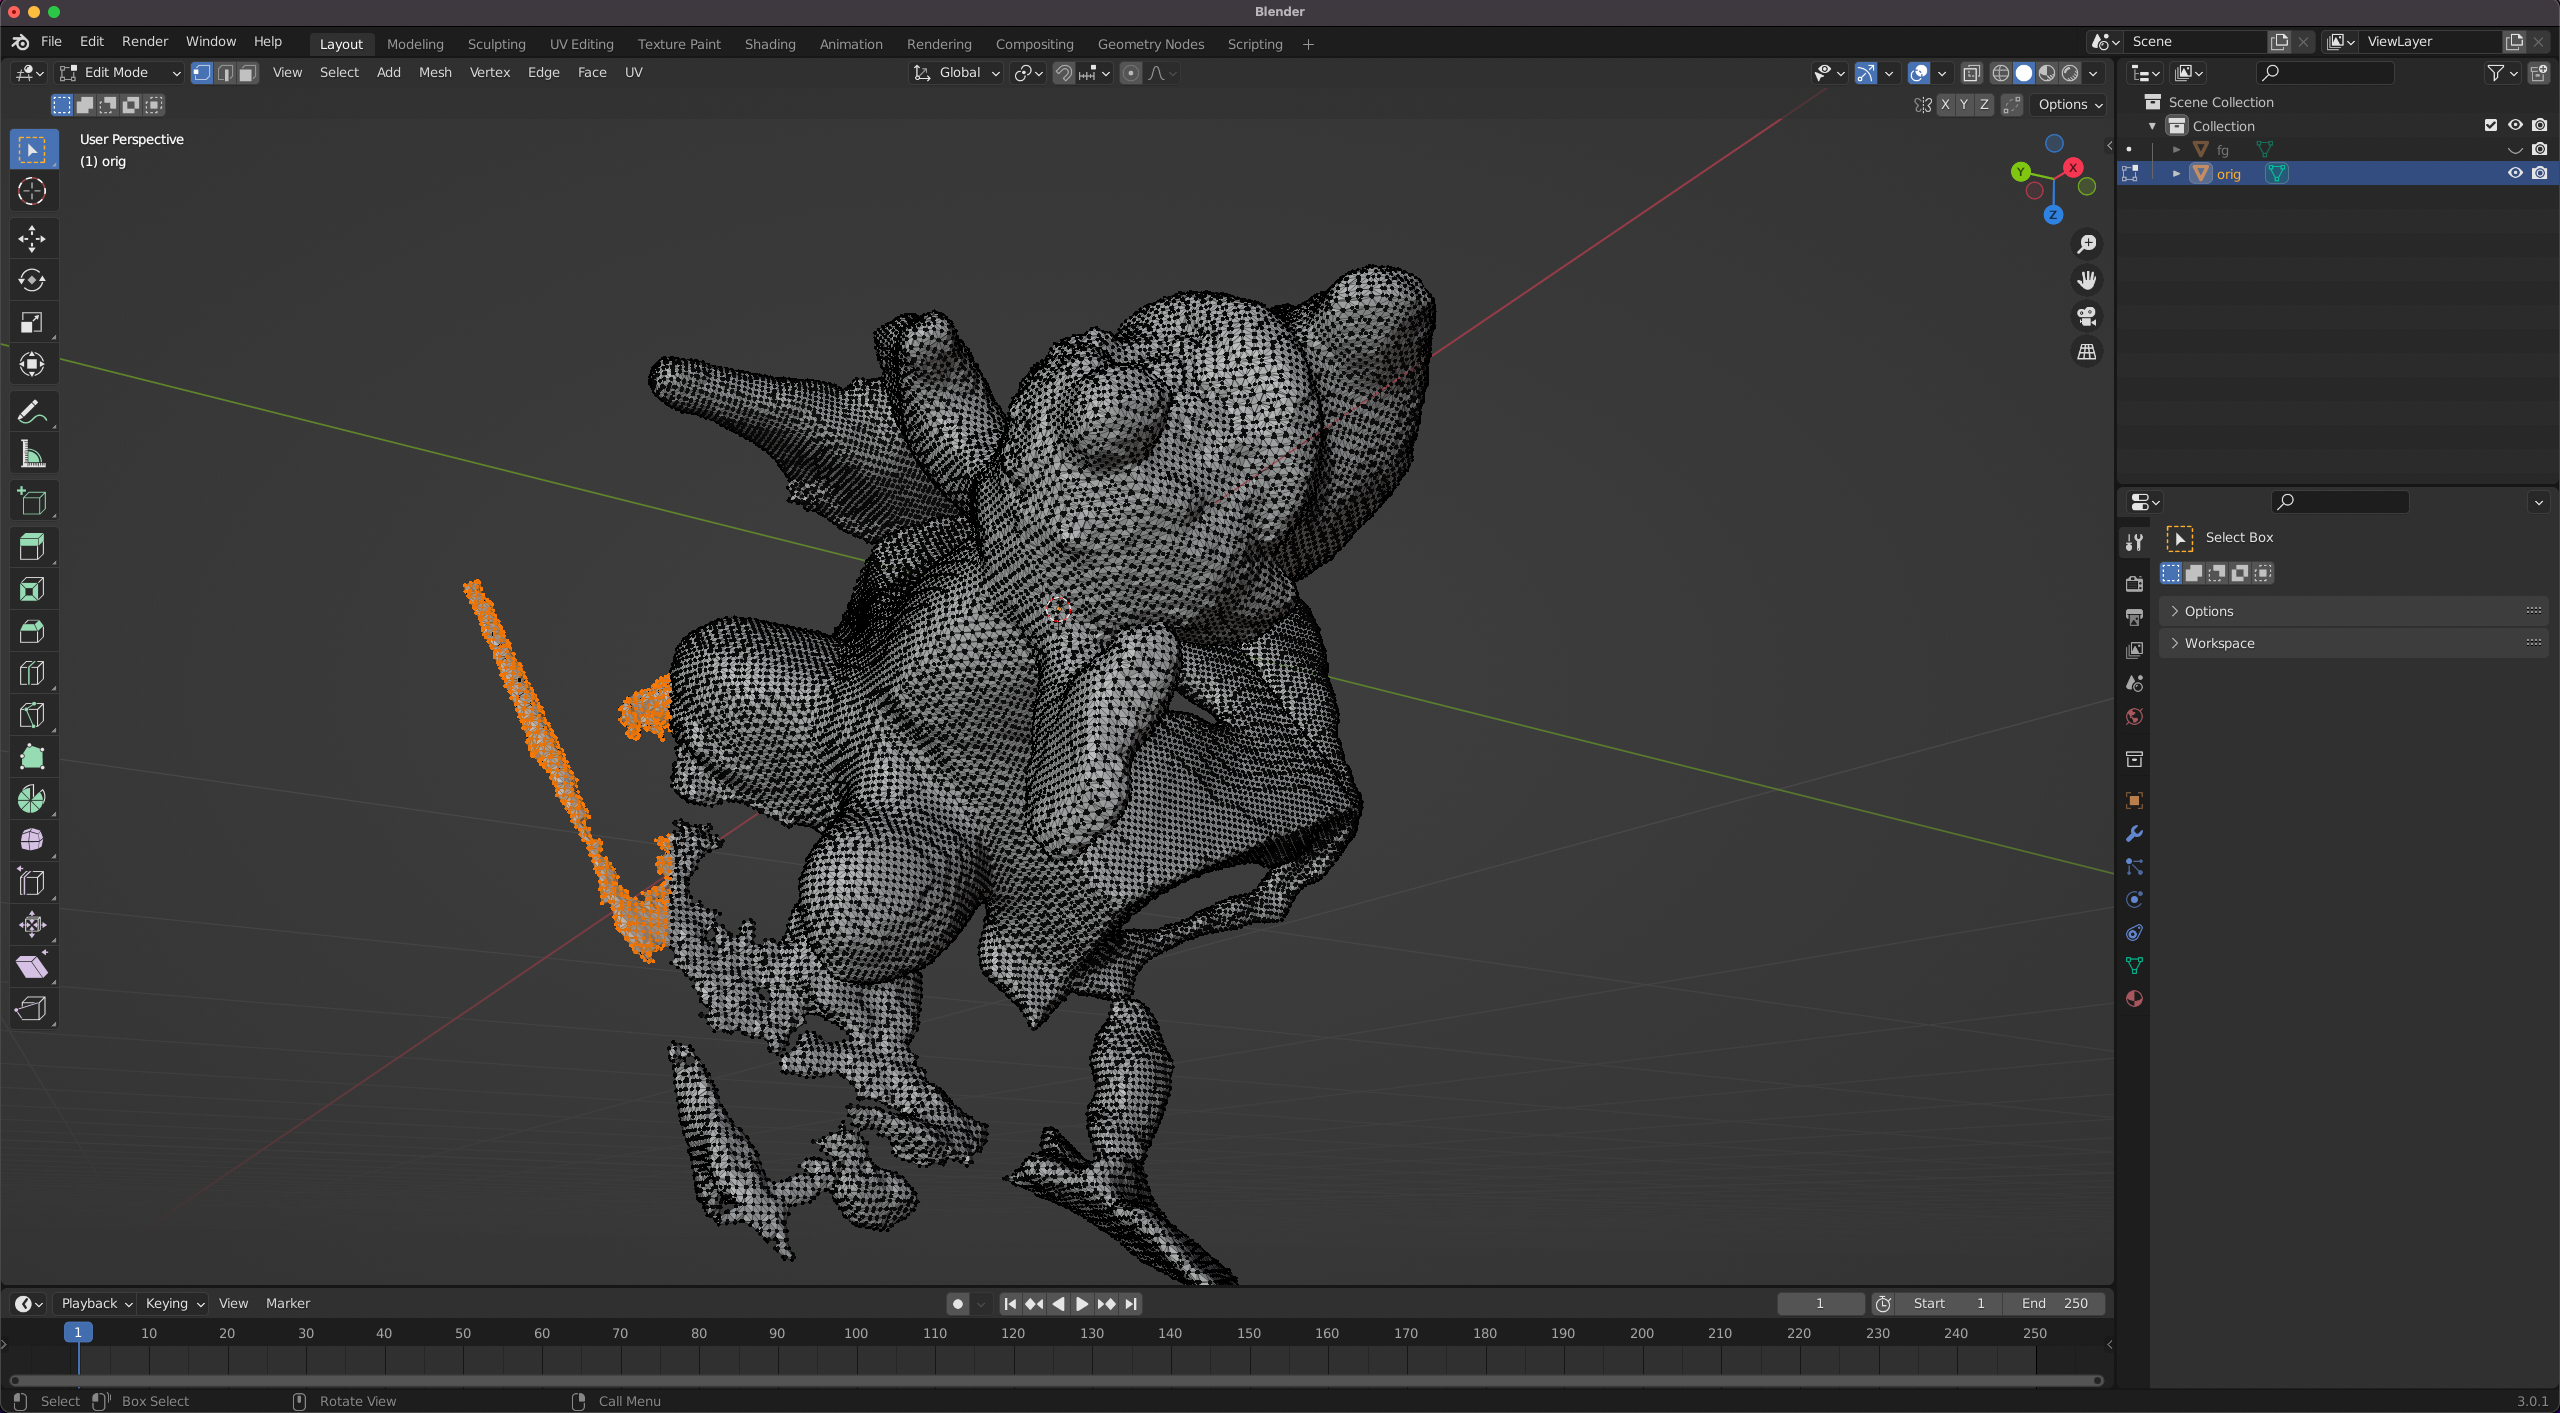
(2) Select the mesh and change to Edit Mode (top-left). Then select the background or irrelevant parts (e.g. orange parts) and delete those vertices/faces:
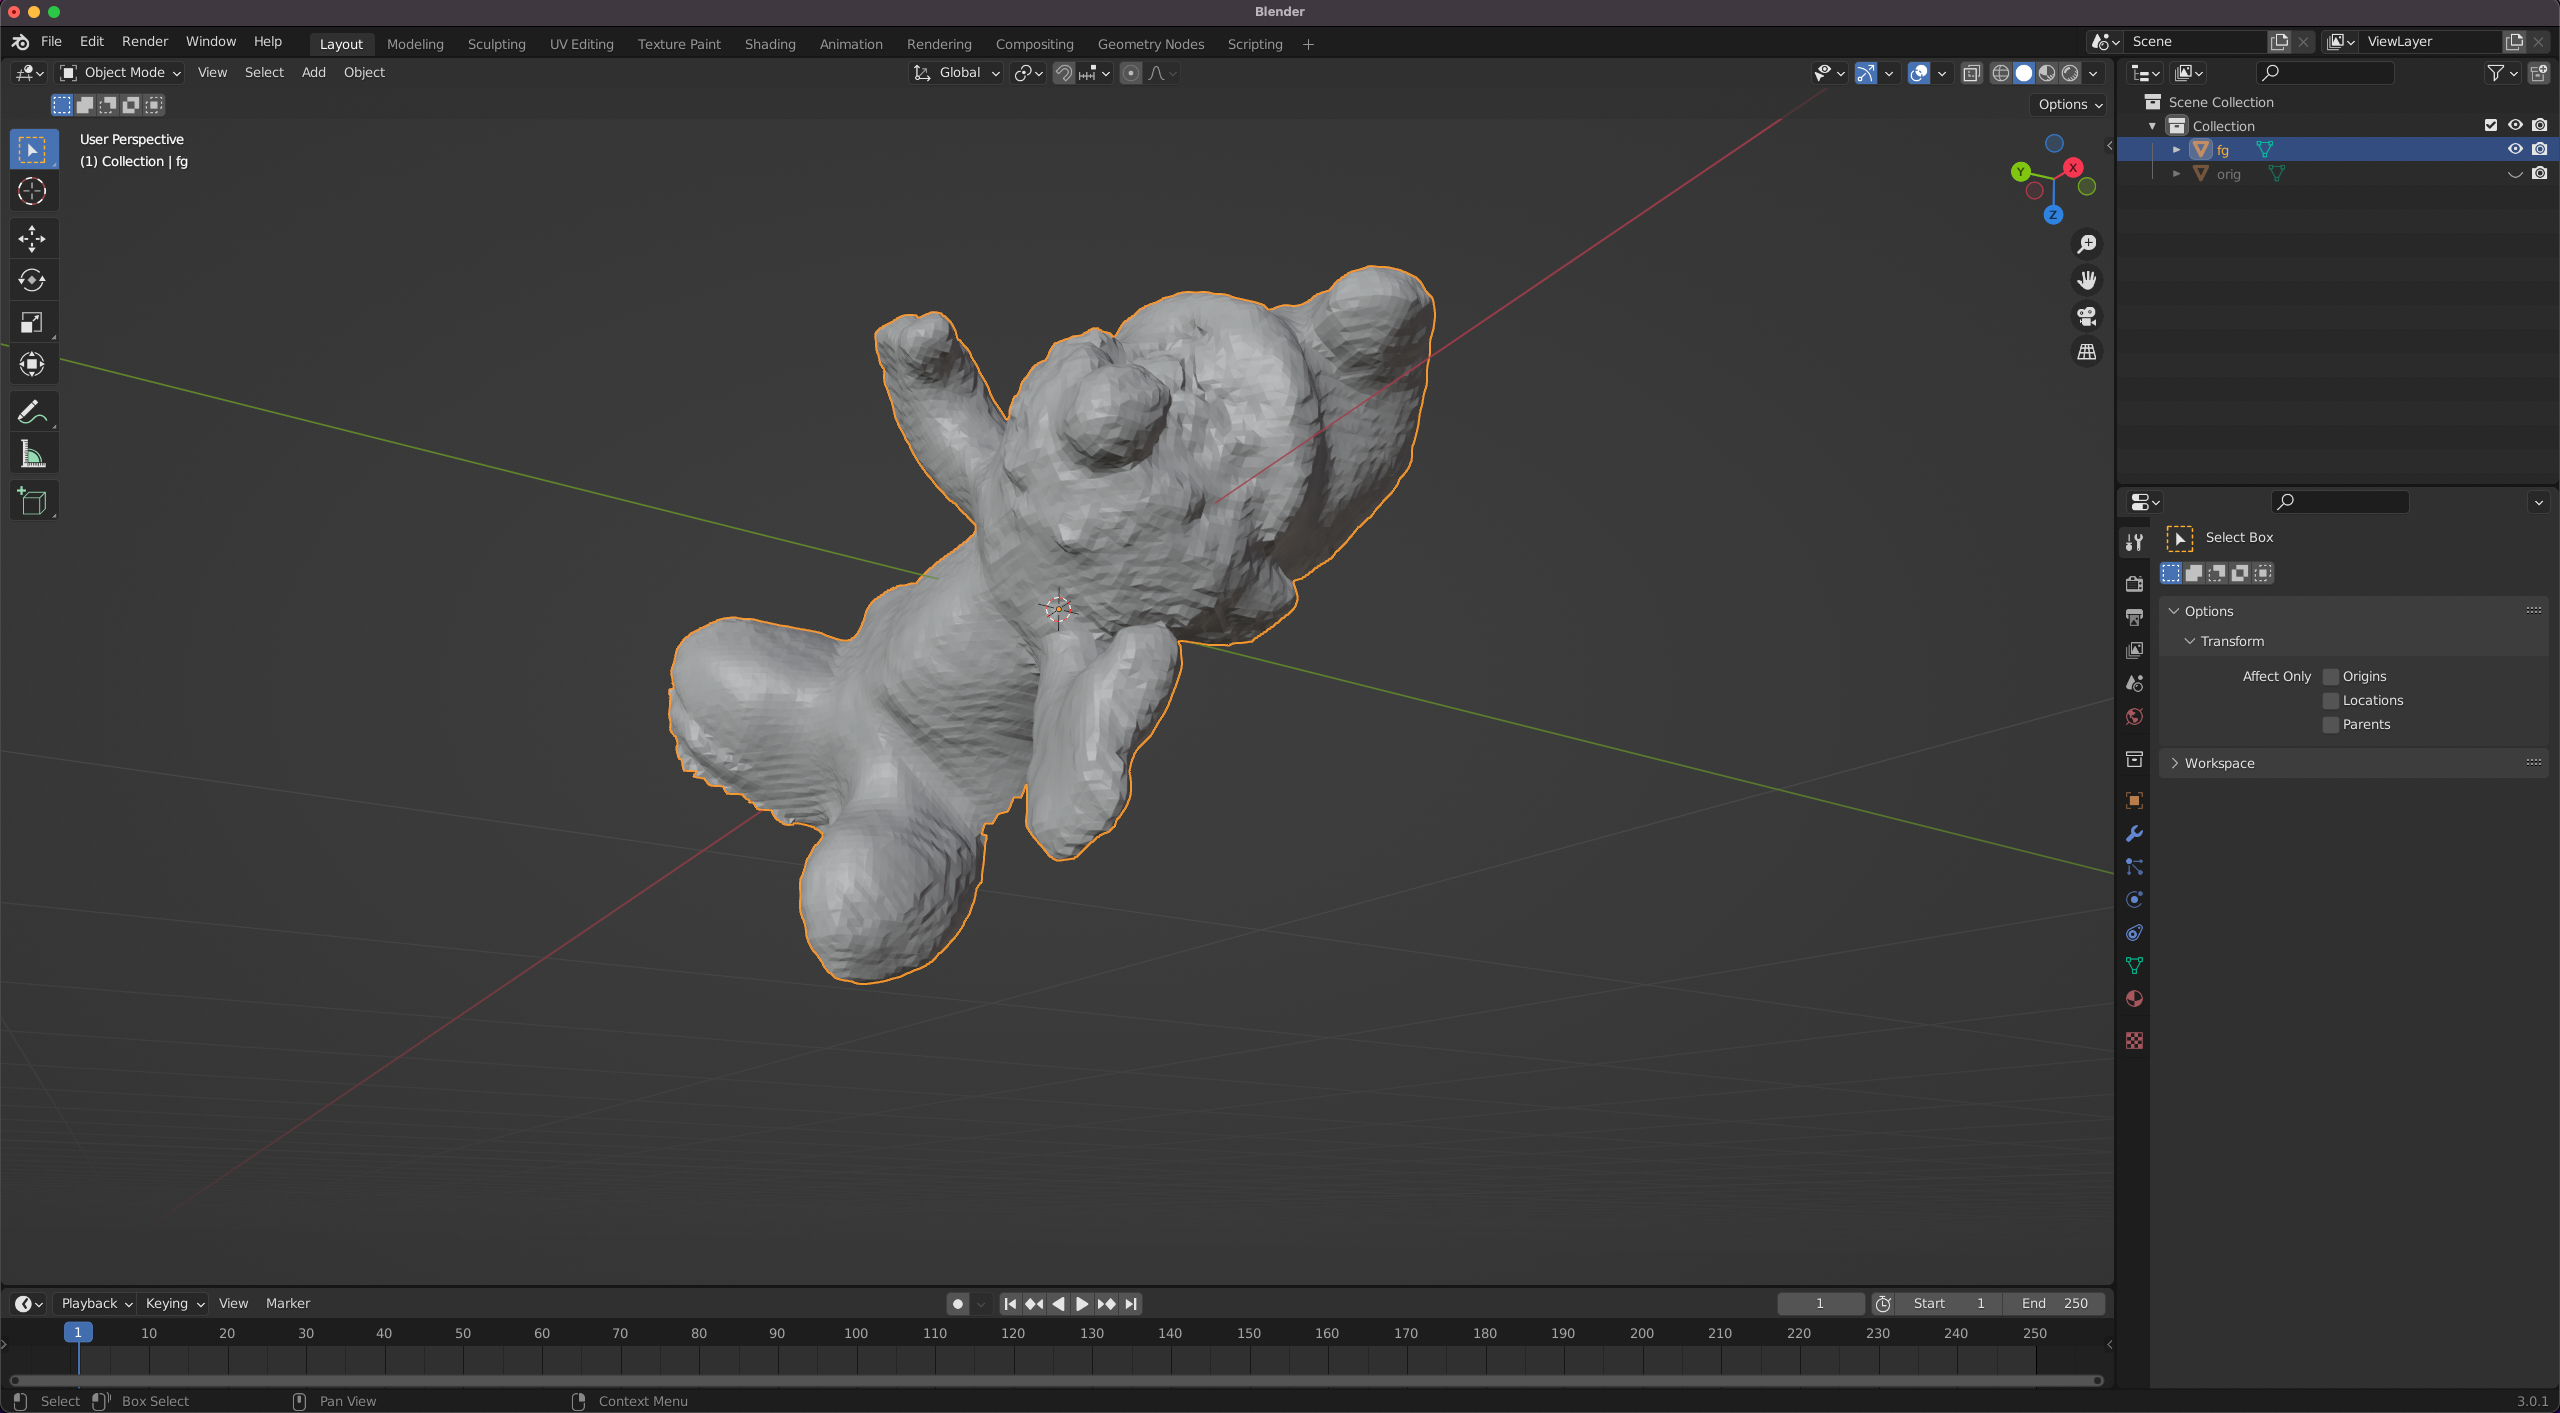
(3) Remove the background part until you get a mesh with only the target object:
(4) Export it as .obj file, and then run cage/mesh2cage.py to obtain the cage that encloses the target object.
Cage deformation
Open the generated cage with Blender and manipulate its vertices to get the deformed cage.
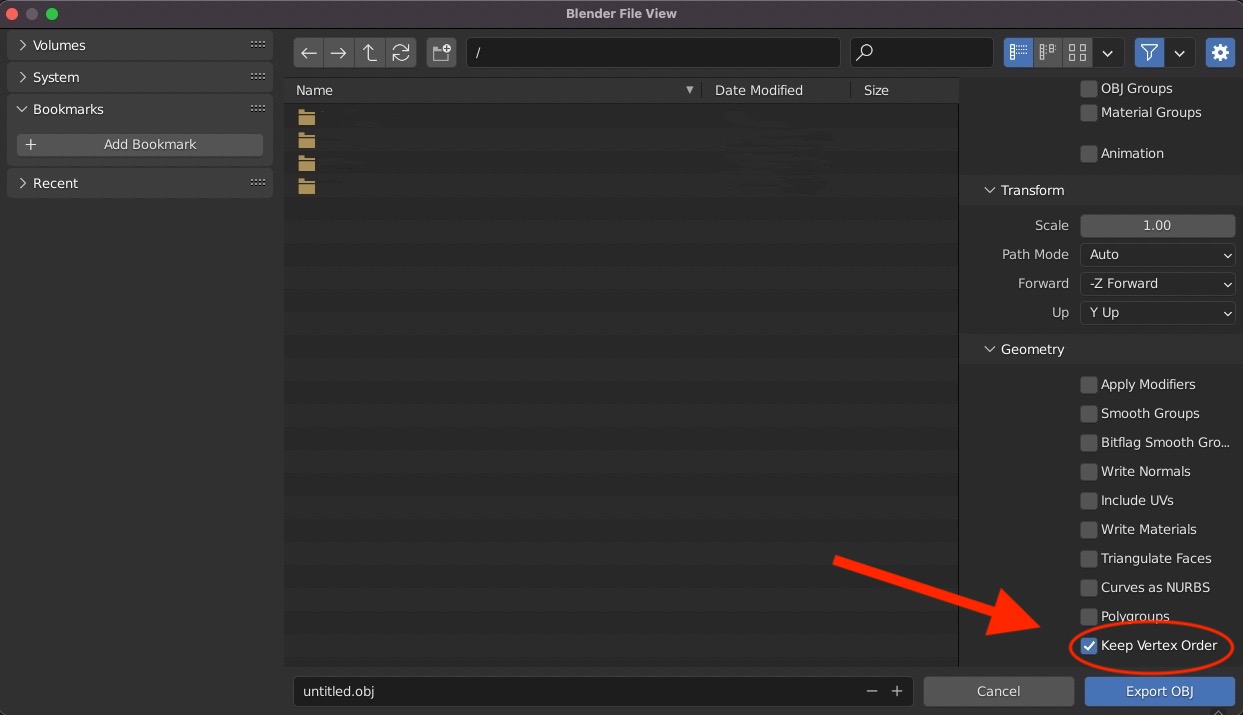
Note that since the original and the deformed cage need to keep the correspondence, you need to check Keep Vertex Order when exporting to .obj file: